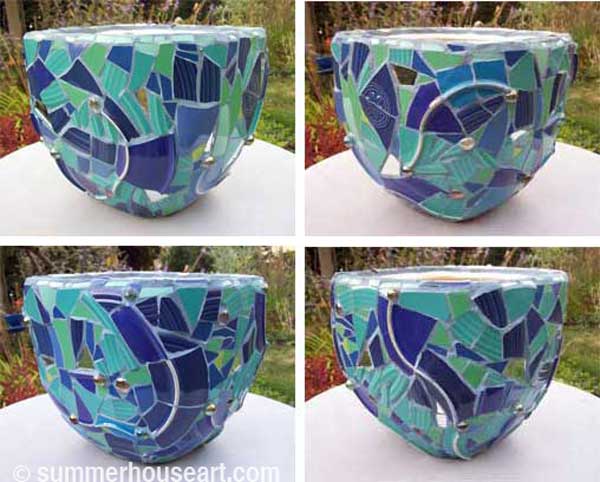
Mosaic Inspiration #4 I talked about the intuitive process to create an overall random design on a flat surface like a mirror. And if you’ve looked at our stepping stones you’ll see that I use this method there as well. I admit, I like working this way, it’s meditative and challenging at the same time and never boring. And there are benefits!
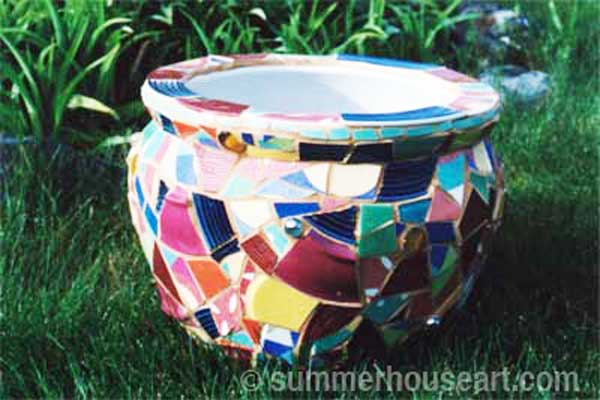
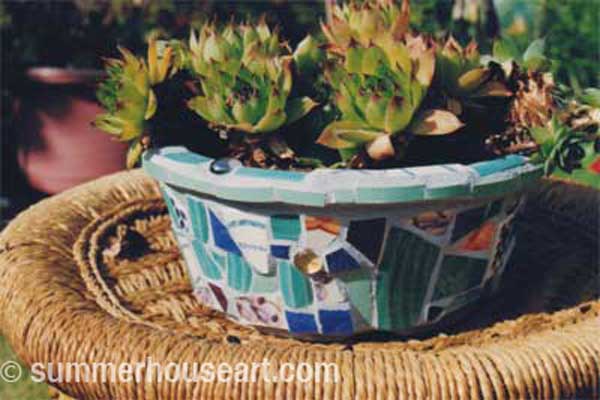
Now, I have to say that working like this is especially fun on 3D surfaces like pots. I’ve done quite a few pots in this manner. In each case, I selected dishes that had colors, patterns and textures that I liked together. To those, I added some solid colors and a few marbles. Marbles have a way of glowing when the light shines through, that I find totally captivating.
I tell my students that doing intuitive mosaic design has one really great benefit, especially if you tend to be a control freak. You will learn to let go. Working intuitively allows you to forget control and just go with the flow. After all you are not creating a picture, or a rigid pattern. Nope, just an overall pattern with a mixture of surface designs. Ah, the freedom to just let go and mix it up.
Going with the flow also applies to fitting dishes onto a curved surface. A dish does not have the same curvature as a pot. To make up for this you often have to adjust how you apply a piece to the curve of the pot. Oh sure, you can keep breaking the piece till it’s small enough to apply to the curve ( um, this could be called exerting control) or…you can just find the curve of the dish and find a place where it will match the curve of the pot. Ah, even less control.
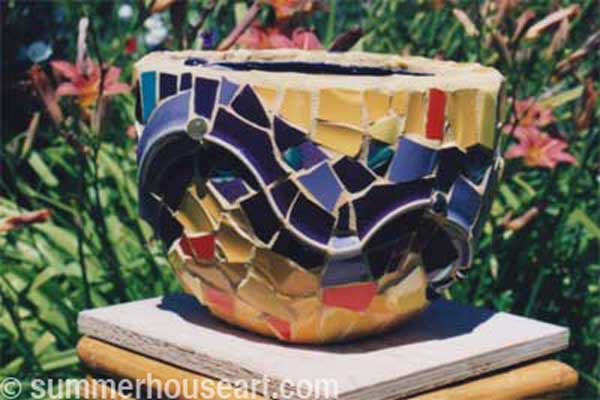
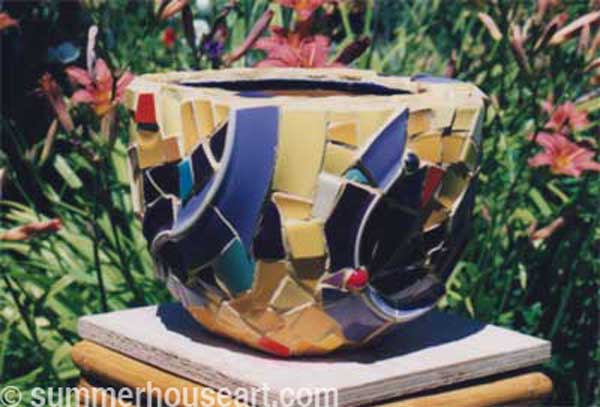
Using dishes that have color on the bottom as well, creates an extra little benefit. The ridge on the under side of the plate, once broken, can be pieced back together to create some very nice undulating lines, thank you. I’ve used this often to create a flow or direction. It’s a little trick that I totally took advantage of on some of these pots.
The last little benefit about applying pique assiette mosaic to pots is that unlike a flat surface like a tray or mirror frame, you can’t see the whole surface at once. You may ask, how is this a benefit? Well, if you get tired of one side you just turn the pot around and viola, you have a whole new surface to feast your eyes on.
