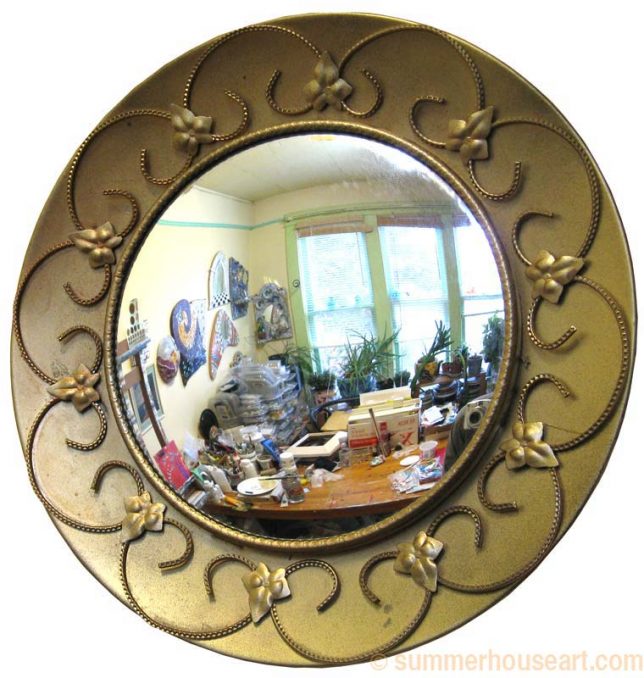
I was going to post a few more of my collages today, but got fed up with Photoshop and decided to share a little view of my studio instead. We love shopping at Thrift stores and garage sales mostly because we like to be thrifty, but also because you find such unique things. You wouldn’t find this convex mirror at any department store, would you? Continue reading “My Studio Caught in Reflection”
Author: Helen
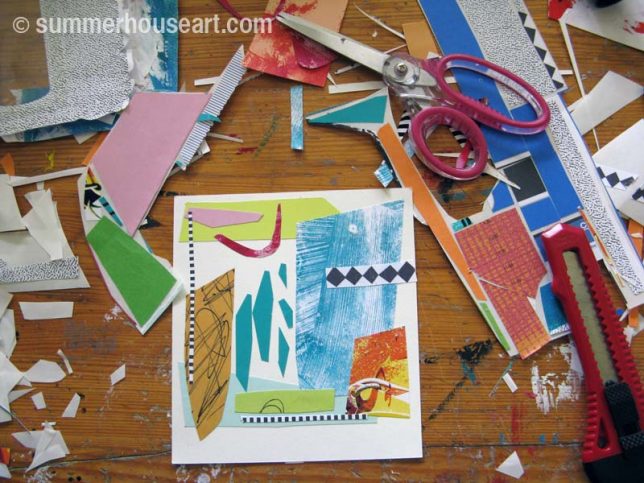
Paper Collage Using Double Sided Adhesive
A while ago, in another post on collage, I said that artists aren’t hoarders, we’re just collectors with a plan. Not all the paper that comes into our home leaves by way of the paper recycling bag. Paper is, after all, for collage artists, a valuable resource. So I use old envelopes to create paint patterns on and even save envelopes with that lovely security pattern on the inside, as a rather tasty texture to use in collage. Anything out of the printer is saved as well for its textural value.
Continue reading “Paper Collage Using Double Sided Adhesive”A Foray into Fabric Design
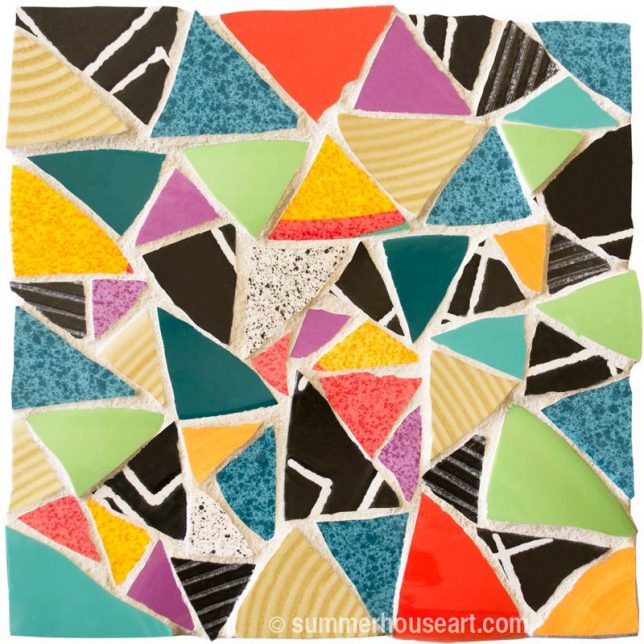
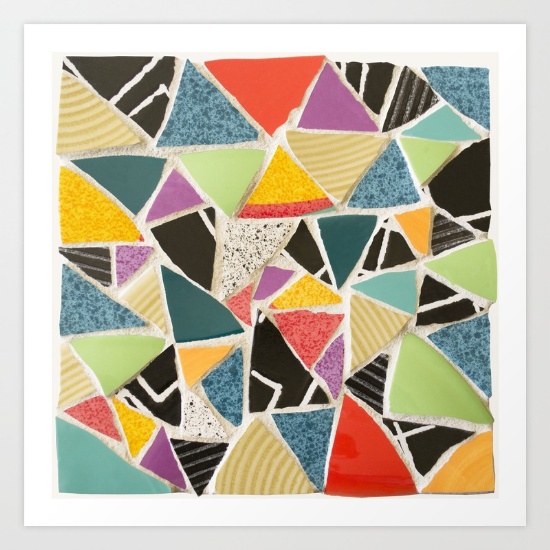
A while ago I created a mosaic from broken dishes, in a few of my favourite colours and patterns, all the pieces were Triangles.
Now we are a couple who do NOT just sit around doing only things we already know how to do. Oh no! We sit around in front of youtube and watch tutorials on things like creating seamless patterns for fabric design. And eventually we’ll manage to make a lot of designs, because it’s kind of fun. Zazzle, which is a great Print on Demand company, happen to have fabric by the yard in Print on Demand.
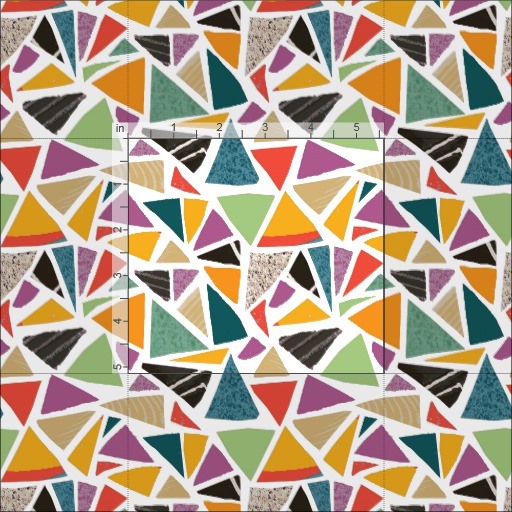
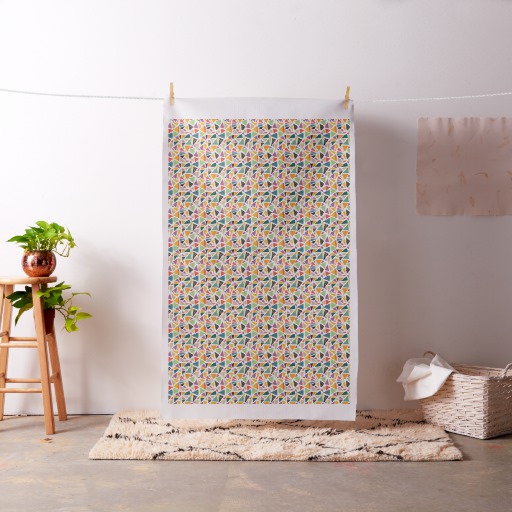
So, after much work and learning, we created a seamless pattern based on the above mosaic. We are rather pleased with the result. We called it Triangle Treat. We’re offering it by the yard, in Combed Cotton, and you can also order Swatches and Fat Quarters of it for the Quilters.
BTW, it’s really worth it to check out Zazzle and get on their email list because they are constantly having sales. Check out a little sample of what we have on Zazzle in our Zazzle shop page, where you can click directly to the shop itself.
Time for New Paper Collages in Vintage Frames
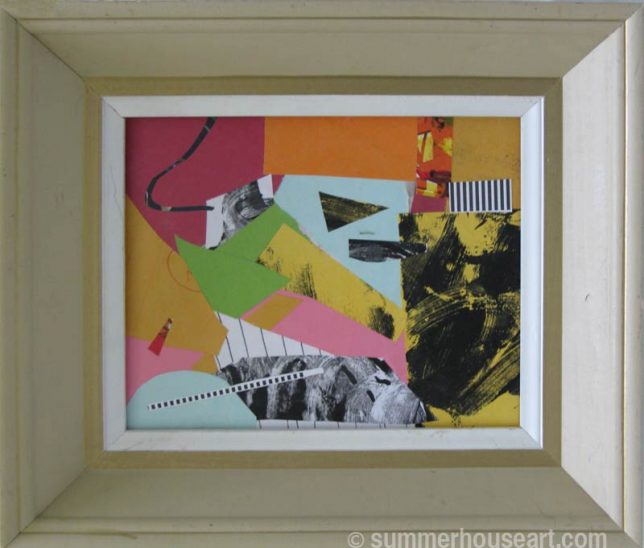
I like to say that artists are not hoarders, we are collectors with a plan. So while everyone else is recycling all the paper that makes its way into the home, we tend to pick through it and save some savory bits for future use. For instance, I might like the color of an envelope from a birthday card, or the texture on the inside of an envelope from the bank, or the color in a bit of junk mail that made it past the sign on the mailbox and put them aside. Or sometimes we’ve saved some cool mags found at garage sales. So it all gets tucked away, more or less in an organized manner for later use. As I say, we have a plan….
Continue reading “Time for New Paper Collages in Vintage Frames”Starting up Mosaic classes again in May!
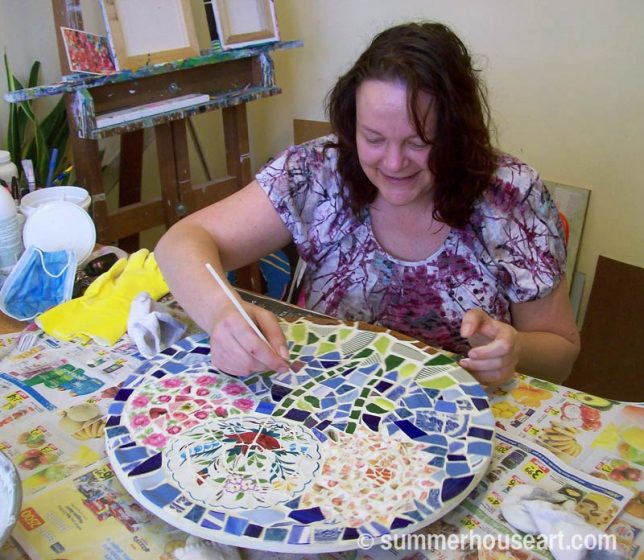
I’ll be giving mosaic classes again starting May. So, if you’ve been waiting to learn how to make mosaics with broken dishes, now would be a great time. I teach my classes in my home studio here in Victoria. It’s just a little studio, so classes are very small, just enough room for one or two people, so lots of individual attention to help you create your own unique project.
Take the classes by yourself or bring a friend to share the fun. Please take a few minutes to check out all the details on the class costs and hours and also see what other students have created, on our Mosaic Classes page.
You can contact me by email by clicking on the mosaic heart in the top right corner of this page or click here.
Glass Windows to Paper Lampshades
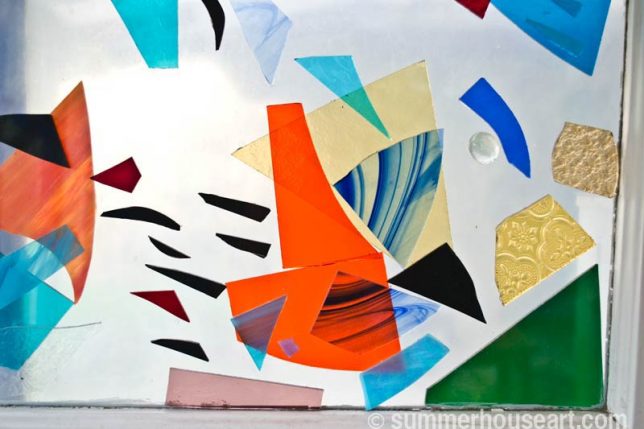
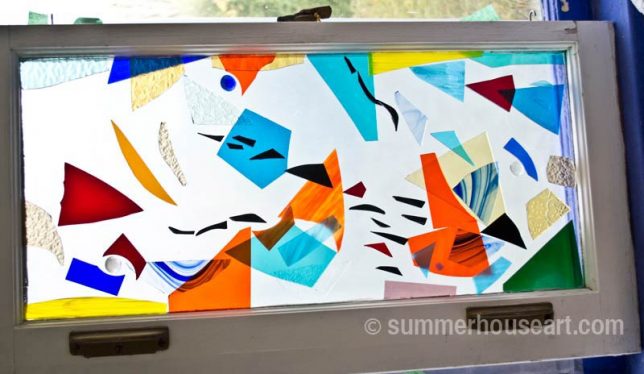
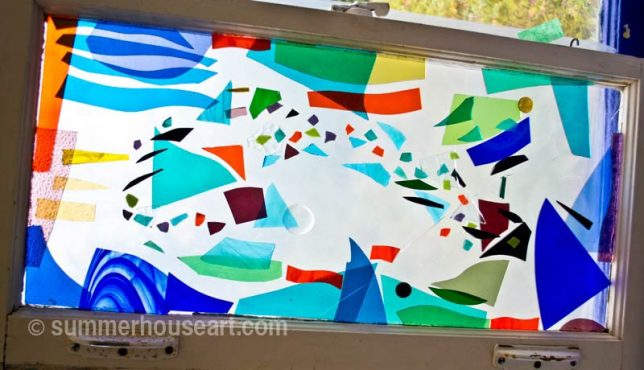
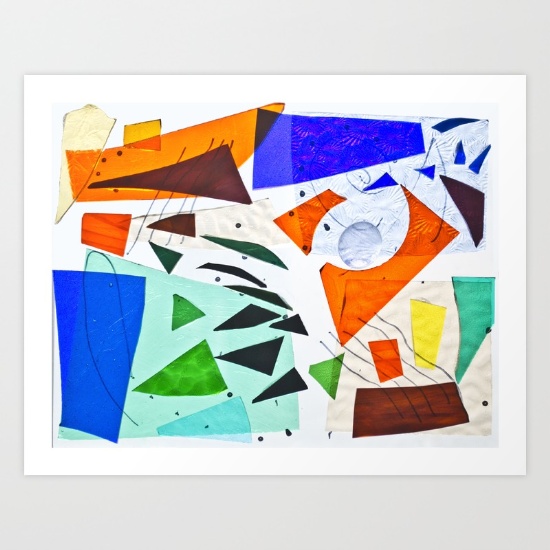
It’s funny how things progress one to another. First you bring home some old windows from a garage sale. Who knew what we might use them for? Cold frames for starter plants perhaps? Next, have a birthday and get discarded shards of stained glass as a present. And everything just sort of sat about for a while. Then one day, inspired by some stained glass designs made on old windows, I decided to create a few compositions of my own. Except, instead of the usual method, I chose to glue the glass shards to both sides of the window. I quite liked the results, a couple of windows with flowing abstracts.
Of course they were rather breakable, what with being made of glass. Not something you’d want to ship out anywhere. But we did enjoy them, set up as they were, in our greenhouse.
Then, this year I started to see other possibilities for these fragile compositions of glass on glass. Prints!
So the windows transformed into designs on paper. And we had created a few prints and other products earlier in our shop on Society 6.
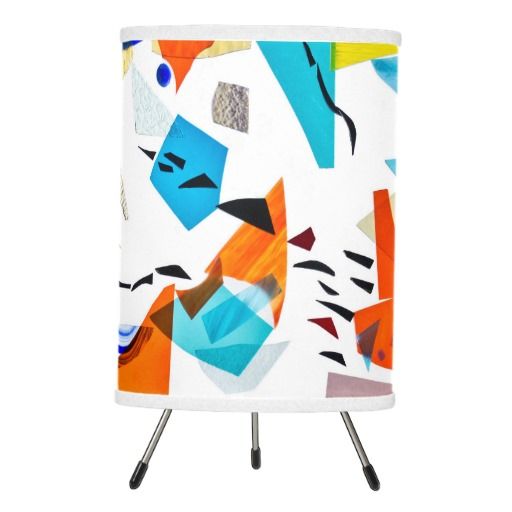
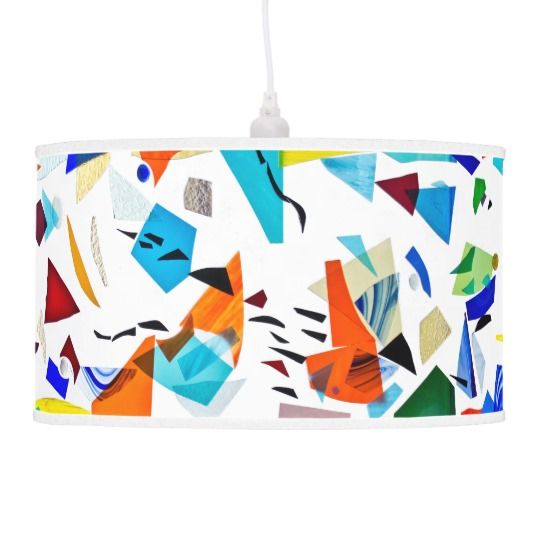
Then I remembered that Zazzle, another Print on Demand business, happened to have lampshades you could print designs on …..and well, it’s not hard to progress from the idea of light coming through stained glass, to thinking of a lampshade, with stained glass printed on it.
The pendant shade is actually a merging of the first window and a few choice bits of the second one.
Oh the wonders of cut and paste, etc, in Photoshop. But it does look kind of cool doesn’t it? Imagine light shining through these shades. We rather like them. I wonder if anyone else,shopping for a new lamp, will enjoy them too.
(BTW, if you’d like to make a comment, just click on the title. It’ll take you to comments….and we do appreciate comments )
A Couple of Mosaic Studies Transformed
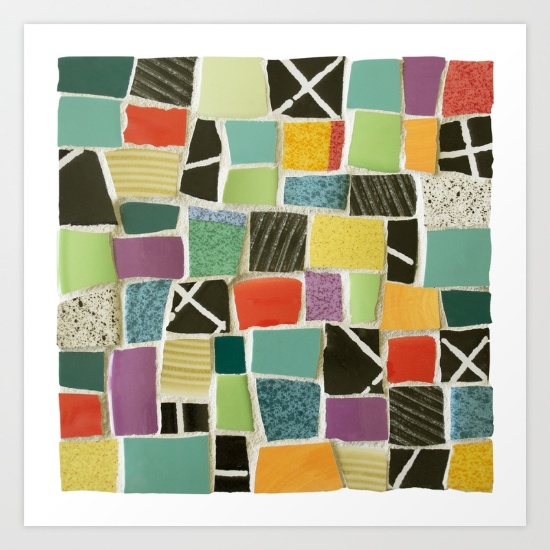
My last post was about a couple of rather colorful mosaic studies made with broken dishes, one in small squares and the other in triangular shapes. These days we look at everything we do and wonder where else we can take that design. With all the print on demand opportunities you have a huge number of products you can put that artwork on.
We’ve both become interested in fabric and surface design and have been teaching ourselves how to take an idea and make it an all over pattern. So the mosaics presented an opportunity for experimentation. It was one thing to just take the original and make a print of it. Which I think worked out rather nicely…
But to create more with it, especially to create an all over pattern required days and days of trying things out, experimenting, and repeated trips to youtube tutorials as we refreshed our memories on the steps to take. Then back to Photoshop and Illustrator.
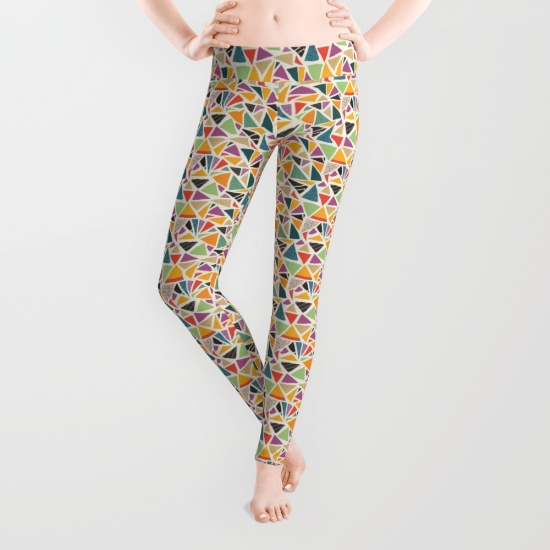
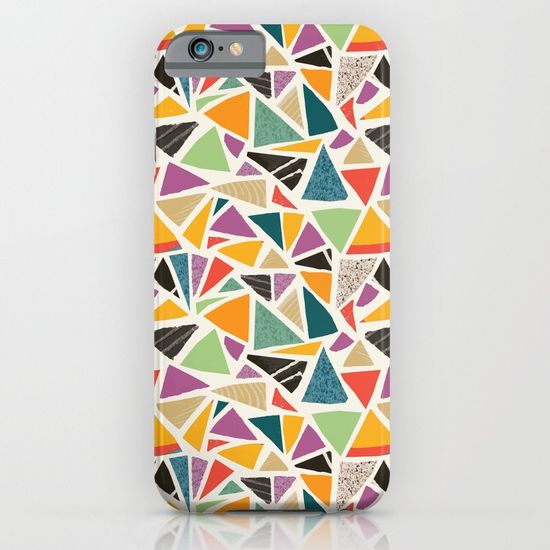
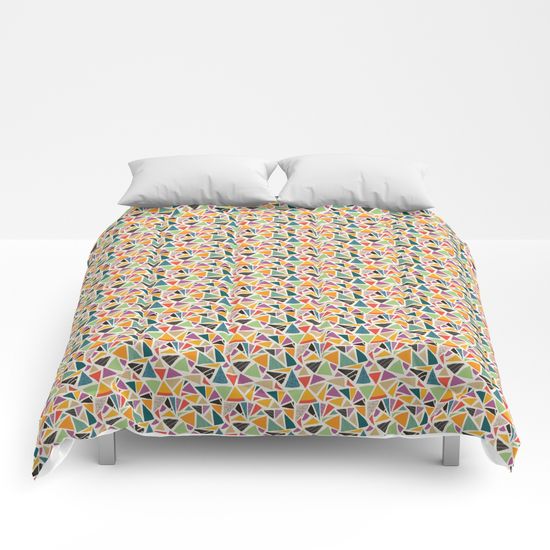
The triangles were actually quite successful as an all over design. We took out the grout digitally, of course, and basically blew the triangles further apart, did a bit of rearranging and created a quite seamless surface pattern with it. It looked quite wonderful on some of the Society 6 products like leggings
or a phone case…
and even entire comforters.
In fact, in the future we may even venture into fabric design with it.
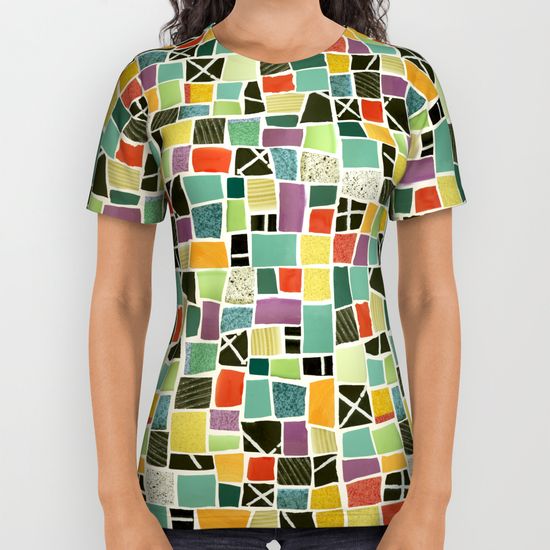
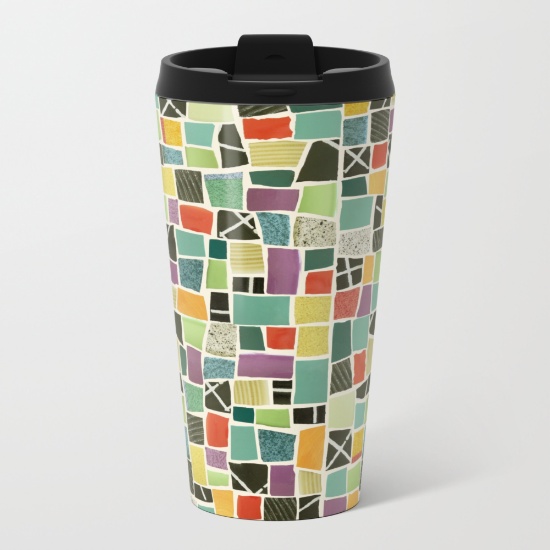
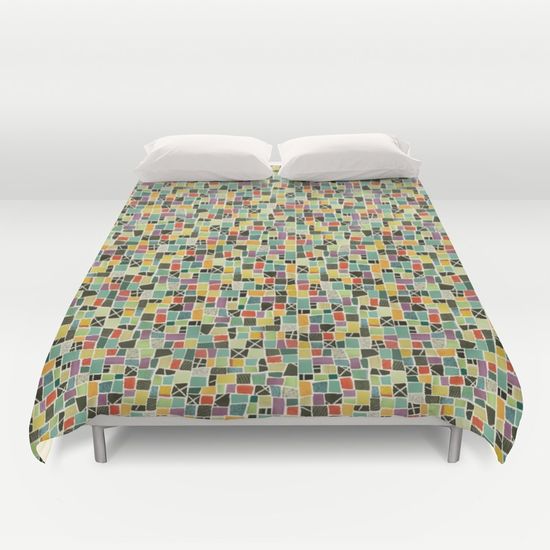
The squares were a bit more difficult and in the end we decided to go with just more or less tiling the pattern, which is basically taking the square and repeating it over and over as it was. This too, looks quite good on a variety of products. Society 6 also allows you to scale the pattern so that you can have it larger on some things, like a tee
or travel mug,
or even smaller as an all over design on a duvet,
or a rug or shower curtain. But we’re not done yet and are coming up with even more products on other sites. We’ll have those up soon. It’s proving to be fun and challenging all at the same time. What more can you ask?
(BTW, if you’d like to make a comment, just click on the title. It’ll take you to comments….and we do appreciate comments )
Two Mosaic Studies Created With Broken Dishes
Studies are like sketches or perhaps experiments. I quite like the idea of doing studies, just to see where an idea will lead, curious to see what it will look like when done.
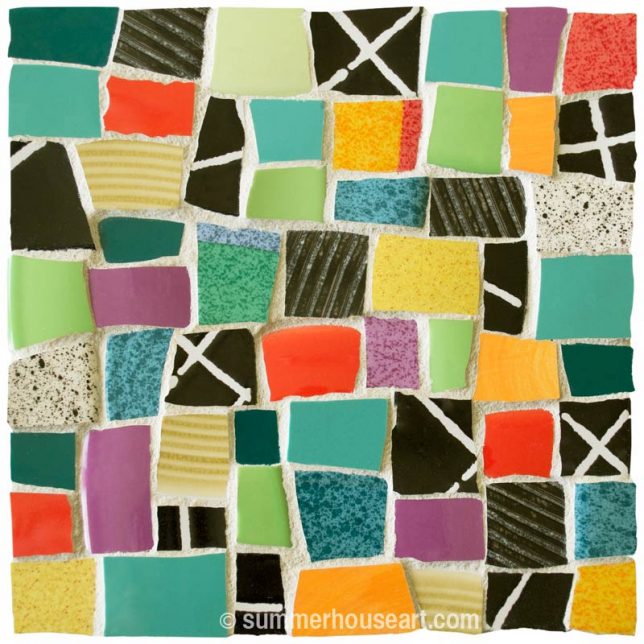
Just working on small 6 inch by 6 inch pieces of wood as a base for the mosaic studies, I went through my many many containers of dish bits and put together a small set of colors and textures that appealed to me. The first piece was made using bits of dishes that I’d cut into only rectangular or squarish bits. The pieces aren’t exact or tidy rectangles or squares like you’d get with normal mosaics, but the uneven, variances that you get when cutting up dishes which I think adds to the surface interest.
I arranged them in an intuitive order, balancing the colors and textures as I went.
Then, looking at my work table, I realized I had quite a few triangular pieces scattered about and decided that, as my next study, I would use only triangular bits of the same dishes. An entirely different composition but still fun to look at.
Looking at them now, I’m quite enjoying them and seeing many possibilities as well. We’ve become interested in surface design in the last few years and Will and I have been having a bit of fun teaching ourselves how to make repeat patterns. And we’ve also been applying our work to all sorts of other products from prints to pillows on our various online Print on Demand shops like Society 6 and Red Bubble. Looking at these studies, I can see some fabric design ideas, prints and other possibilities. It’s a whole new avenue to explore. Watch this space to see what we make with these…..much more to come.
(BTW, if you’d like to make a comment, just click on the title. It’ll take you to comments….and we do appreciate comments )
Mosaic Bird Bath Delight
We’re sort of lazy gardeners. We follow the no dig, layered methods and don’t go in for applications of herbicides, pesticides or unnatural fertilizers. We don’t do a big fall clean up either. We just let the garden be at the end of the season, leave the leaves, leave the seeds, don’t take down plant growth. We just walk away and leave it all for the birds and squirrels.
And the birds reward us by coming by and eating all the seeds left on flowers and plants, the berries on our shrubs, the seeds in the trees and rooting around for insects in the layers of leaves and whatnot. We keep a set of binoculars at our kitchen window right next to a couple of bird books to identify who flies in for lunch.
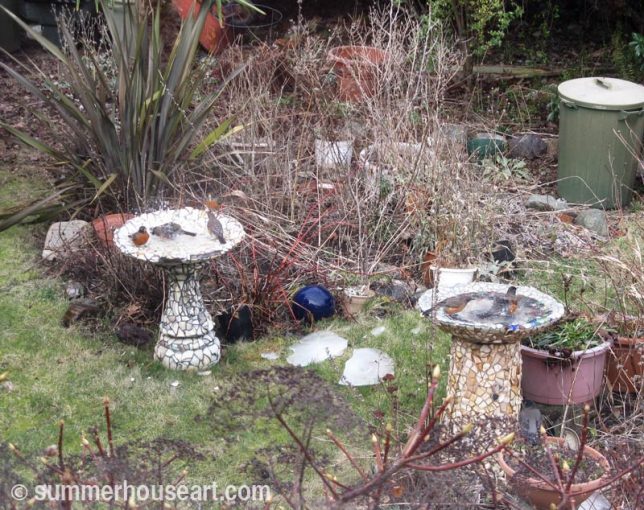
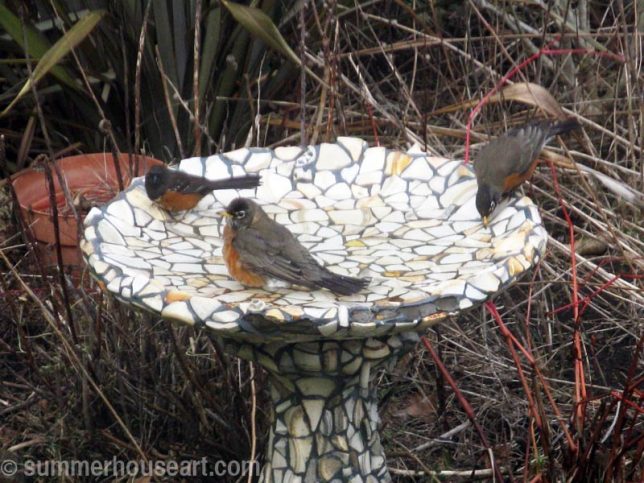
The best thing, of course, is watching our bird baths. The two baths are placed just so we can get a good view.
We’ve had a bit of cold snap here in usually balmy Victoria, and the water in the birdbaths has been frozen. Yesterday the temperature came up and with it a lot of birds in the garden, mostly Robins.
We saw one Robin trying to get drink around the ice in the birdbath and decided to do the birds a favour.
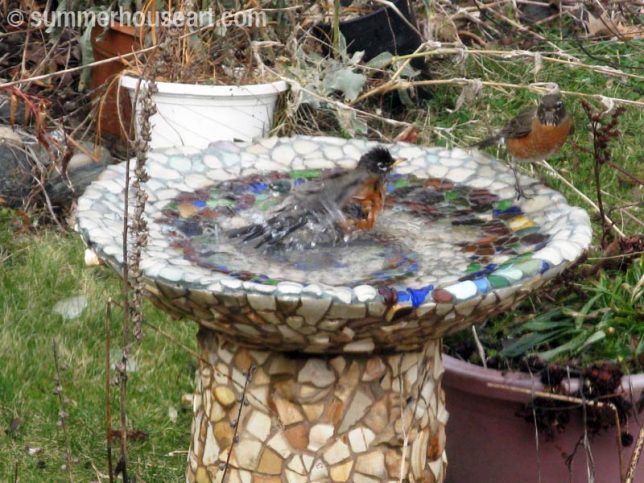
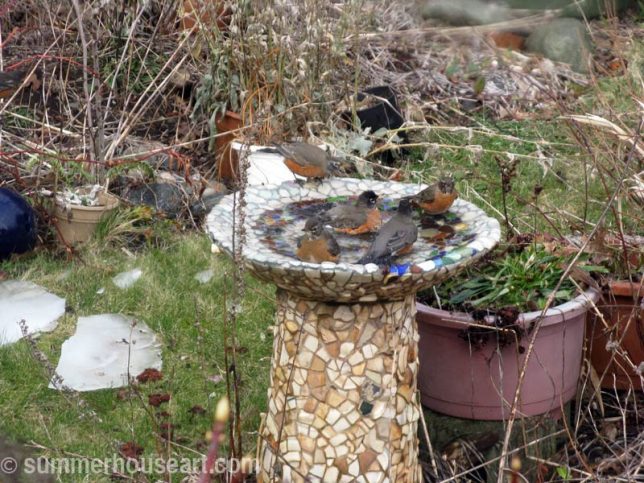
The layer of ice was taken off and the baths cleaned out and refreshed with new water. Within minutes of our return to our kitchen window we were rewarded with a steady stream of birds coming to bath.
First one, with one waiting on the rim…
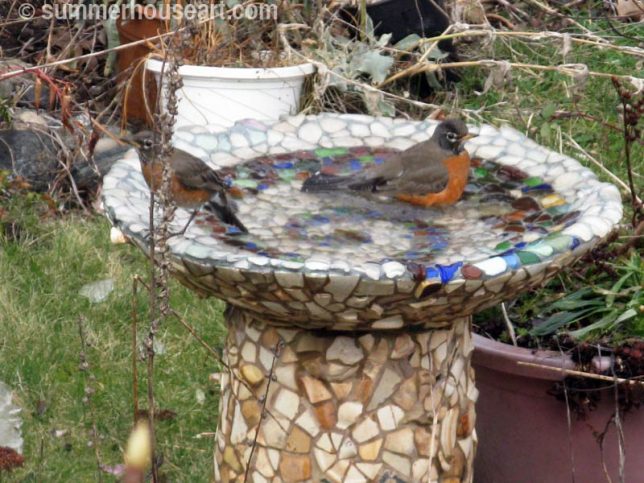
then two,
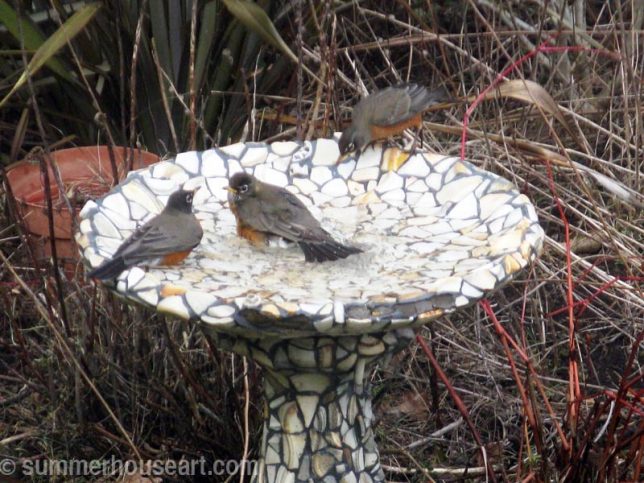
then three Robins ..
and then two Robins and a Towhee..
and then the baths were full of rowdy, splashing birds!
We actually had to go out two more times to clean out the baths and refresh the water and each time, within minutes, the baths were filled with splashing and happy birds, who then flew up into the trees to preen and clean their feathers. Thought I’d share our little bit of bird bath delight today. And thanks to Will for creating this little video, he says apologies for the bumpiness and bad resolution. But hey, you know it’s just for fun. And also big thanks to Kevin McLeod, who seems to make just the right music for us to use. You can find Kevin’s work at incompetech.com
(BTW, if you’d like to make a comment, just click on the title. It’ll take you to comments….and we do appreciate comments )
Doing Some Artsy Experimenting with Beach Pottery
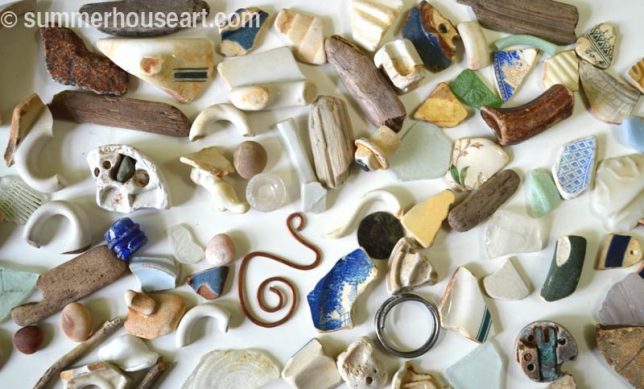
In the spring and summer I tend to check online for low tides. And if it’s nice out, and the tide is really low in the morning, I’ll be convincing Will that we really need to go beach combing in Sidney. Luckily, he usually doesn’t need much persuading. Now you don’t want to know how much beach pottery I’ve already collected.. ok, LOTS.
But there is something about wandering up and down on the beach, head and eyes down, with the sun and the seagulls overhead, the smell of the ocean around you, searching for those lucky finds. It’s so calming and lovely. If I’m going to have an addiction, I’ll take beach combing any day.
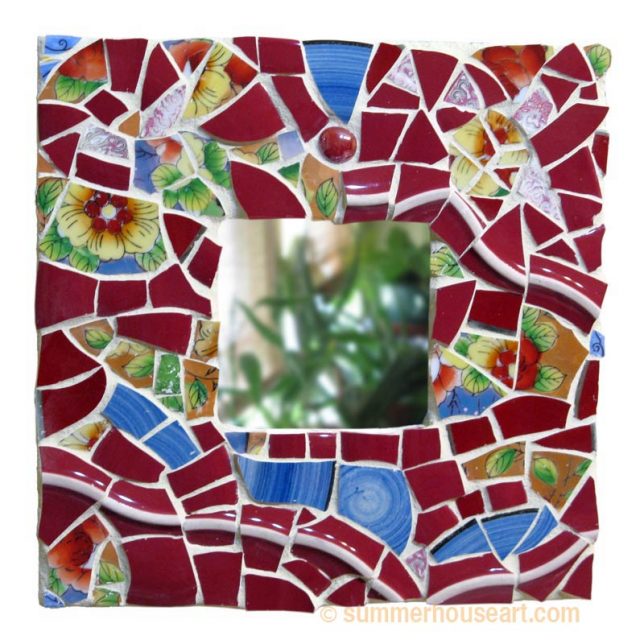
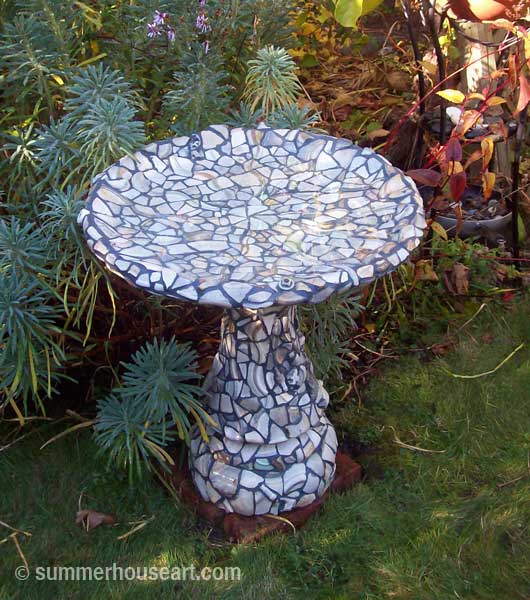
But what do you do with all these lovely finds? So far, we’ve had a good time creating birdbaths and mirror frames with it.
We have plans, in the summer, for making a couple of garden sculptures covered in pottery.
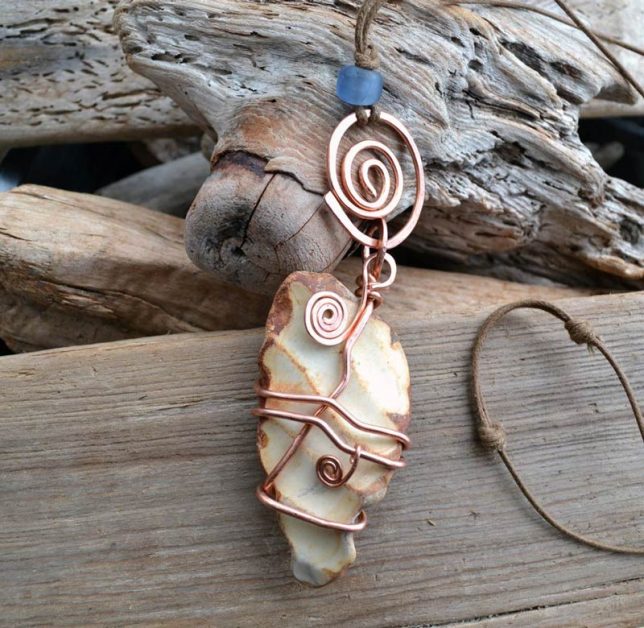
And Will has been making jewelry from driftwood and beach glass and pottery for our new Etsy shop, FoundMadeArt.
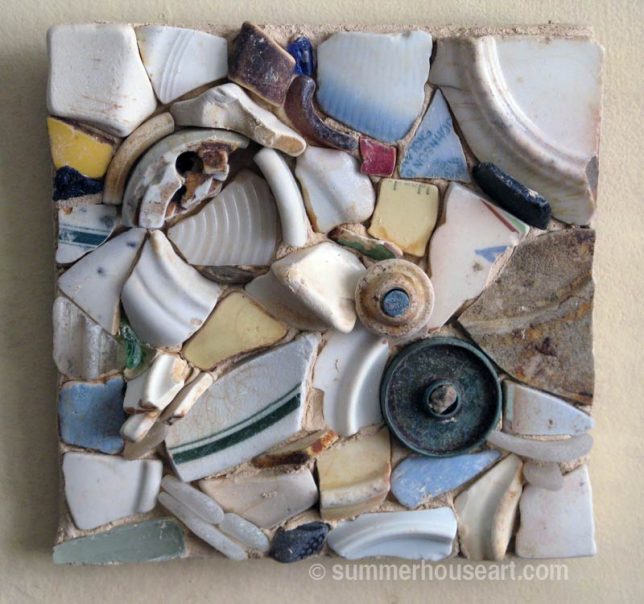
I had an idea of creating small wall pieces with the bits all arranged like a collage, but shipping weight was a problem. Then I discovered Wedi board on an online mosaic site. It’s relatively unknown in Canada, I had to search like mad and finally found a tiling company in Nanaimo that had just started carrying it. It’s a light weight substrate created for bathroom tiling, with foam sandwiched between two thin layers of cement. Trust mosaic artists to see some new uses for this product. Suddenly a lightweight substrate for outdoor mosaic instead of heavy cement board!
I thought if I created some small wall pieces, they would be quite ship-able with the low weight. Wedi board is a bit more expensive than cement board and you have to buy special hangers for it too, but I thought, it would be worth a bit of experimentation. So with thanks to my sister and her husband, in Nanaimo, who very nicely brought down the 3ft x 5ft. sheet for me when they came for tea and goodies, I had something to work with.
The beauty of Wedi board is that you can cut it with a utility knife. I decided to start small with 6 in x 6 in pieces. Then, after lots more research online ( don’t you just love youtube?) I decided to cover each piece with a thin coat of mortar to hide the grey surface.
Then came playing and trying out layouts some chosen bits of found beach pottery. All, btw, freshly washed and dried to remove the salt residue. Kind of funny to think there I was washing dishes that had come from the ocean.
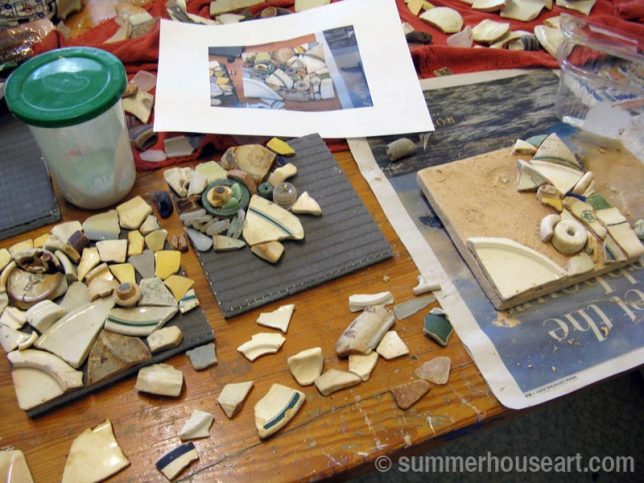
The first experimental arrangement went through lots of changes, I even took photos so I could test the look.
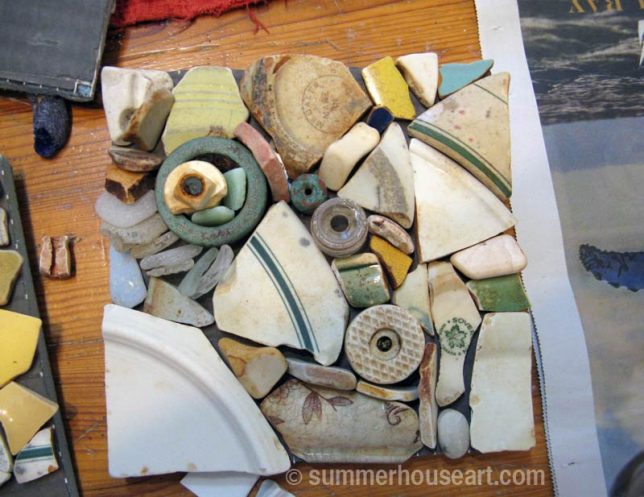
And then, with the air getting rather blue, because of the difficulty of trying to adhere the pieces without getting mortar everywhere, the first piece was done.
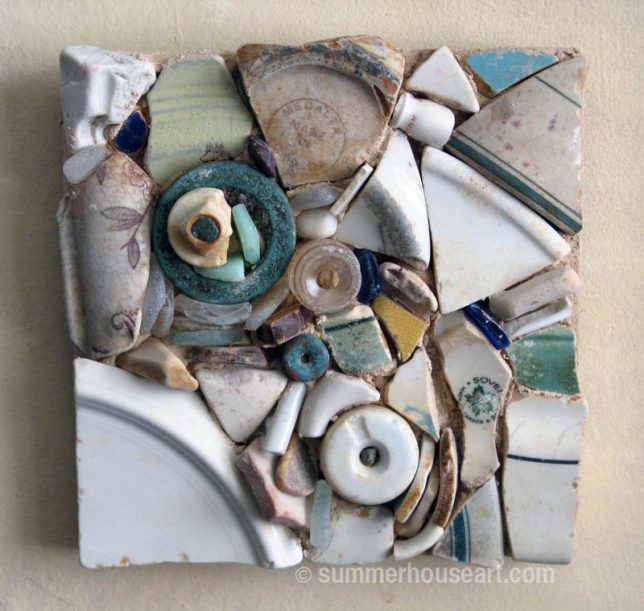
For the next piece, I decided to wing it. I basically chose the pottery I was hoping to use and applied mortar and stuck them down with less worry about placement, using intuition and speed mainly. You don’t have much time with mortar anyway. It may be a method I’ll use in the future, when I try to create more of these little wall pieces. These are just the start of a new idea. Who knows where it will lead? One day, hopefully, they’ll be for sale on our Etsy shop. One thing I do know, is that I’ve got an awful lot of beach finds that need a home. And I do have a bit of beach combing addiction.
(BTW, if you’d like to make a comment, just click on the title. It’ll take you to comments….and we do appreciate comments )