New Years resolutions? .. . or trying to create order in my chaotic studio.

The new year has begun. Usually my New Years resolution is not to make any resolutions. Resolutions are usually difficult goals, like lose weight, eat less sugar, eat less chocolate, eat less of all the things I enjoy that are bad for me. We’re talking deprivation here. So no, I don’t make resolutions. I don’t want to start the year thinking of LESS. I want to start the year thinking of MORE.

MORE happiness, health, wealth, laughter, creativity…..

Ah creativity, that brings me to my studio. Another area that I could use MORE in. As in more space, more time, more organization? Ah yes, perhaps since I don’t have more space, it’s time to get down to organizing all the stuff I’ve got in there. So many dishes, so many shards that I can’t throw out and have saved for future works.

So I’ve dragged out all the little pots and trays full of  broken dish shards left over from making Pique Assiette mosaics. I’ve  spread them out and started to reorganize them. It’s looking like chaos here.  But I’ve set myself to sorting, categorizing, creating piles and piles colors, textures, patterns and whatever, all the while taking lots of tea breaks to keep from being overwhelmed with the chaos I’m creating.

chaos-in-studiowmAnd hopefully, when I’m finally done, the shards, at least will be saved, sorted and ready to be used. Another recycled package put to good use. All those salad packages make the best transparent storage ever. These packages plus other smaller ones I save from where ever I can, go to good use here.

boxes-of-shardswmAh chaos to order….now that’s a start for the New Year.

Share

How we Created our own unique collage Christmas Cards or E-cards

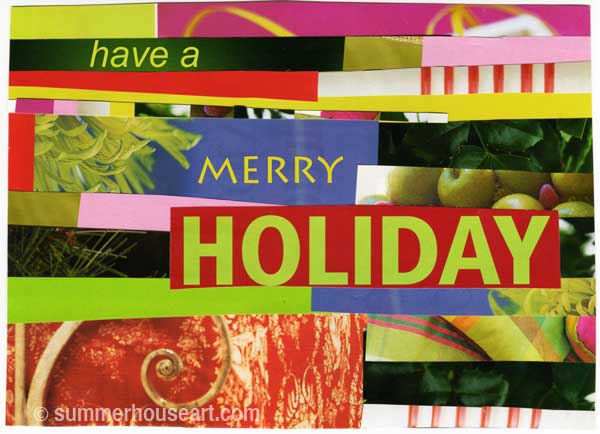
xmas-holidaywmEvery year we look for Christmas cards but rarely find exactly what we like. We’ve also looked at e-cards. Not that there isn’t some wonderful artwork out there. But this year we wanted to do something unique to us. And we want to be green about it all too. So what to do?

I used to look for Christmas cards at Thrift stores. Believe it or not they do exist there and you can buy a real selection that way instead of a box of all the same card. It’s a good idea, you’re recycling but takes a lot of time.

Bill and I happen to really like to create collages from old magazines. This is what I call fun with Glue sticks and Scissors. Why not create collage Christmas cards? Some will become paper cards and all the images will be used for e-cards too.

This year I just happened to have found in my reorganization of old mags and papers saved for collaging, quite a few Christmas editions of decor mags. Voila, lots of relevant stuff to create our own Christmas cards. And I also kept some of that glossy junk mail that comes to our mailbox to use as more collage fodder. If you’ve saved old Christmas cards you may want to look at them with a new eye, as fodder for Xmas collage.

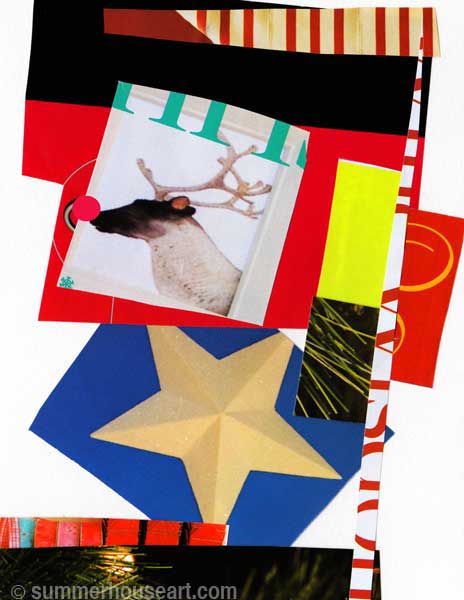
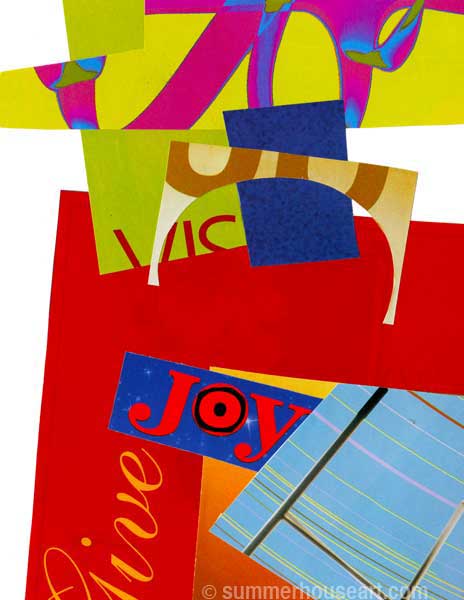
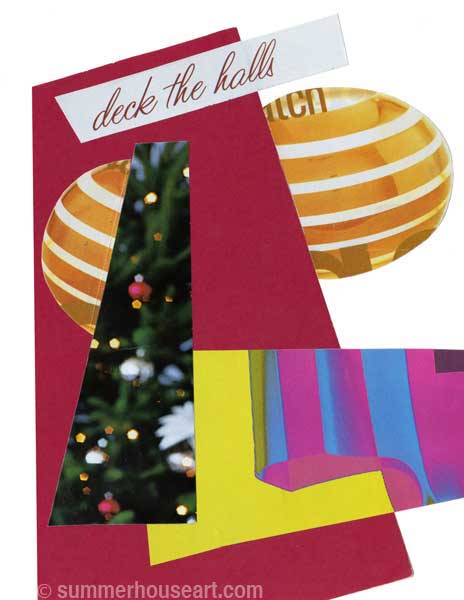
So with the table strewn with mags and busy cutting out colors and textures we soon had more than enough to start with. The idea is to look through all the mags cutting out bits with an eye to color and texture not necessarily literal depiction’s of trees, santas etc. We try to go for the “feel” of Christmas. And with a sense of abstraction as well. And this is what we came up with…… a few abstract art cards in the Christmas theme

Deck the Halls with lots of color
deckthehallswm

An abstract take on Rudolf?

deerstar3wm

A psychedelic take on Giving Joy

givejoywm1

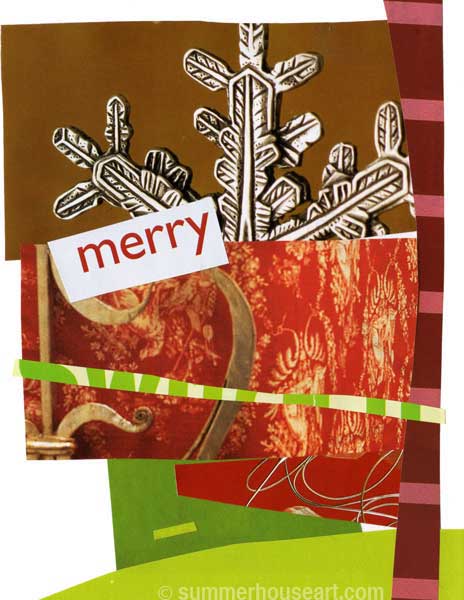
Sometimes you only need one word….Merry
merrywm

Another collage using almost the same elements, the snowflake and the colors
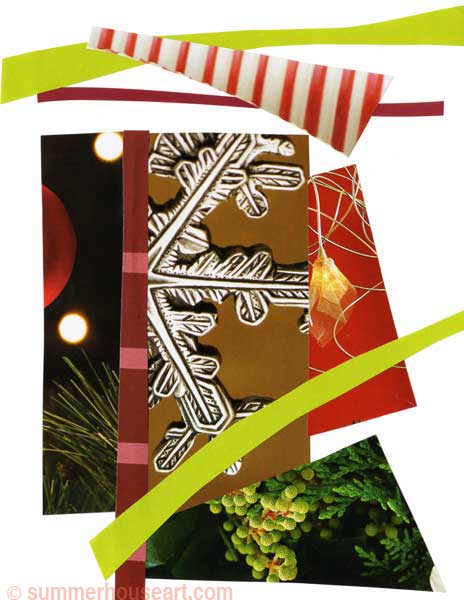
snowflakewm

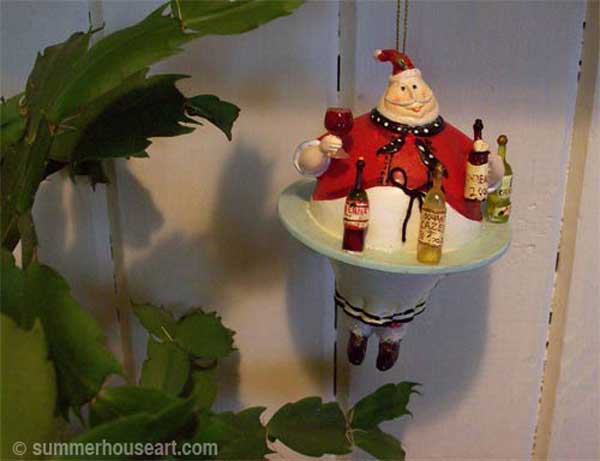
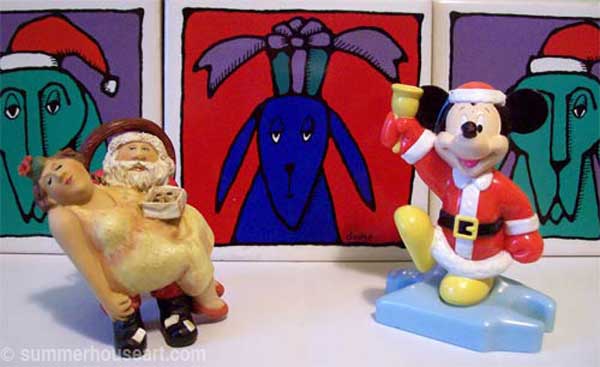
Another idea we had last year was to create our own e-card in Photoshop. So in a way, just another collage but of a favourite Santa ornament and some decor arranged into a jolly looking card. Now you may not be a fan of e-cards. They are hard to display for one. But we think of the paper and resources saved too. I also like to take the time to send a little personal message to everyone with each email.

ecardwm

Ok some people on our list still get the real card. We just happened to have a lot of old stock greeting cards from a former business and we just scan our images into the printer and create a new image and tape that onto old cards. You can do the same by just taping an image onto card stock cut to fit any envelopes you have. So there you are, a DIY way to create your own unique take on the Christmas card. Have fun. We did.

Oh, here’s a little bonus thought, in case you didn’t get your cards bought and sent in time.  Why not create something great with some family photos and collage and create an e-card you can send out at the last minute? Cheating? maybe, but why not? It’s still personal, you get a chance to be creative and send something unique to your friends and rellies.

Share

My Santa collection revisited or should I say recycled?

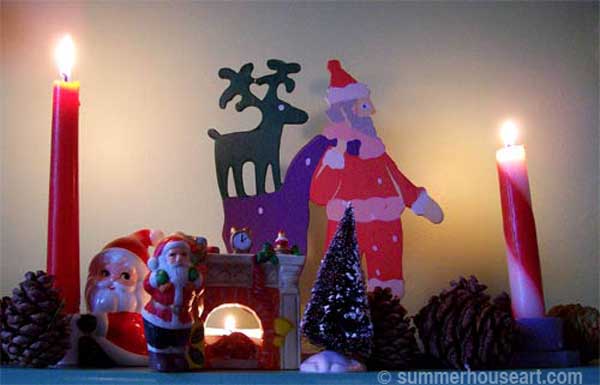
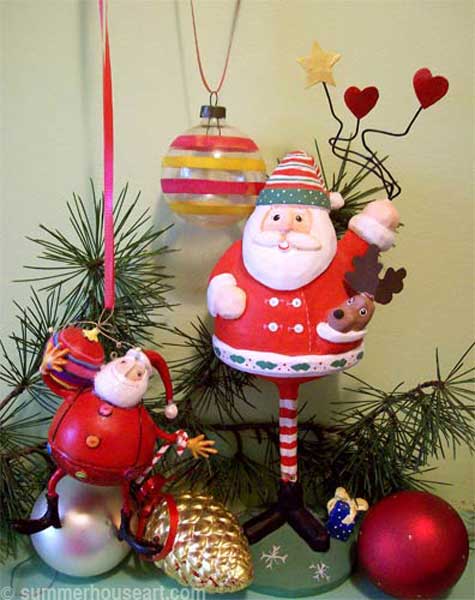
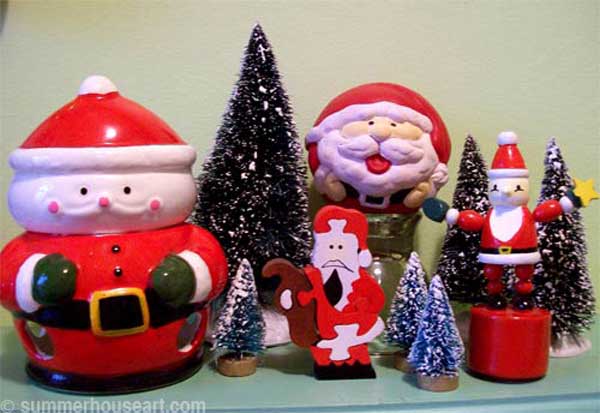
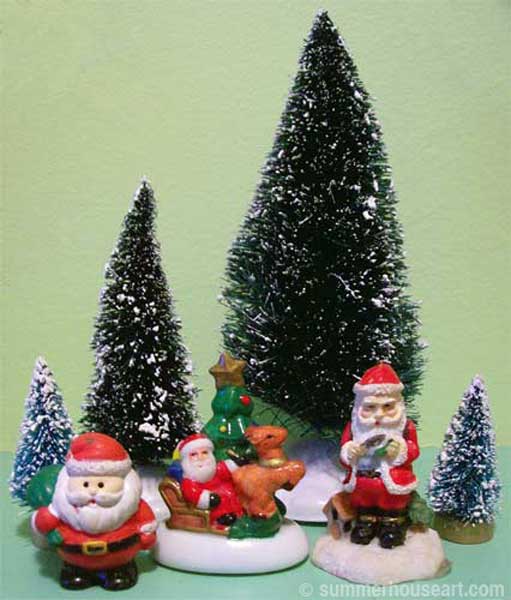
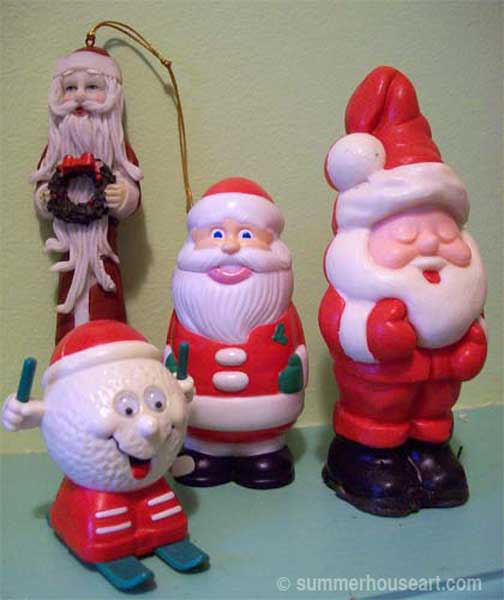
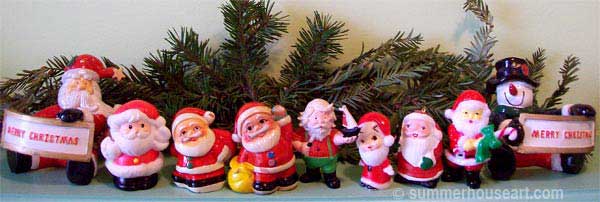
christmas-daywmWe are all about recycling, and living the recycling lifestyle has also given us an abundant lifestyle especially at Christmas. And especially where collecting Santas is concerned.  What started as a little collection to add some color on the sideboard at Christmas grew to over 100 Santa ornaments in no time.  How do you create such an abundant display of Santas?  Well, it’s almost all secondhand thrift shop finds and a few are gifts from friends who knew I’d been collecting.  In the spirit of Christmas and the spirit of recycling I’ve decided to recycle some of my old posts about Christmas.  Three years ago I spent some time for every day for the 25 Days before Christmas making up little vignettes of my huge Santa ornament collection.  Today, to make it much easier to view, I’ve decided to replace and recyle those posts and put all the collection on one post. Starting with my  fave Grumpy Santas and ending with my other faves, the Gumby Santas.  Enjoy….
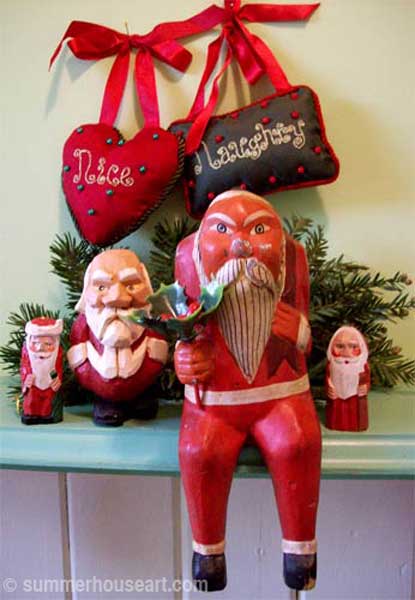
Introducing my faves, The Grouchy Santas

grouchy-santaswm

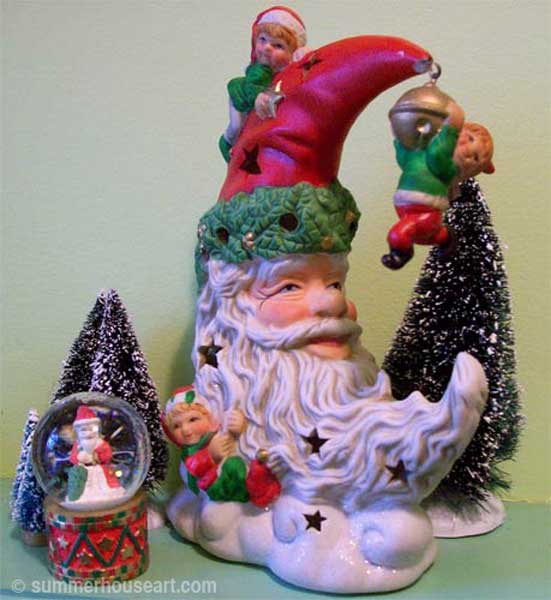
The Globe and Moon Santas

globe-and-moon-santaswm

The Wine Taster Santa

winetaste-santawm

Collector Santas

collector-santaswm

Candle light Santas

candellight-santaswm

Skinny Legged Santas

skinny-leg-santaswm

Odd Santas

odd-santaswm

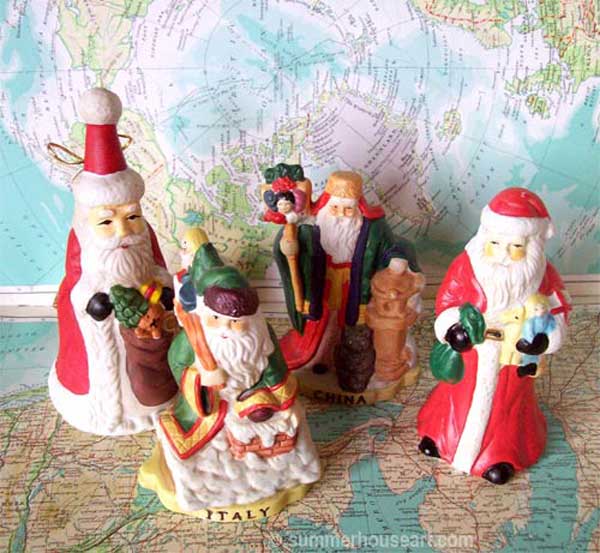
Santas from around the World posed on an Atlas of course

world-santaswm

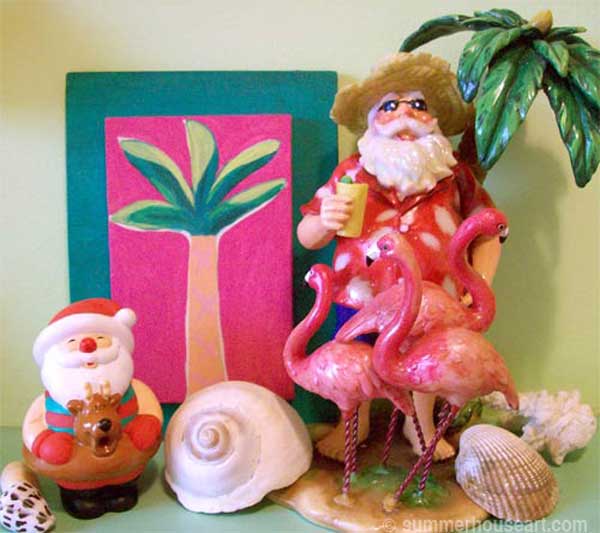
Tropical Santas

tropic-santaswm

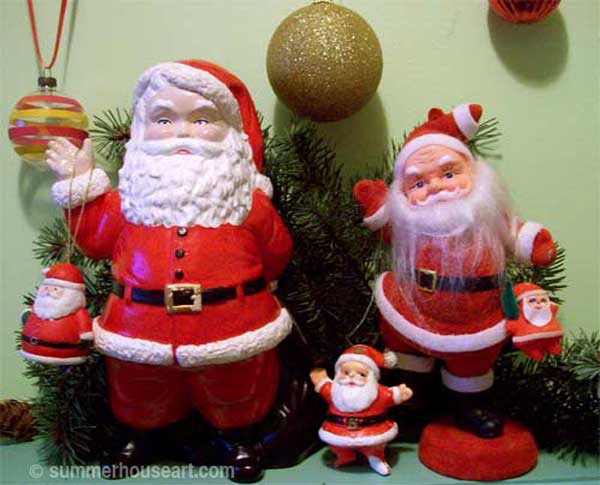
Santas Waving

5-santas-wavingwm

Tiny Santas

mini-santaswm

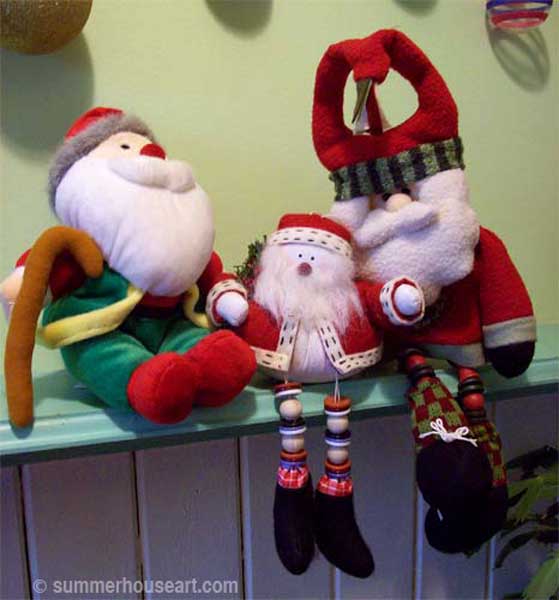
Softy Santas

softy-santaswm1

Scary looking Santas

awful-santaswm

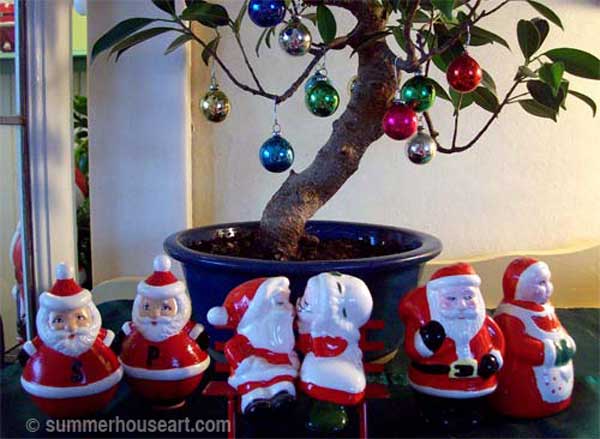
Salt and Pepper Santas

salt-pepper-coupleswm

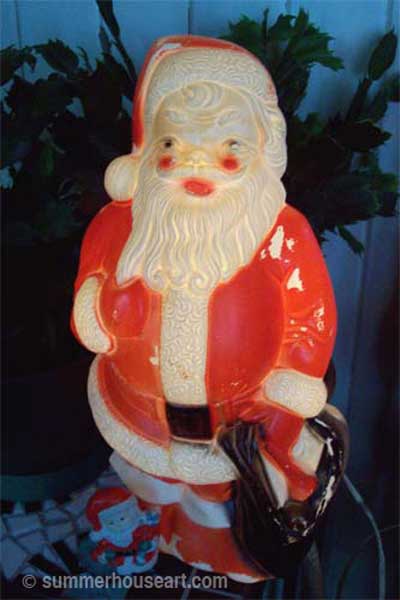
Night Santa all lit up

nite-santawm

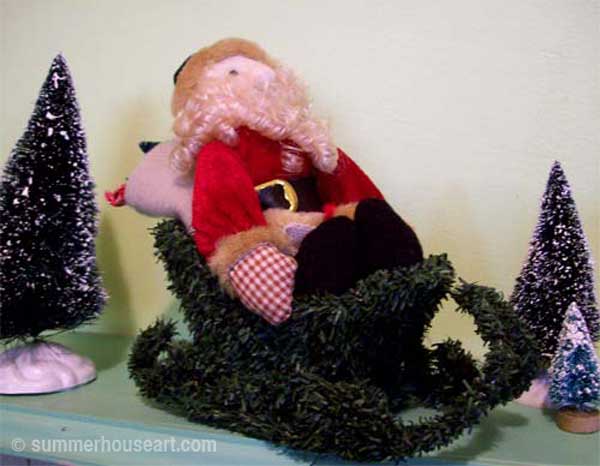
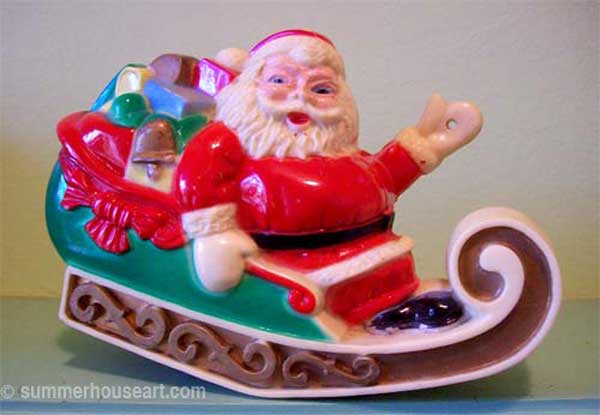
Santa in an Evergreen Sleigh

spruce-sleighwm

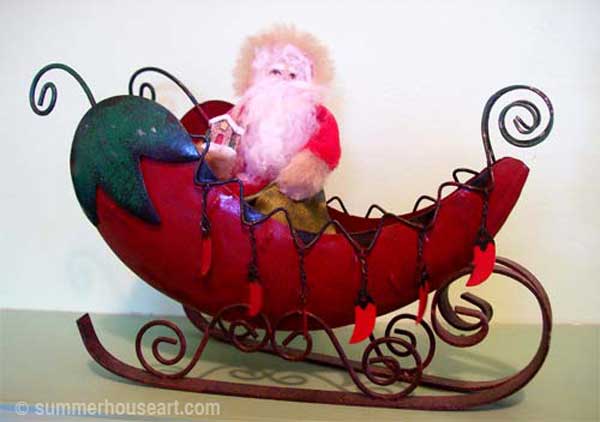
Santa in a Chili Pepper Sleigh

chilli-pepper-slgwm

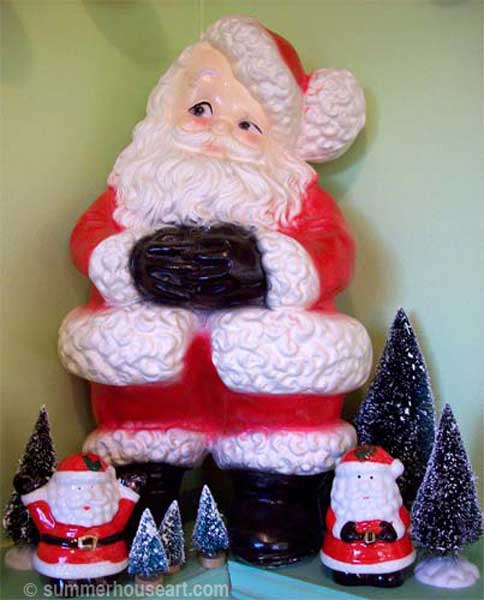
Big Thoughtful Santa and Two rather Surprised Santas

big-guy-santawm

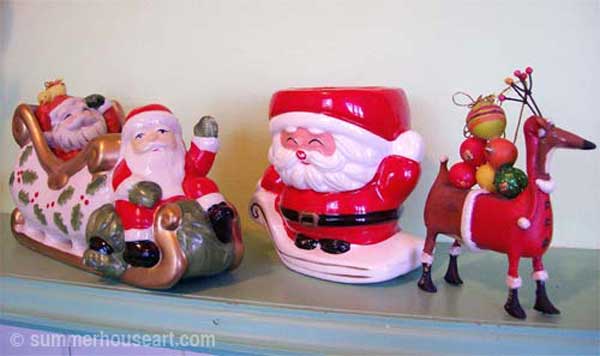
More Santas in Sleighs and a handsome Reindeer

2-sleigh-w-reindrwm

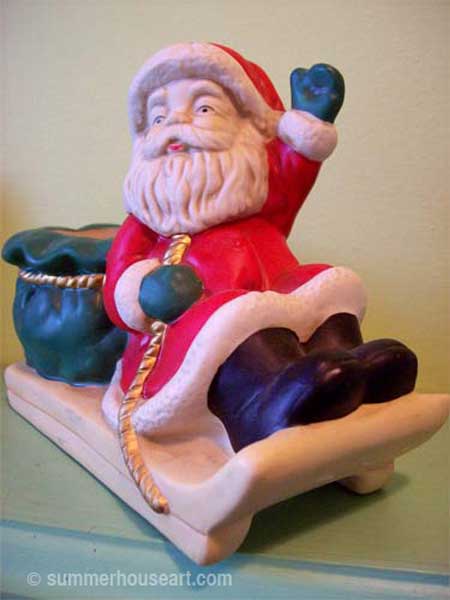
Santa on a Sledge

santa-sledgewm

Racing Santa

santa-sled-wwheelswm

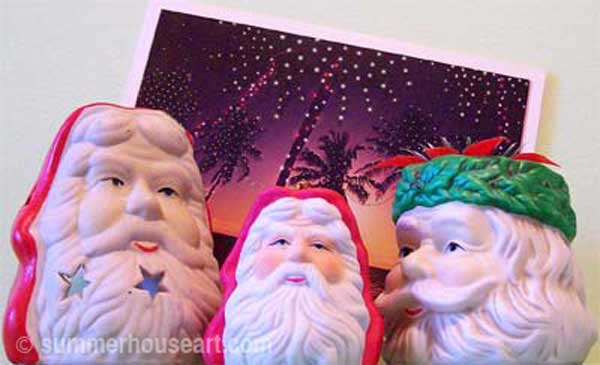
Santas thinking of Tropical nights

santa-headswm

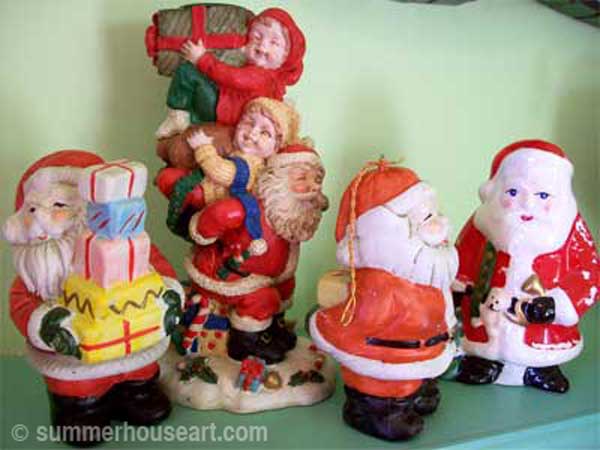
Santas bringing, what else, gifts

gift-santa-1wm

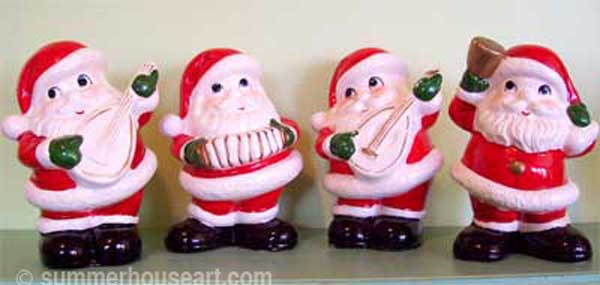
Troubadour Santas

4-troubadorswm

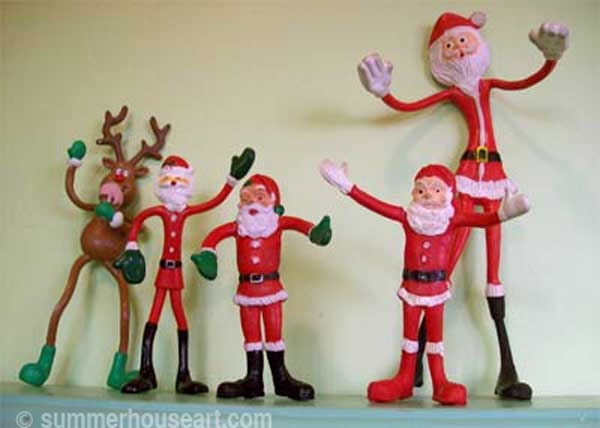
And ending with my all time faves, Gumby Santas

gumby-santaswm

Of course, by now I probably have more, but I haven’t unpacked them yet.  There’s like about 5 boxes of them in the basement!  But hopefully, you’ve enjoyed my much quicker look at this runaway collection.  I swear, I’m NOT collecting any more.  Really, positively, no ….. more.

Share

A Serendipitous Mosaic Bird Bath

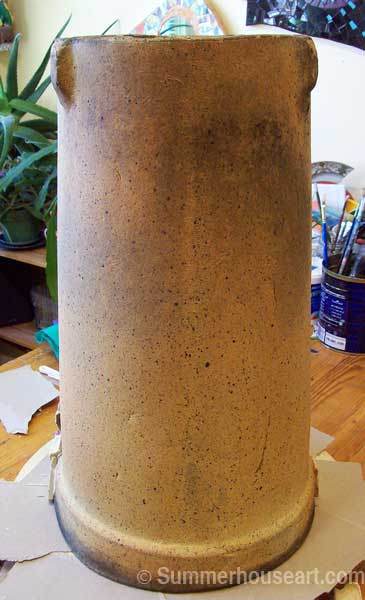
Or how we made a bird bath from this, an old chimney pot,

process, Beach Pottery birdbath by Helen and Will Bushell summerhouseart.com

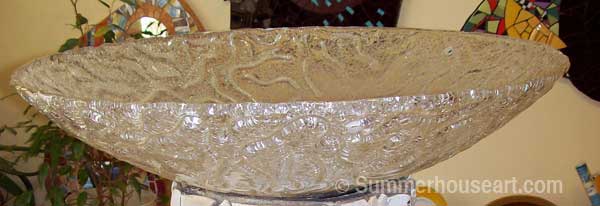
and this, a big heavy glass ceiling fixture which we used as the mold for a cement basin

process, Beach Pottery birdbath by Helen and Will Bushell summerhouseart.com

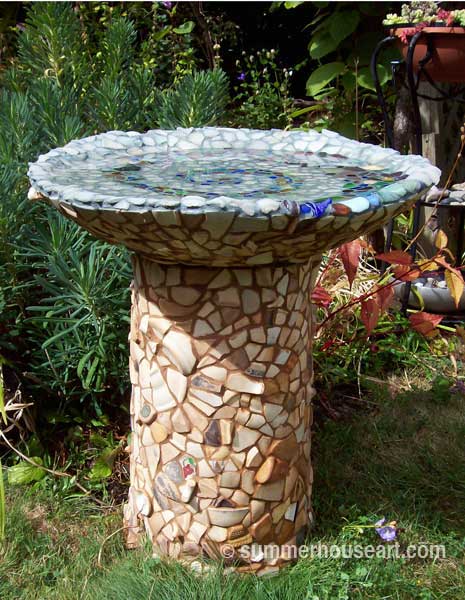
And how all of that became this: our Beach Pottery and Beach Glass Mosiac Bird Bath

 Beach Pottery birdbath by Helen and Will Bushell summerhouseart.com

So this is the story of our Serendipitous Bird Bath, which took us over a year, what with health problems, other work and whatever, to finish.

The serendipity all started with a lucky garage sale find of the Chimney pot, above.

We immediately saw it not as a chimney pot but as a base for a bird bath. Didn’t have a top in mind yet, but we had the base. And I already knew that the base would be covered in a mosaic of beautiful smooth beach pottery with lovely beach glass inside the basin. Because as everyone knows, beach glass only looks good when it’s wet!

Of course this meant we had to go and get some beach pottery and glass but that was fun and easy. A drive up the peninsula to Sidney and the beach at the end of Beacon Ave there. A few happy hours beachcombing for shards of ocean tumbled glass and pottery. And as we do this enough, we did have a rather good stash of the stuff.

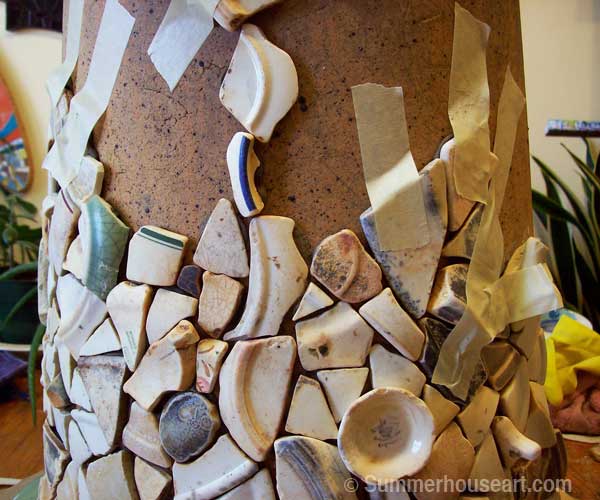
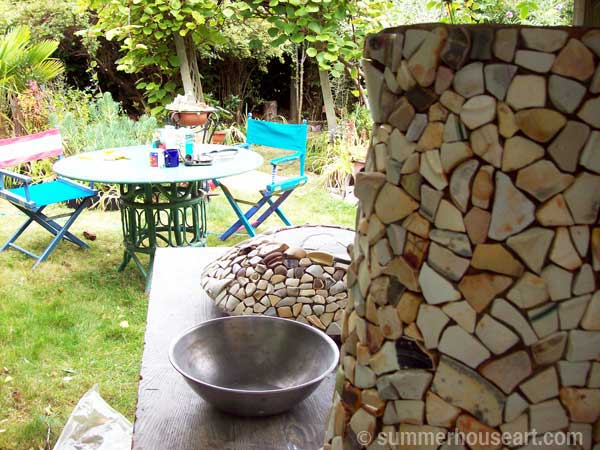
So we dove right in and covered the base in lovely, smooth beach pottery.process, Beach Pottery birdbath by Helen and Will Bushell summerhouseart.com
Here’s a close up of some of the pieces as they were being applied. The masking tape is hold some of the heavier pieces in place until the mortar sets. Since this will be outside in all weathers, the pieces are affixed with a stiff mortar mix. The method by the way has already been covered in a past and popular post on how to make stepping stones Helen’s way.

Of course we still were not sure about the basin and were thinking up ideas for something to cast, when serendipity happened again. On another garage sailing trip, we found this rather large and heavy piece of glass meant to be a huge ceiling light fixture. We got it for about $5.

process, Beach Pottery birdbath by Helen and Will Bushell summerhouseart.com

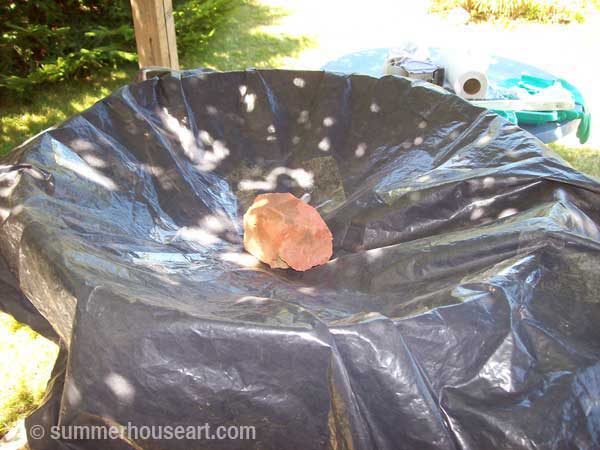
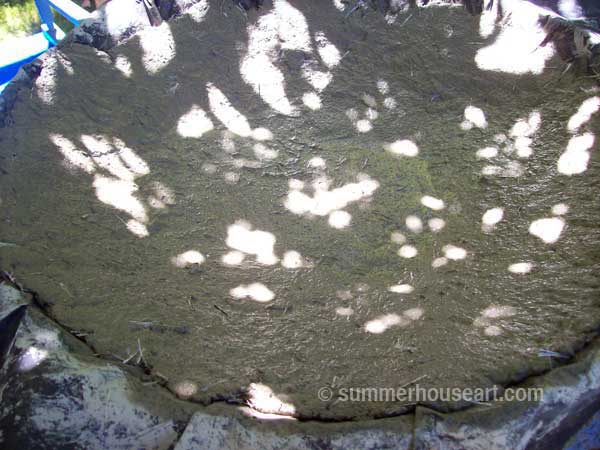
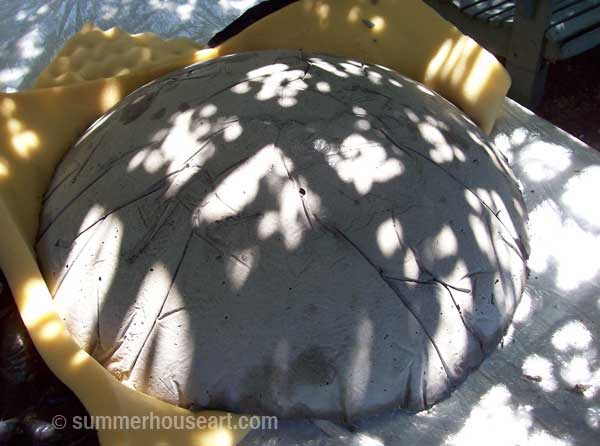
Now you may think we used the glass fixture as a top but  it wouldn’t have been strong enough or able to survive cold winters without cracking and breaking. No, we used it as the mold for a cast in cement for the birdbath basin.

Here is the glass fixtures covered in a garbage bag, ready to be the form for our cement bird bath basin.

process, Beach Pottery birdbath by Helen and Will Bushell summerhouseart.com

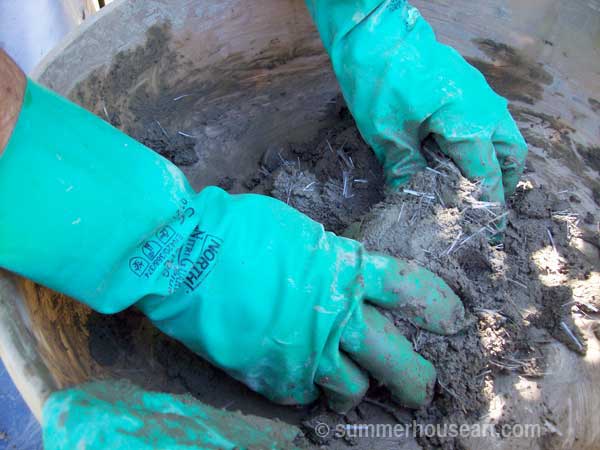
We mixed up the cement and added fiberglass fibres to give it strength.

process, Beach Pottery birdbath by Helen and Will Bushell summerhouseart.com

process, Beach Pottery birdbath by Helen and Will Bushell summerhouseart.com

Here it is after the glass fixture and garbage bag are removed. I’m still trying to decide what to do with the glass ceiling fixture, maybe it may find itself covered in stained glass one day…..who knows. Ideas are percolating.

process, Beach Pottery birdbath by Helen and Will Bushell summerhouseart.com

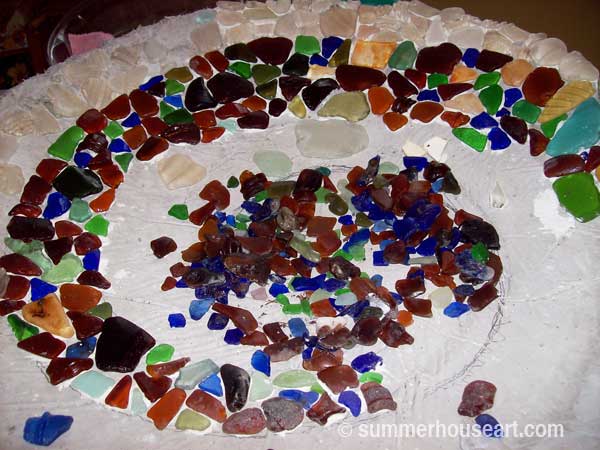
The underside was also covered in beach pottery, except for a circular area in the middle that was left without mosaic. That was left to create a place for the top to fit over the column.   Which left the inside of the basin to do. That actually sat on our kitchen table for ages while we tried to find time and energy to start on it. Not to mention decide on the design. Luckily we’re pretty used to using our kitchen table for everything else but supper and are quite happy eating supper on the couch in front of a movie borrowed from the library. The whole house is pretty well studio space, everything has to have flexibility. Anyway, by November, Christmas was looming  with the attendant big dinner so the push was on to finish the basin.

process, Beach Pottery and Beach Glass birdbath by Helen and Will Bushell summerhouseart.com

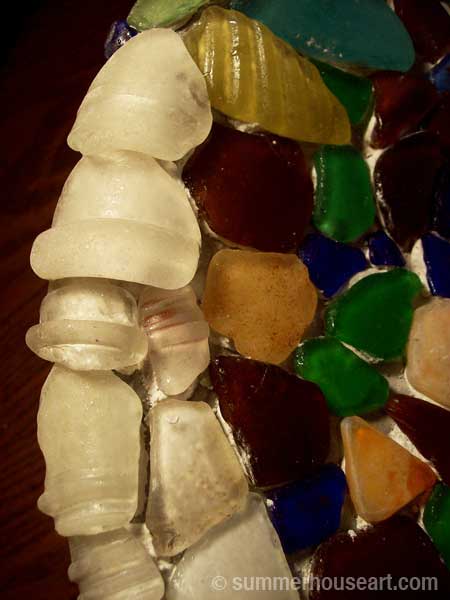
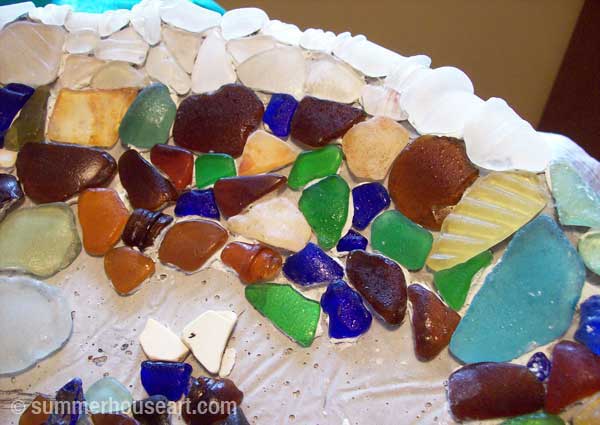
A spiral pattern emerged.  And a couple of close up shots of how I arranged the edges with curved bits of beach glass.

detail, Beach Pottery and Beach Glass birdbath by Helen and Will Bushell summerhouseart.com

process, Beach Pottery and Beach Glass birdbath by Helen and Will Bushell summerhouseart.com

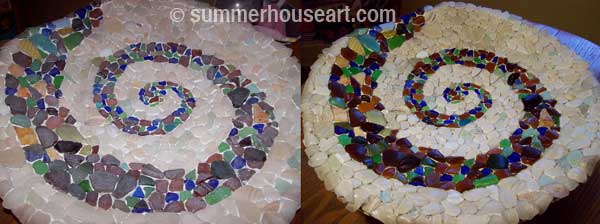
We used a white mortar to fix the glass to the cement. I’ve often had students ask me if they can use beach glass in a mosaic. I always discourage it. Here’s why. On the left beach glass as it is. On the right, beach glass sprayed with water. As I said earlier it really only looks good wet. Plus the other problem is that it is very pitted and the grout sits in it. You have to be prepared for that look.

process, Beach Pottery and Beach Glass birdbath by Helen and Will Bushell summerhouseart.com

And finally, more than a year from the time we started it, we finally got around to grouting both pieces.

Of course I set up the table with a tray of tea and cups ready for our breaks. I knew it was going to be a long day with a real need to take a few breaks to rest our backs and hands as we grouted and then had to clean grout off each bit of pottery shard and beach glass. If you look closely, you’ll see that we left a space on the underside with out mosaic where the basin fit over the base.

process, Beach Pottery and Beach Glass birdbath by Helen and Will Bushell summerhouseart.com

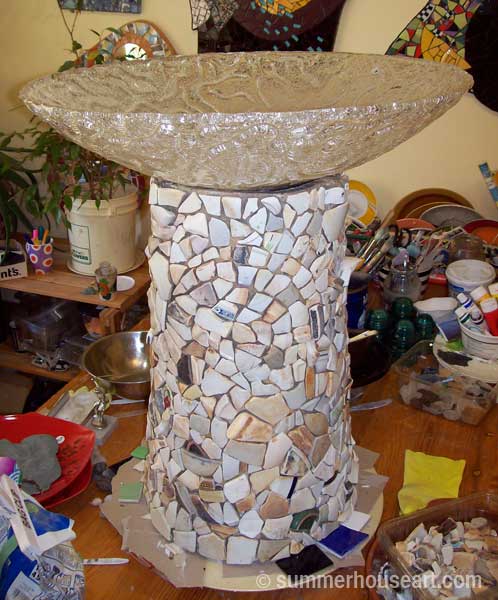
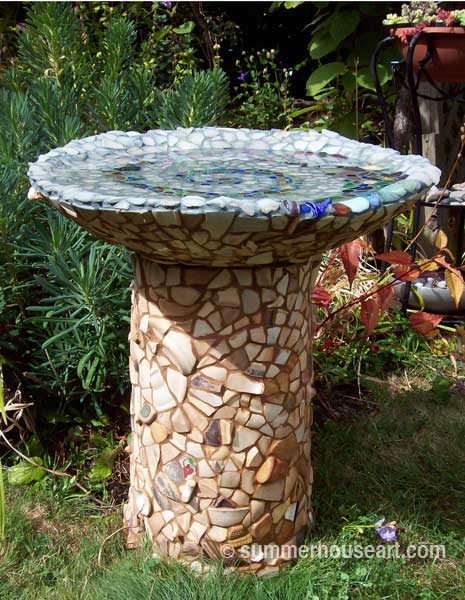
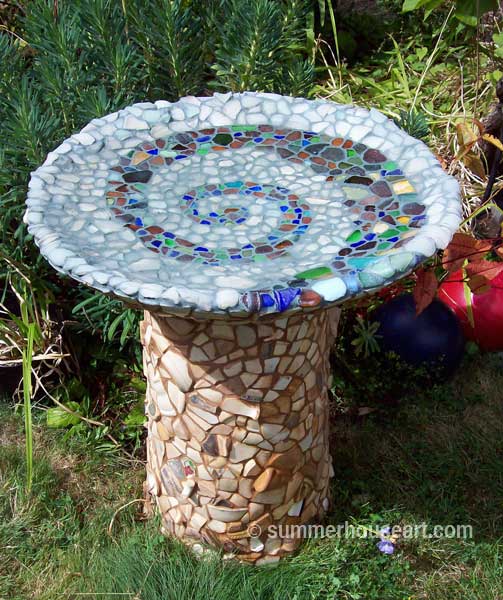
All worth we think. Here it is finally set up, from above.

 Beach Pottery and Beach Glass birdbath by Helen and Will Bushell summerhouseart.com

From the side

 Beach Pottery and Beach Glass birdbath by Helen and Will Bushell summerhouseart.com

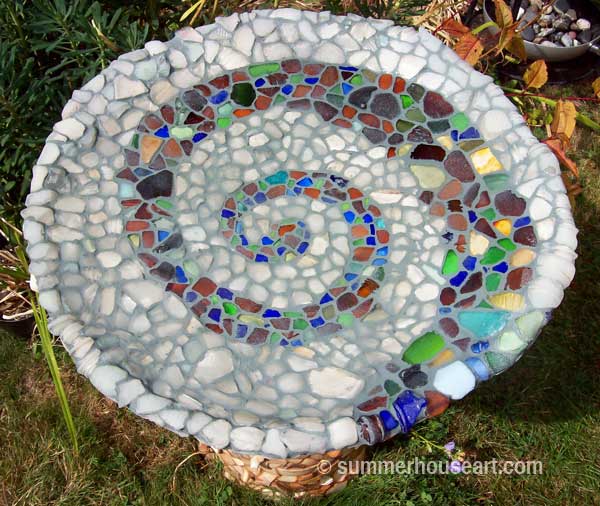
and here is the basin from above filled with water, just what the beach glass needed to shine. Still waiting for the birds to appreciate all our work. But enjoying it all the same.  Update October 22:  A Robin was seen having a good old splish splash bath just a few weeks ago and now all the garden birds are enjoying it too.  We’re both happy that it’s been accepted and enjoyed.

 Beach Pottery and Beach Glass birdbath by Helen and Will Bushell summerhouseart.com

(BTW, if you’d like to make a comment, just click on the title.  It’ll take you to comments….and we do appreciate comments )

Save

Share

Strawberries and the long way home…

strawberriesWhat a lovely weekend, hot, sunny and full of surprises.

We went out yesterday to get strawberries. We go every year to the same place, a little stand on Veyaness Rd where a grandmother in her sari sells us a flat of lovely strawberries. This afternoon, they will become a few jars of freezer jam. And will taste as fresh as they are today. Nothing like local strawberries.

Then after a stop for lunch and iced tea in Sidney we decided to take the long way home. Does that make you think of that song by Supertramp? Oh go on and enjoy it on youtube.  I apologize in advance for the youtube ads.

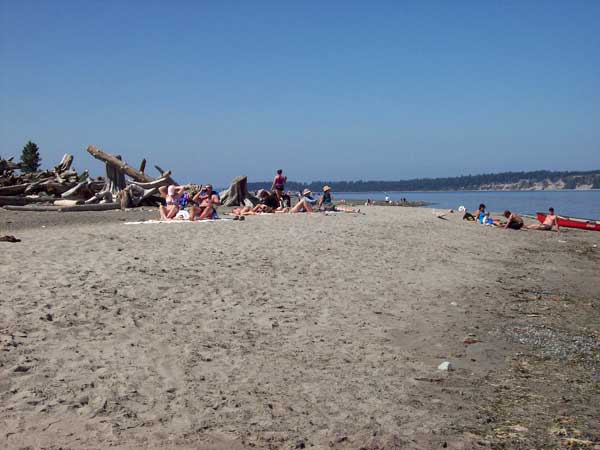
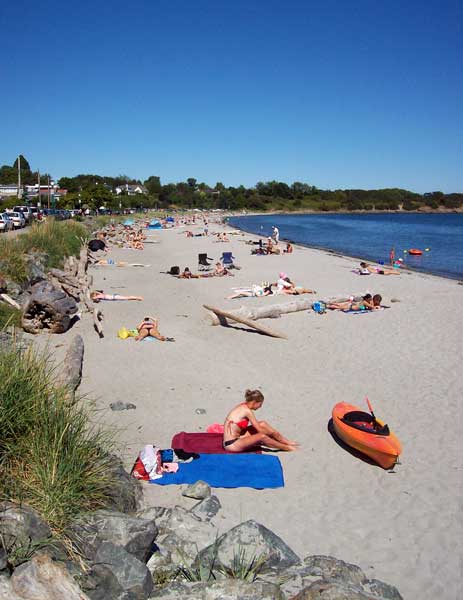
And headed off to Island View Beach. Ah lovely ocean breezes, so cool and refreshing.

sunbatherskids-on-beachWith the strawberries keeping cold in a cooler ( we think of everything, dontcha know) we spent a bit of time walking the beach.

After making another stop to get the smallest of new potatoes for a summer salad, we headed up a road we’d never been on before. Isn’t that what you might do on holiday, discover somewhere you’ve never been before?

As I’ve maybe mentioned before, since we live in our fave holiday destination and actually don’t take the usual holidays we designate every summer weekend as our holidays. And this one little diversion ended up feeling like a holiday in the south of France … except, all the signs were in English.  Ok I admit I’ve never been, but I’m pretty sure it’s just like this, except for the signs….
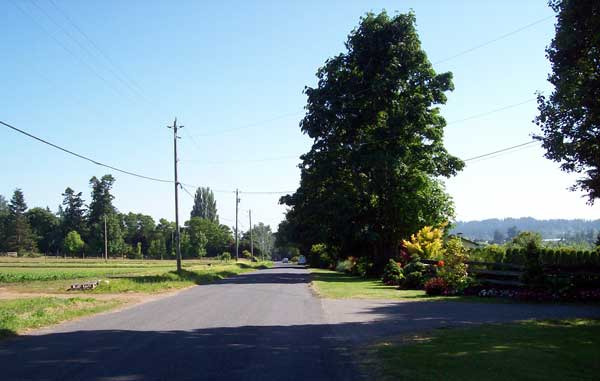
So here we are, meandering in lovely green countryside….
road-near-grapes1

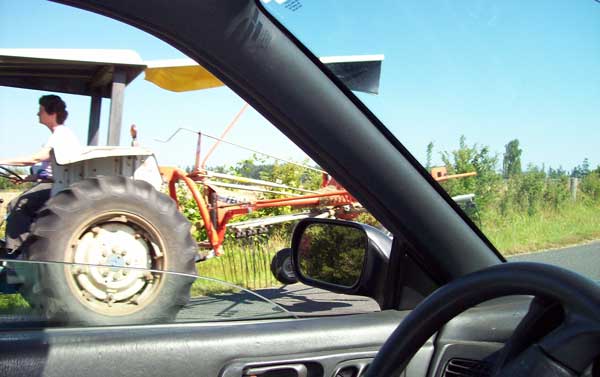
with a farm lady whizzing by on a tractor…

tractor

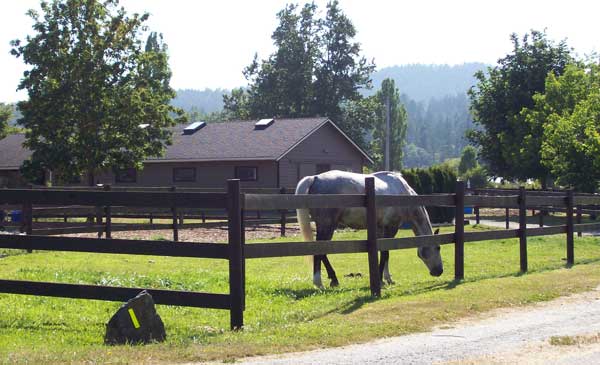
on our right, a dappled horse grazing in a meadow.

horse-grazingWe discovered acres of grape vines for wine? Mind you looking at the photo today, I’m wondering….maybe kiwi? Never mind, imagine grapes in the south of France, ripening in the hot sun….
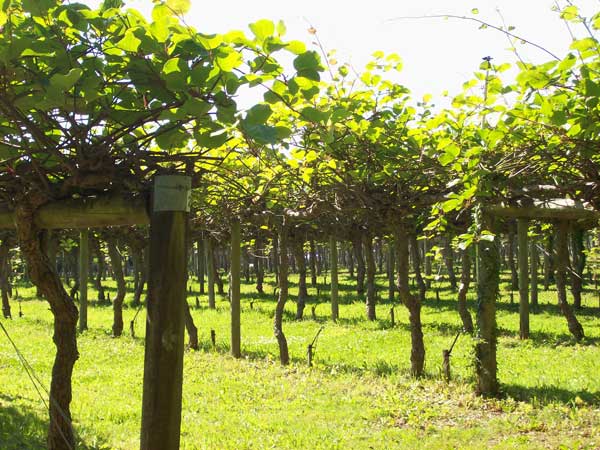
grapekiwinear rolling farm land.

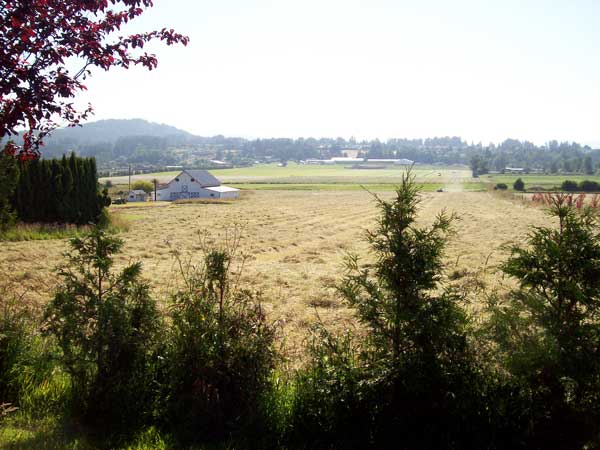
hay-fieldIt felt like a holiday to us as we meandered along, drinking iced tea and stopping at every good photo spot on the long way home.
Share

Playing with Paper, Scissors and Glue Sticks on Rainy Morning

pluto

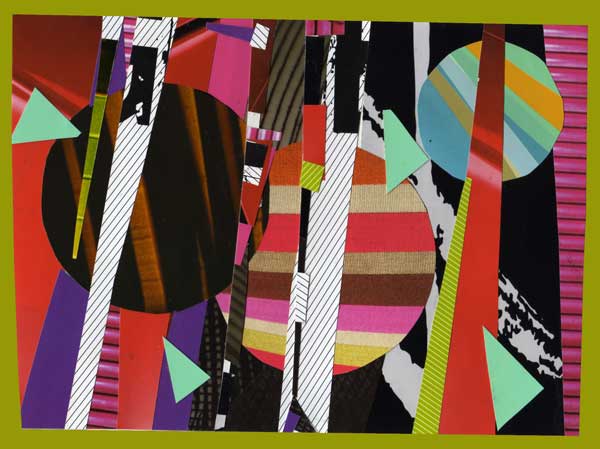
I’ve not been posting much but I have been working…..really.  I won’t even show  a photo of my studio..way too much stuff going on but none of it resolved.  But the other day,  at the kitchen table, good music on the CD player and a few old mags found at garage sales last summer I had a little fun.  Here’s my rather over the top collage of crazy color. Nothing quite like playing with glue sticks, scissors and recycled papers and mags.  I’ve got another one waiting, still to do.  Oddly, I’m finding this a good exercise for generating ideas for my other studio work.  I may just play again this morning.  My motto:  Have Fun EVERY DAY!

Share

Make a Wish on the Wishing Stone for 2012

Ok, on my last blog post  I mentioned  the story of the Wishing Stone.  As a former Mosaic student told me, if you see a rock with a complete circle, you can touch the circle and make a wish.

So I thought, since I’m sure we are not the only ones with some pretty strong wishes for 2012, I’d share our Wishing Stone with you too.

So go ahead, touch the circle on your screen, close your eyes and make a really good wish.

Then if you want, pass our Wishing Stone on…..

wishing-stone

We hope your wish comes true for 2012.

And with that we wish you a Peace, Love, Health and Prosperity for 2012!

Share

Boxing Day Drifting

driftwood-and-oarlockAfter all the fuss and rush of getting ready for Christmas what with the shopping for and wrapping of presents, baking and cooking all the goodies, putting up and decorating the tree, sending out the cards, making cards to email, it was nice to coast into Boxing Day.  So we slept in, dawdled over brunch, and left. We just decided to drift through the day, without much of a plan. My only stipulation was to get a Decaf Mocha with Whipped cream at some point. Bill said that’s fine by me and off we went.
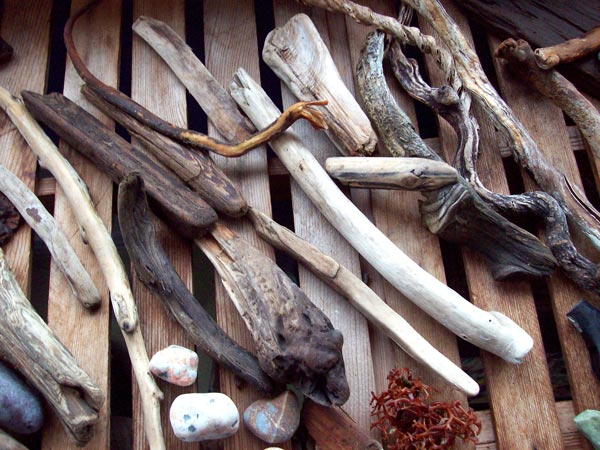
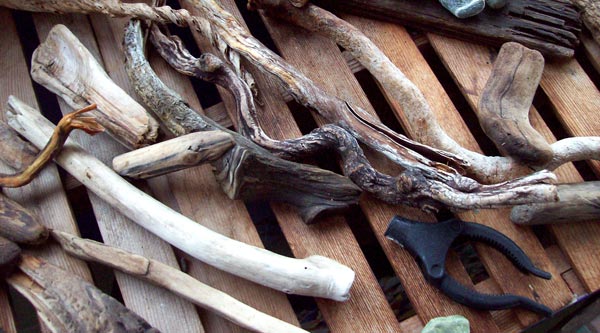
Well, with these references to coasting and drifting you must have figured out we were heading for our fave beach, Clover Point. And as for drifting, I did have a smidgen or maybe even a kernel of a plan concerning driftwood and brought along my favourite beach combing bag, a bag that has been repurposed from a Basmatti rice bag. Just the right size and quite strong too for holding all my little treasures.

I’ve seen wreaths made from driftwood and it occurred to me that it wouldn’t hurt to look for some good bits while on the beach. If you’ve never seen a driftwood wreath, just buzz Google images and be inspired. And then if you are even more in need of inspiration for what some can do with driftwood, take a look at the driftwood horses by Deborah Butterfield. She couldn’t have picked a better subject than a horse, with all the lovely arcs and lines.

Of course when we got home, we laid our finds out carefully in the green house to dry. And even now, just haphazardly arranged, the wood has a softness and beauty that will only get better as it dries and the colors bleach out.  And while they’re drying I’ll have time  peruse all those lovely wreaths on Google and to figure out just how to go about making the wreath. Of course the tough part will be trying to find some time to actually create it.

driftwood2

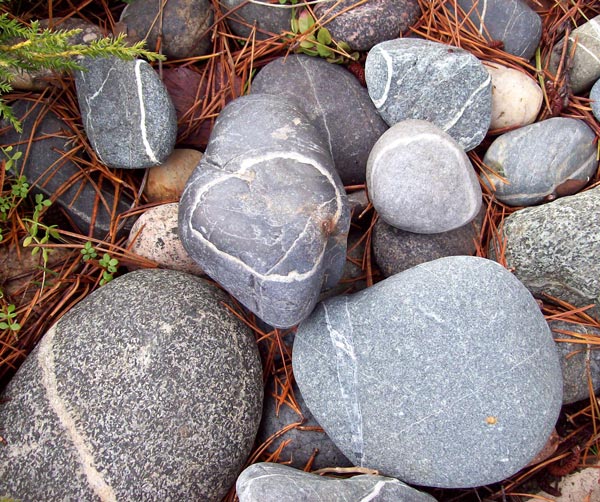
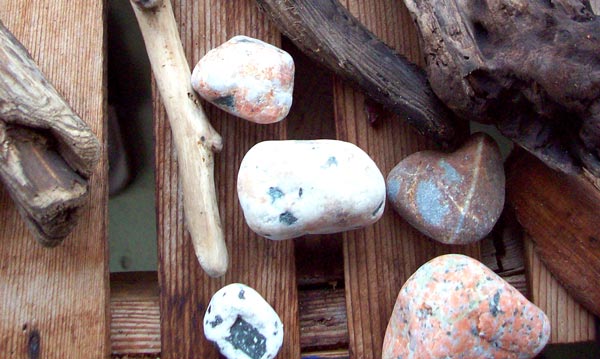
The beach at Clover Point is full of small stones and each one is like a little abstract composition in itself. I can never resist taking home a few of natures compositions to admire later.

driftwood-and-stonesFor years I have collected stones with a single line running through them. Then one day one of my students told me that when a stone has a line in a circle on it, you can make a wish on that stone. So now besides being the most wonderful minimal abstract, a single line wrapped around a stone, it’s also a chance to touch the circle, close my eyes and make a wish. And there are so many things to wish for….
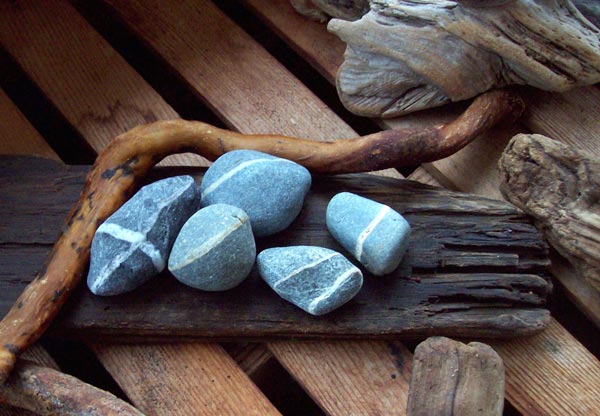
wishing-stonesI leave you with the piece of driftwood I always love to see but have to leave behind, it’s just too big for the car……
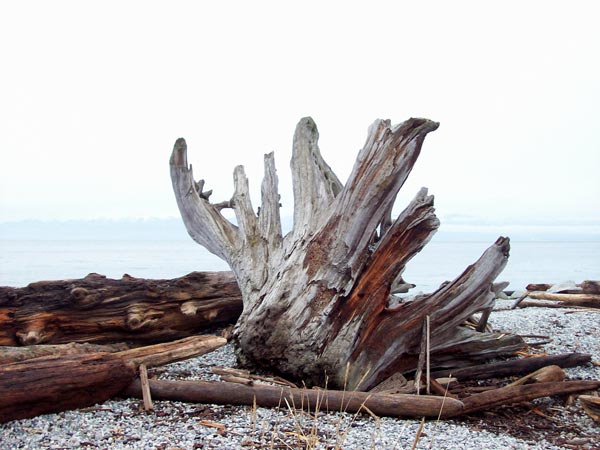
driftwood-stump

Share

The Usual and Slightly Unusual Sights Found on Fall Strolls

Now that Garage Sale season is over, we’ve taken to having strolls instead. And we always take our little camera, since we never know what we might see on our travels. Last week had it’s share of interesting sights.

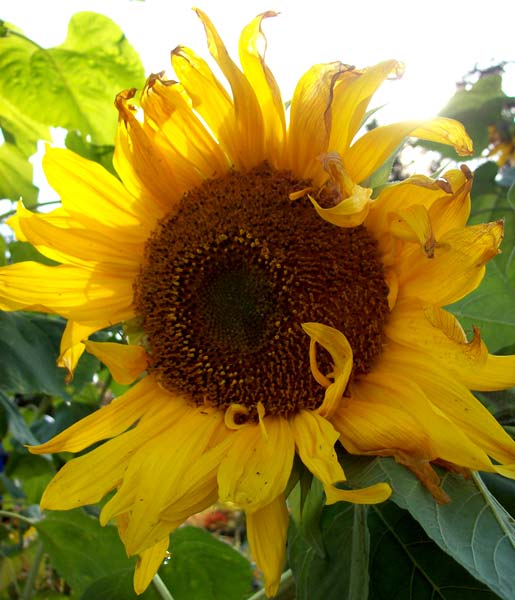
First off, the usual, but still lovely, sites like this backlit sunflower on the Gorge Walkway.

sunflower-in-sun

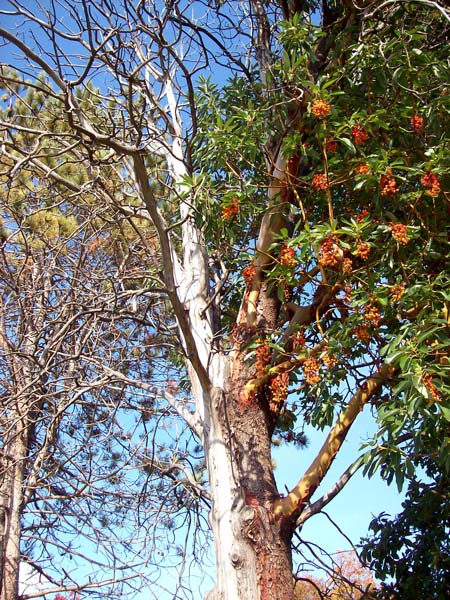
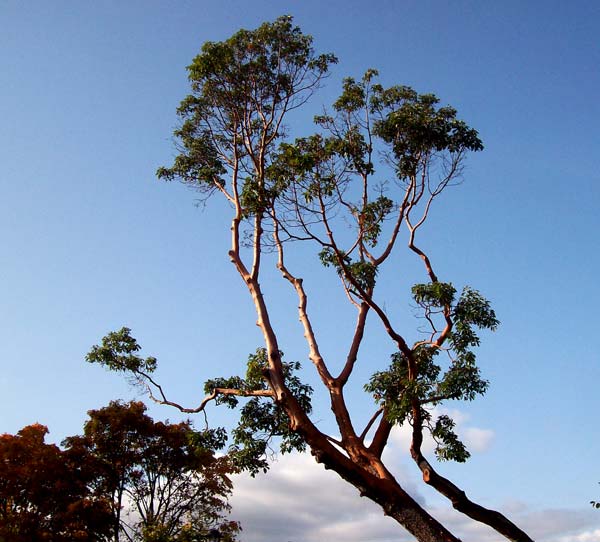
Or the Arbutus tree angling upward in a blue sky.

arbutus-in-light

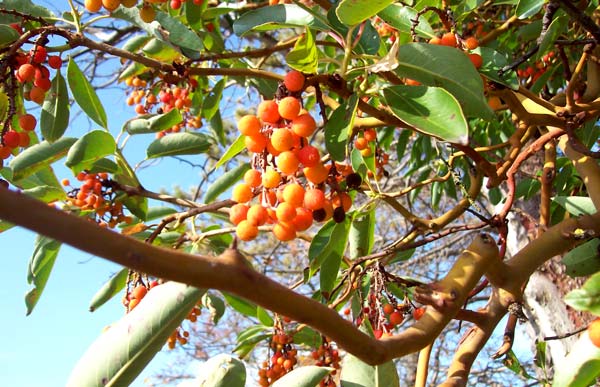
Or the eye-catching orange berries set off so nicely by the leaves. Mother Nature never gets her colors wrong.

orange-berries

Then to the more unusual…. like this tree. Is it half dead or is it half alive? Sorta like half full or half empty. But an oddity all the same.

half-dead2

This weekend we headed out to Beacon Ave Beach. Well, that’s what I call it. It’s at the end of Beacon Ave in Sidney and it’s a gravely beach. But the real reason we go there is to find the lovely beach pottery shards and beach glass that is, for some reason, quite plentiful there.

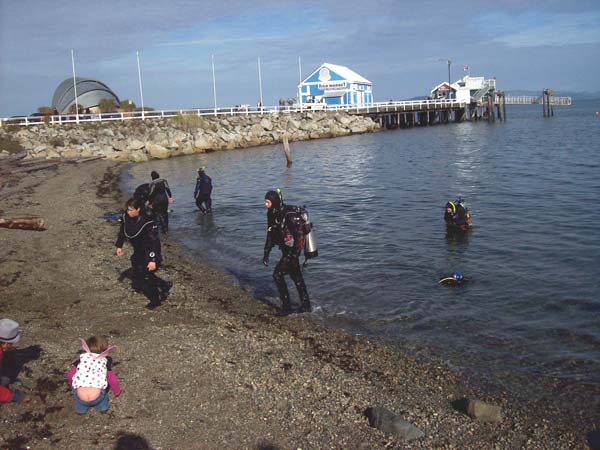
This Saturday’s unusual site was some divers doing exercises.

divers-at-beacon-ave-beach

And when they emerged they did look a little bit otherworldly. But look closely to the bottom left and you will see a little Pixie with pink wings looking for beach glass too. I’m pretty sure she’ll have those wings on tonight for Halloween don’t you?

divers-and-pixie

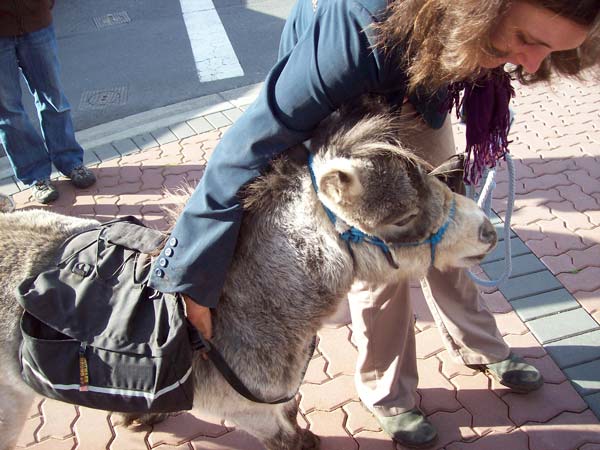
Then off to a cafe for a Decaf Cafe Mocha for me and a Dark Roast for Bill, along with some rather nice Carrot cake. From the window of the cafe, we saw another unusual site. A little horse, drawing lots of attention for its owner, who just happened to be running as a candidate for election. Here Buckley (his name) is getting a nice scratch for an irritating itch.

candidate-with-little-horse1

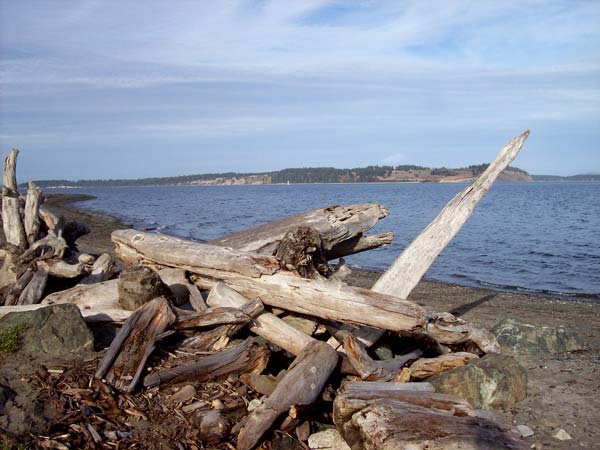
We finished up having another stroll on Island View Beach. This beach just stretches out forever it seems. Hardly anyone there that day and it was lovely. We made a promise to come back much more often.

island-view-beach

Share