Two Mosaic Studies Created With Broken Dishes

 Studies are like sketches or perhaps experiments. I quite like the idea of doing studies, just to see where an idea will lead, curious to see what it will look like when done.

Just working on small 6 inch by 6 inch pieces of wood as a base for the mosaic studies, I went through my many many containers of dish bits and put together a small set of colors and textures that appealed to me. The first piece was made using bits of dishes that I’d cut into only rectangular or squarish bits. The pieces aren’t exact or tidy rectangles or squares like you’d get with normal mosaics, but the uneven, variances that you get when cutting up dishes which I think adds to the surface interest.

I arranged them in an intuitive order, balancing the colors and textures as I went.
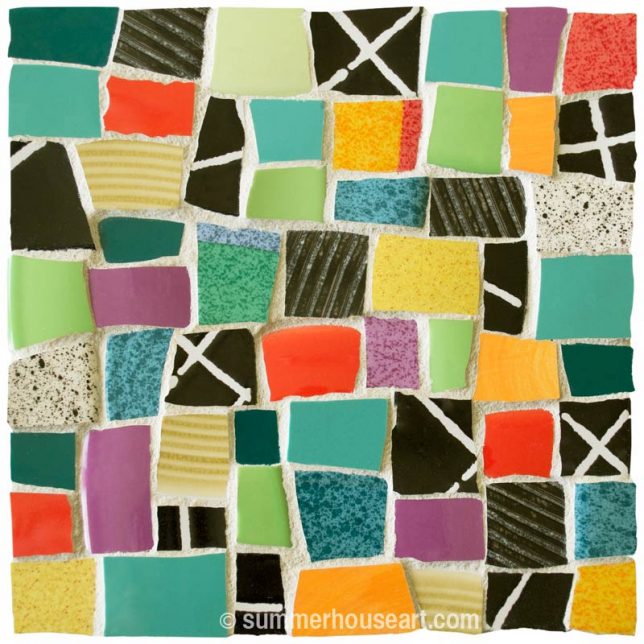
Mosaic in Broken Dishes, Helen Bushell, summerhouseart.com

Then, looking at my work table, I realized I had quite a few triangular pieces scattered about and decided that, as my next study, I would use only triangular bits of the same dishes. An entirely different composition but still fun to look at.
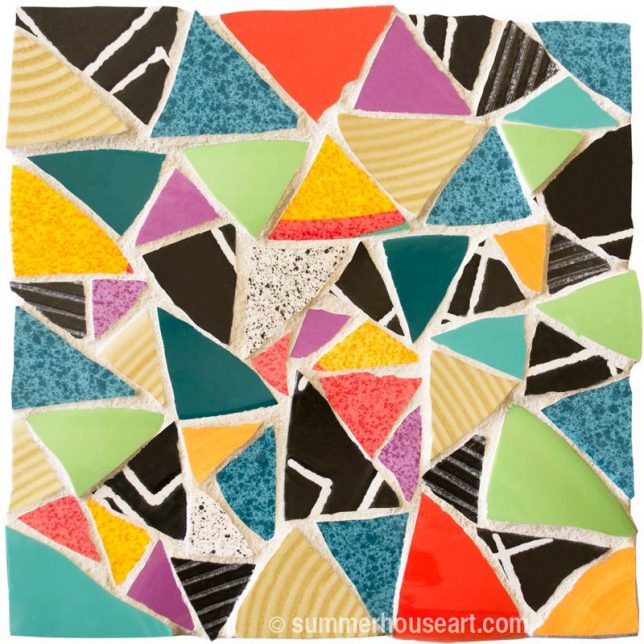
Mosaic in Broken Dishes, Helen Bushell, summerhouseart.com

Looking at them now, I’m quite enjoying them and seeing many possibilities as well. We’ve become interested in surface design in the last few years and Will and I have been having a bit of fun teaching ourselves how to make repeat patterns. And we’ve also been applying our work to all sorts of other products from prints to pillows on our various online Print on Demand shops like Society 6 and Red Bubble. Looking at these studies, I can see some fabric design ideas, prints and other possibilities. It’s a whole new avenue to explore. Watch this space to see what we make with these…..much more to come.

(BTW, if you’d like to make a comment, just click on the title.  It’ll take you to comments….and we do appreciate comments )

Save

Save

Share

What a Difference a Grout Makes

In the summer, Will and I often work together on a big mosaic project, facing each other across a worktable, under the pergola, which is covered in vanilla scented clematis. It’s a time that we enjoy as we chat and work, while listening to music and enjoying the aviary that is our summer garden. Usually, the project keeps us at work for a few weeks.

But this summer we didn’t get a chance to and missing that time of working together, we decided to spend some time together instead in my studio each creating a small mosaic, but still enjoying our chats and music. There is something very companionable about working with another artist even if on different projects.

We’d picked up some 8 inch x 8 inch wooden box panels at the artist supply store and after a quick gessoing to give us an undistracting ground, we set to work.  We work in a type of mosaic called Pique Assiette, which uses broken dishes.  I’d saved a lovely plate of black speckles on white, precious to me because I only had the one. I also had a small amount of black plates with a jagged white line that I’d set aside long ago for some special project. Today seemed like the time to use them. Will, on the other hand, wanted to create something with mostly white dishes, with a minimal design and color. We save the middle of dishes just for the great supply of whites, once you’ve used up the fancy edges on top of the dishes.

So after snatching time in the studio over a few weeks, we finally got to the grouting stage. And then of course, the big question is, what color grout?

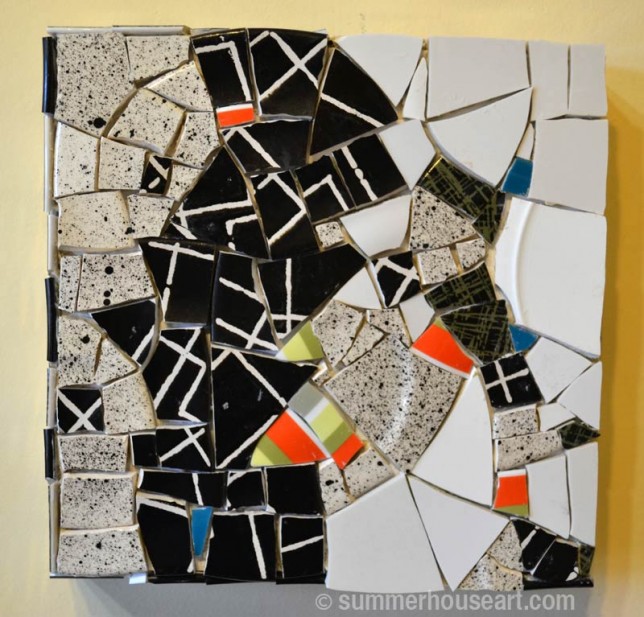
I’d already pretty well decided on black since I wanted to set off the white bits with black grout and create a contrast with the lines created on the black dishes with white lines. Here is the piece without grout. I especially enjoyed how often the piece of black plate had these wonderful little x’s or crosses that I could feature in the design.

Ungrouted Speckle Mosaic by Helen Bushell, summerhouseart.comshell, summerhouseart.com

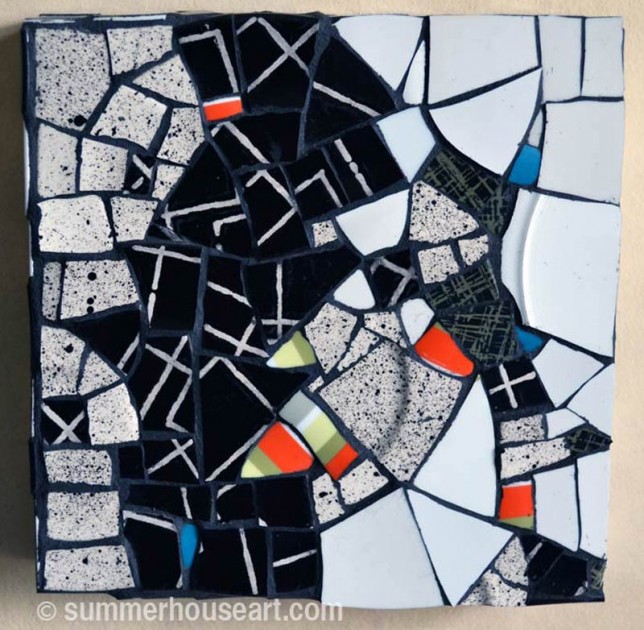
And then, voila, the difference with grout.


Speckle mosaic grouted by Helen Bushell, summerhouseart.com

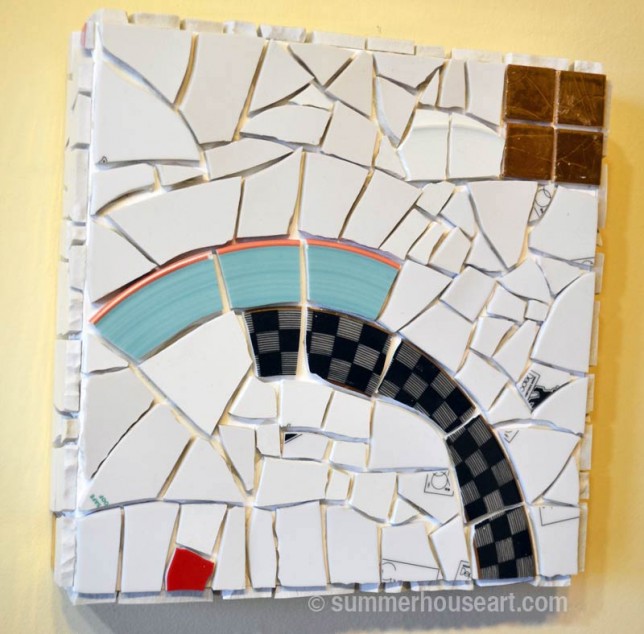
And Will also decided on black grout to create even more interest in the design he’d created. And as I alluded to in the title, I’m showing how different the look of each piece is after grouting. In his piece the contrast is the greatest and I couldn’t resist showing the difference. Without the grout his white areas are as one, a white background united setting off the arcs.

Ungrouted Blue Over mosaic by Will Bushell, summerhouseart.com

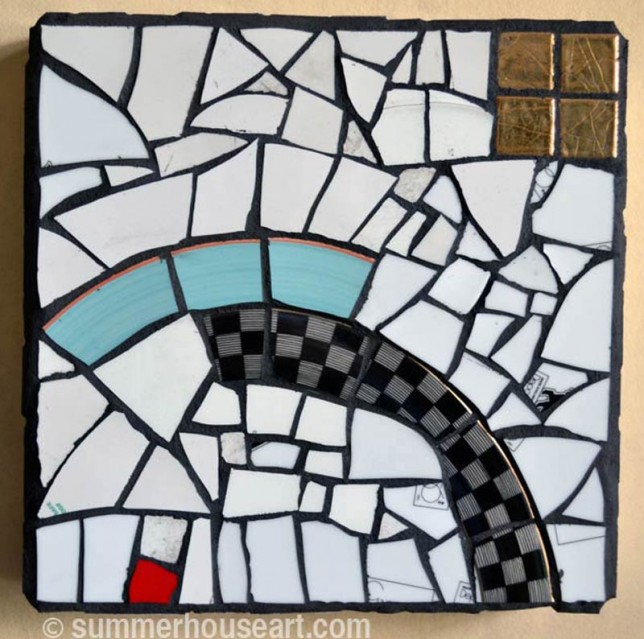
With black grout the whites are suddenly set apart and create a whole new texture. A whole new composition!

Blue Over mosaic by Will Bushell, summerhouseart.com


One thing that we have learned is that with black grout you have to be ready for surprises and be able to use them. The surprise is that all those little scratches on your white dishes that you were unaware of, suddenly show up when you apply black grout. You can look at them as a blemish or you can look at them with an artist’s eyes and see them as line work that adds texture to the whites. So the latter is what we expected and used.

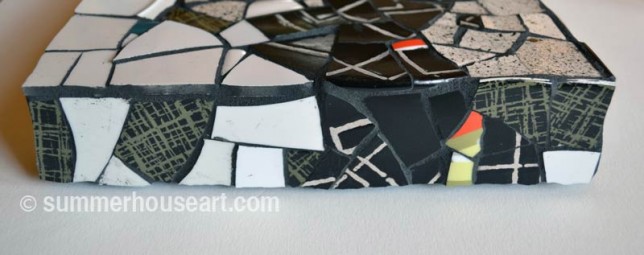
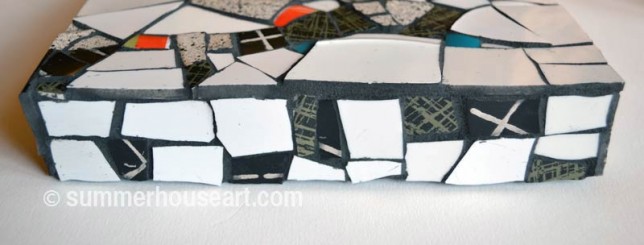
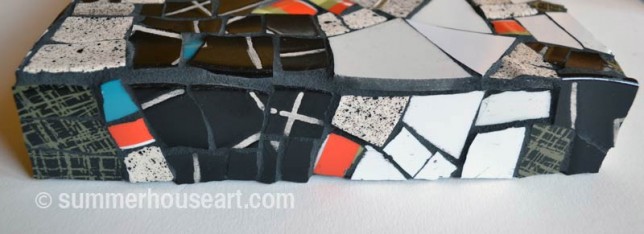
The other interesting design element that I like about working on this type of a panel surface is that you get to play with the top and sides too. So I thought I’d share those with you too. Love those little x’s!

Top side Speckled mosaic, by Helen Bushell summerhouseart.com

Right side Speckled mosaic by Helen Bushell, summerhouseart.com

Bottom side Speckled mosaic by Helen Bushell, summerhouseart.com

Share