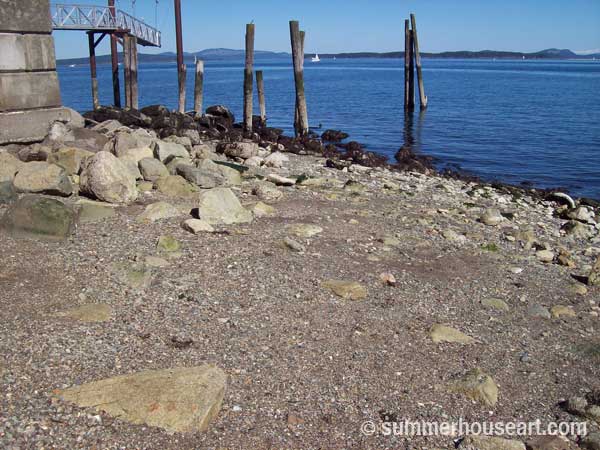
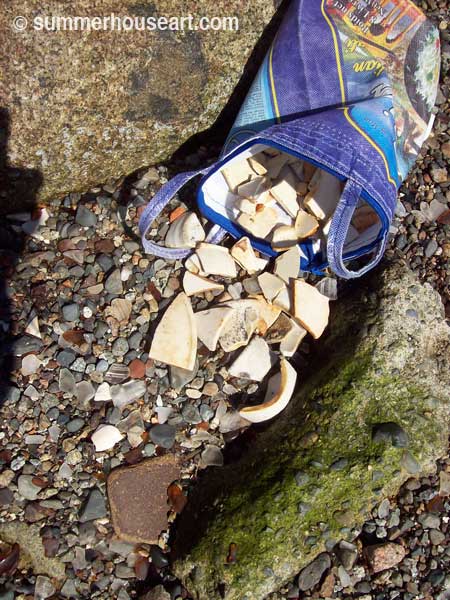
Way back in March, we happened to notice that the tides were very low and the idea struck me that we should go out to Sidney and collect some beach pottery. So off we went to the best beach pottery beach and went wild scooping up beach pottery in our little rice bags. Everyone else was looking for glass and overlooked all the lovely pottery. But we had plan for it.
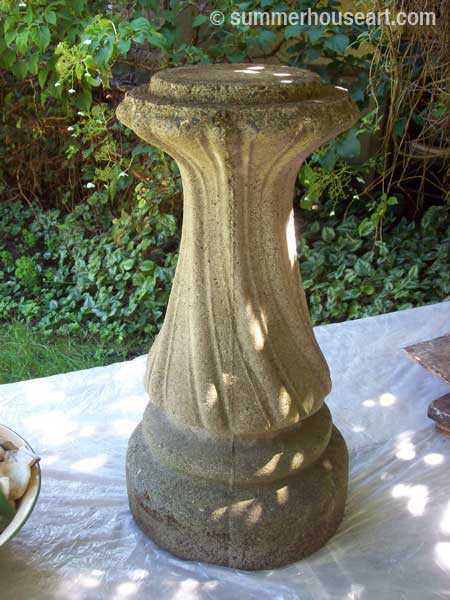
We’d made a bird bath before with pottery and beach glass. Way back when we moved into this house, we’d found, under the laurel hedge, at the back amongst a lot of debris, a birdbath pedestal. The basin or bowl was long gone and we’d put it up in the garden with a plastic bowl on top with a couple of rocks in it. Didn’t look great and the birds loved it. The pedestal had a nice classic shape but the plastic bowl made it ugly.
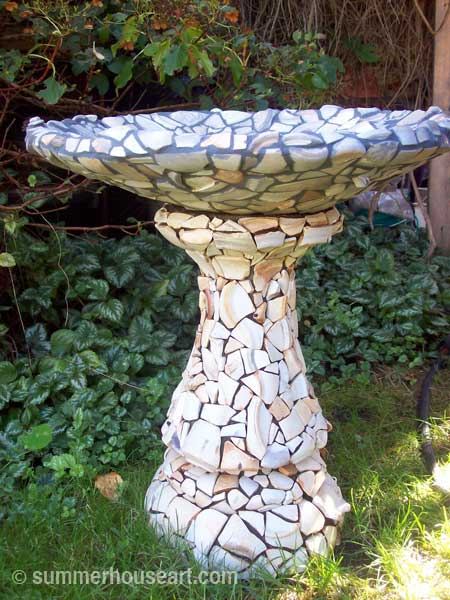
With this wonderful haul of pottery we both decided to renovate the old ugly birdbath. We started by applying a mosaic of the pottery onto the pedestal. Now I must mention that the real beauty of beach pottery is its smoothness. And to preserve that smoothness, it’s really best not to cut the pieces at all. So each piece has to be searched for, each piece must fit without cutting it to fit. It takes more time but is worth it, just for the fun of being able to slide your hands over the finished mosaic and take in the feel of pottery that’s been tumbled in the ocean for years and years.
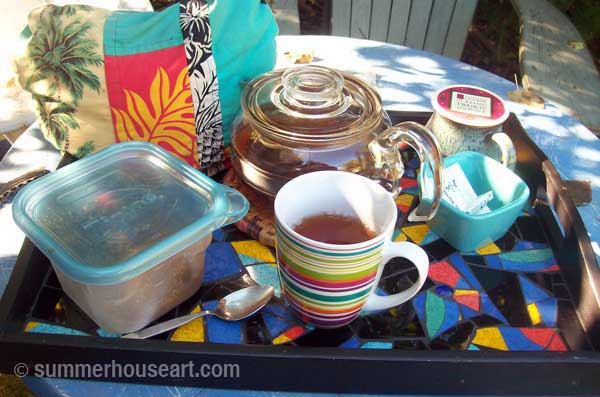
And we took our time, working on the sunny summer afternoons, playing rock and jazz on the CD player and taking lots of tea breaks with tea brought out on a favourite mosaic tray.
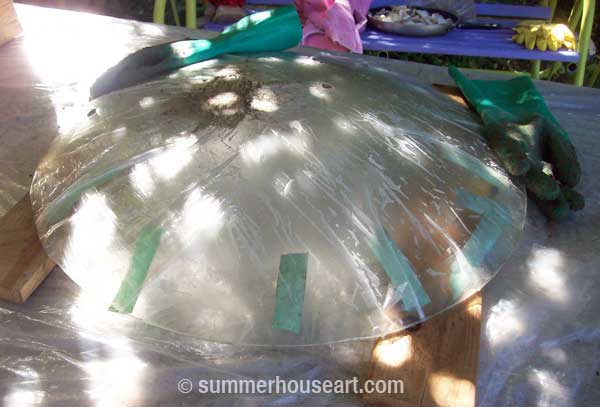
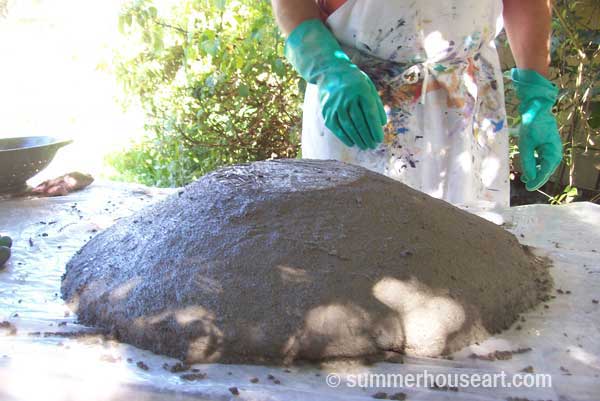
Once the pedestal was finished we had to think about how to make a basin. Luckily we’d found a perfect glass light fixture at a garage sale and proceeded to use that as a mold for the basin.
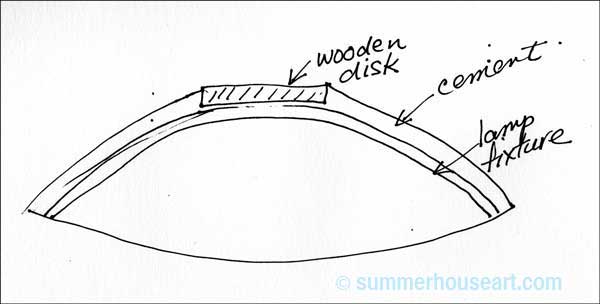
If you look at the pedestal you will notice that we were going to have to devise a way for the basin to fit over the round projection on its top. And of course we came up with a simple, and I thought, clever solution. Bill cut a round of wood that was the same size as the projection and we built the cement around it as in the little diagram.
It worked really well. We did have to chisel the glass fixture out the cement but it all worked out.
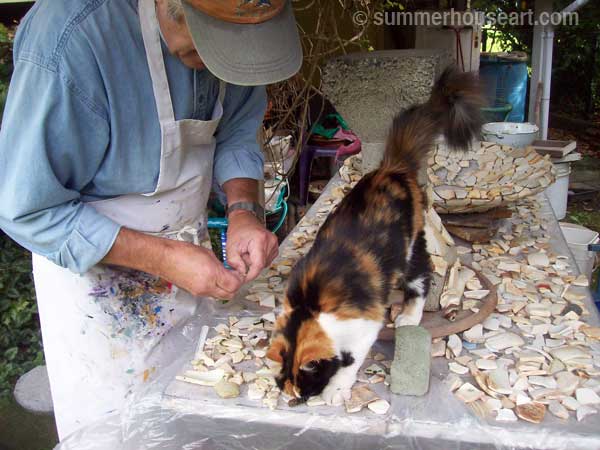
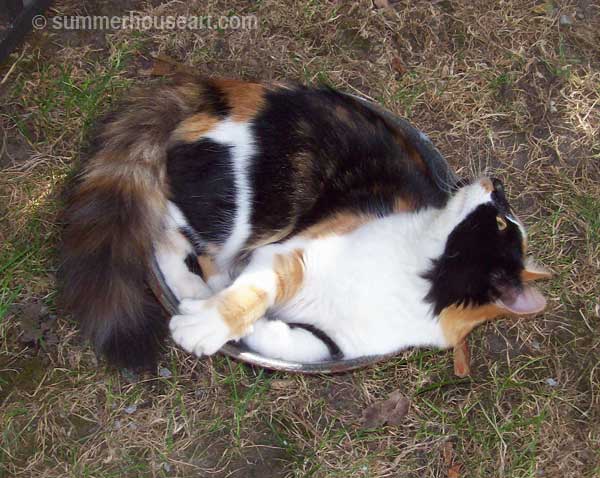
So next we started to cover the bowl with mosaic. First under the bowl and then the inside of the bowl. Around this time, Callie, our neighbour’s kitten decided to take an interest. She loved to jump on our work table and investigate. She especially liked to push pieces off the table onto the ground. And when she got tired she curled up in an old colander that we’d used to clean pottery. She’s a little character and had us laughing with her antics.
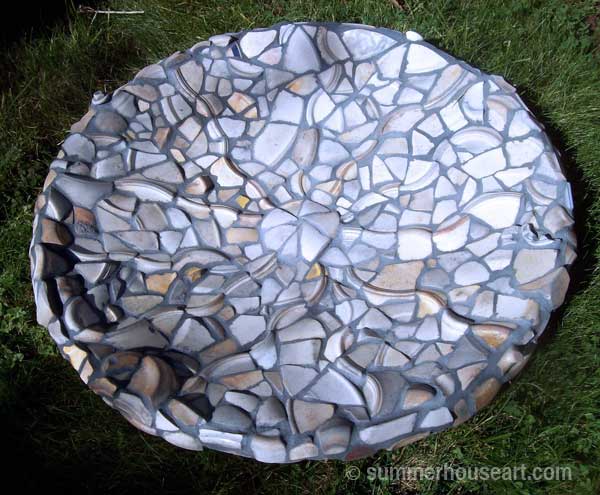
Then finally, we were ready to grout. We did the basin first. We were really pleased with the inside of the bowl and how the undulating lines created with the ridges of the pottery created a great pattern.
One of the things you have to get used to with mosaic is how different it will look with grout. Sometimes I find it a bit disappointing, and have to get used to the look. Here you can see the how the grouted bowl looks against the still ungrouted pedestal. In the end though, I liked the grouted look and actually love how the use of the dark grey-blue grout set off the pieces.
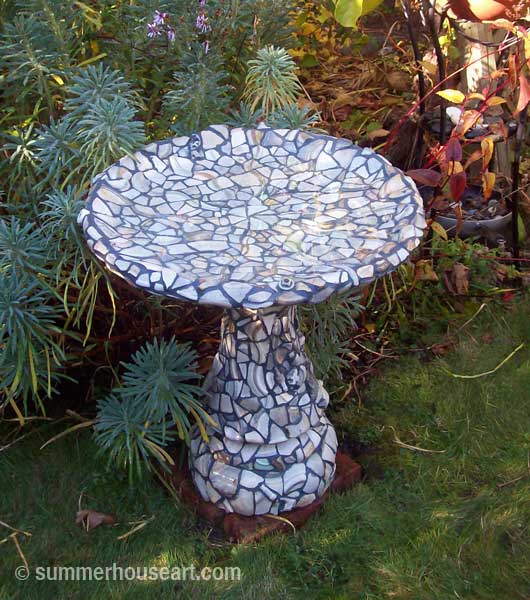
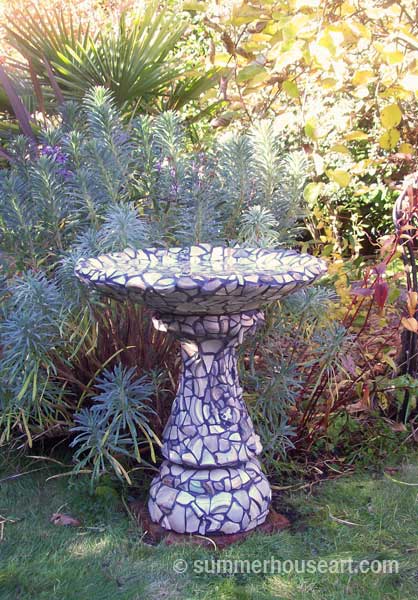
And then, the final photo, the finished bird bath. We love it and this time it only took the birds one day to use it once we put it in place after it had cured.
And just for fun, every day, as we finished up for the day, we’d take a little movie of the progress. Bill spent some fun time learning how to stitch it altogether into a little video. And then thanks to Kevin McLeod’s music, we posted it on youtube. Ok, it’s a little bumpy and handmade looking but that’s ok. It’s just like the Bird Bath. Hope you enjoy…..
