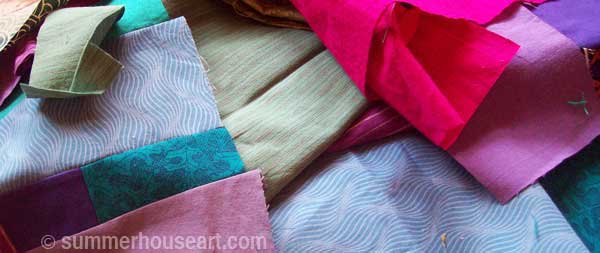
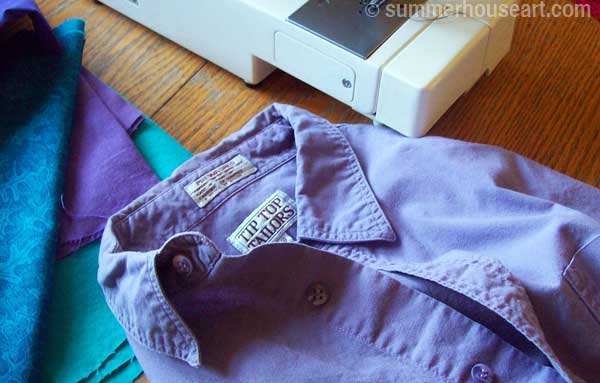
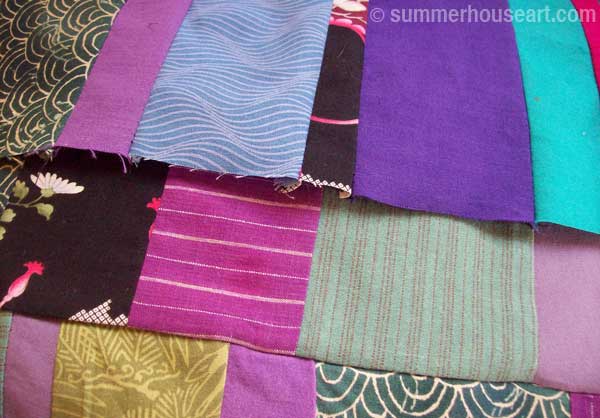
In the run up to Earth Day, recycling is on my mind. I do recycle dishes in my mosaics. Lately, I’ve been having a bit of fun quilting with recycled shirts, some thrift shop fabric plus a few squares of quilt fabric found at a garage sale last summer. Sort of doing a mosaic with fabric. I’ve been inspired by quilts found on the internet and also from books about intuitive quilting by Jean Wells and Rayna Gillman. I’m not one of those quilters who likes pattern and measuring and rulers. So the slice and dice, intuitive style that these two quilters teach really resonated with me. And Gees Bend quilts have always been a big inspiration too.
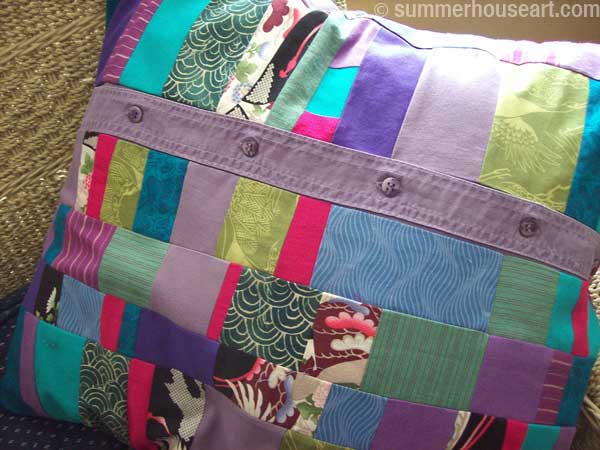
Quilting is one of those old and beautiful forms of recycling that has come down through the ages. Oh, I know these days, a lot of new quilting is done with new fabric, but the beginnings of quilting came from recycling fabric that was at hand like old shirts and even flour bags. And I love using old shirts too. Besides, being one of those slap dash sewers who doesn’t like the button hole attachment much, I find using the button front on shirts as a closure works great and recycles just a bit more of the shirt.
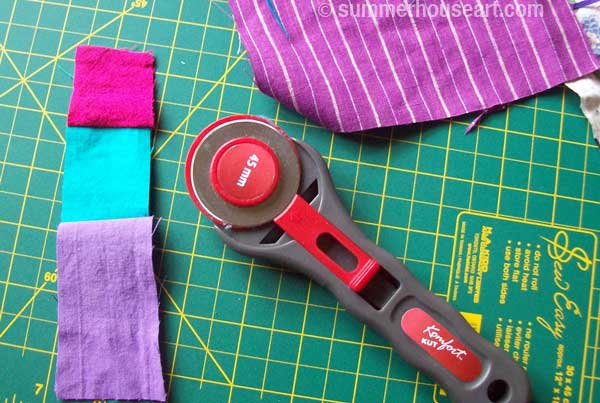
Plus I’ve gotten some new toys at the Fabric store. I’ve discovered the Rotary Cutter! Wow! This is so much fun to use on the self healing cutting mat. Ok, I admit I didn’t really get the hang of sewing curves as shown by Jean and Rayna, but I did have fun slicing up fabric. This is me having fun and a long way from the skill shown by the quilters who inspired me. Sewing curves will come later I’m sure. Now the ladies above cut the material in strips first and then sew.
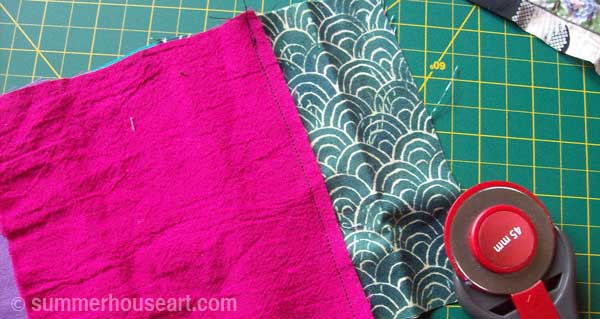
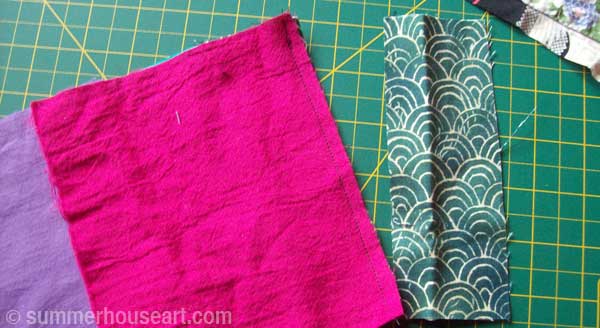
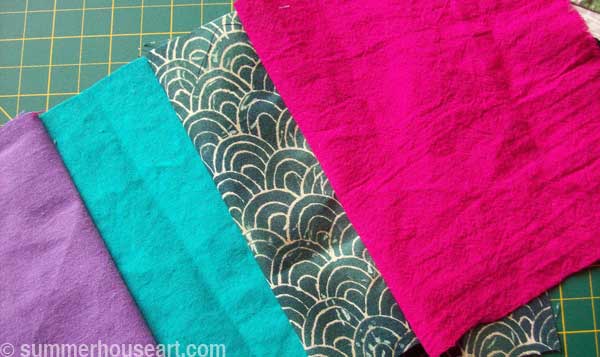
Being me, I found my own odd way of creating strips. I’d cut up a few bits of fabric in almost the same width and start laying it down, good sides together and sort of guess-timate the width of the next strip I wanted and sew it. Then I’d cut off the excess, and set down a new fabric and so on. That way I got varying widths and didn’t waste much.
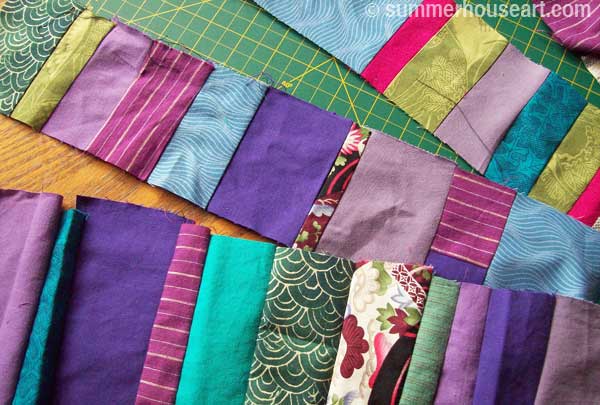
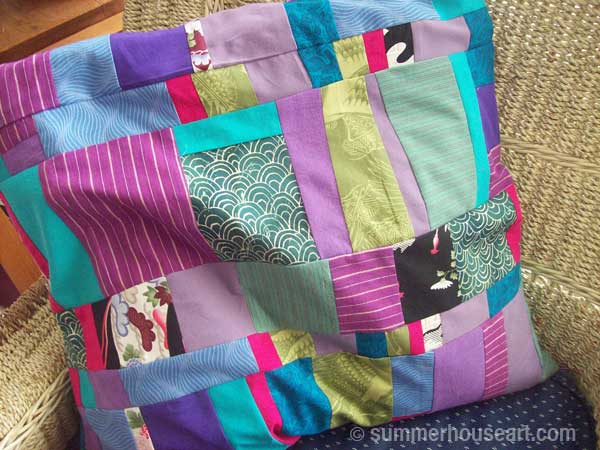
When I’d gotten a few strips made sewing bits together randomly and intuitively, I started to arrange them. I’d been collecting pillow fillers at garage sales already and they were waiting to be used, all washed then dried on the clothesline last summer. So it was just a matter of laying out strips over the pillow form until I had enough to cover. I did come up short but then just made a couple of narrow strips to fill in, which added to the overall design anyway.
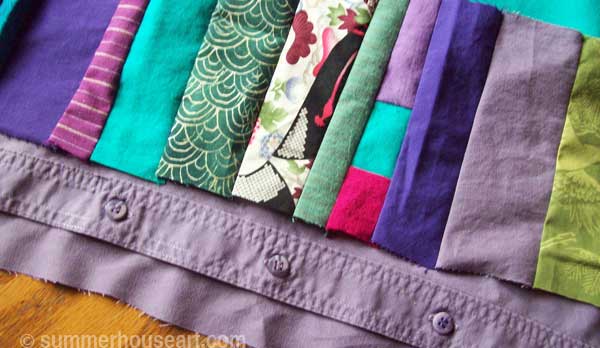
I made one side with the buttoned section of the shirt inserted between the strips. I’d added a lot of the shirt fabric into the strips as I went along to integrate the color of the shirt into the rest of the quilting.
And voila! A pillow cover that’s a lovely surprise, almost a mosaic of fabric. I’m sure I won’t be able to resist trying to make some more but for now it’ll have to wait. My little studio can only handle painting and mosaic so the sewing gets done in the kitchen. There’s only so long I can live with an ironing board and a sewing machine on a kitchen table full of scraps. Until the next time the urge to quilt hits me….
