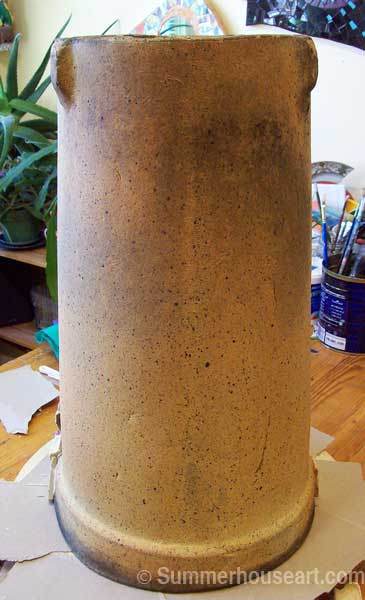
Or how we made a bird bath from this, an old chimney pot,
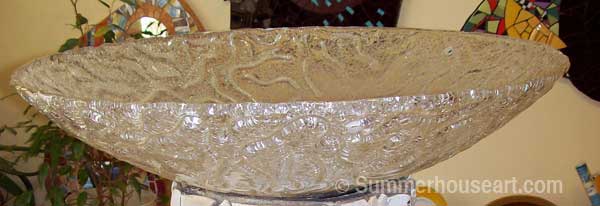
and this, a big heavy glass ceiling fixture which we used as the mold for a cement basin
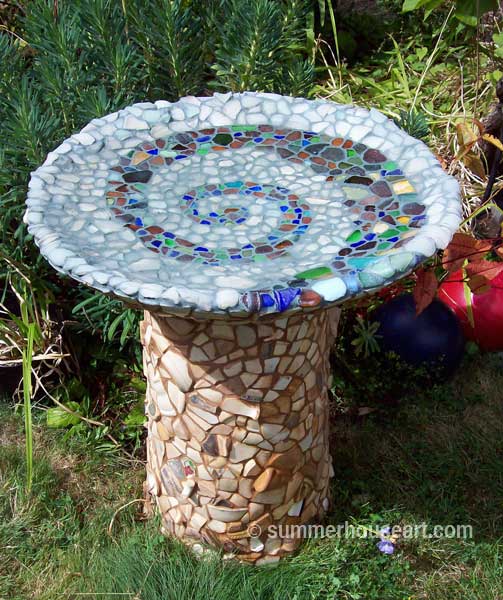
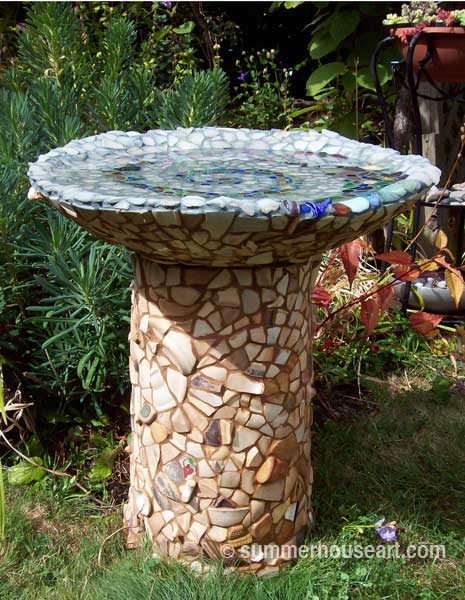
And how all of that became this: our Beach Pottery and Beach Glass Mosiac Bird Bath
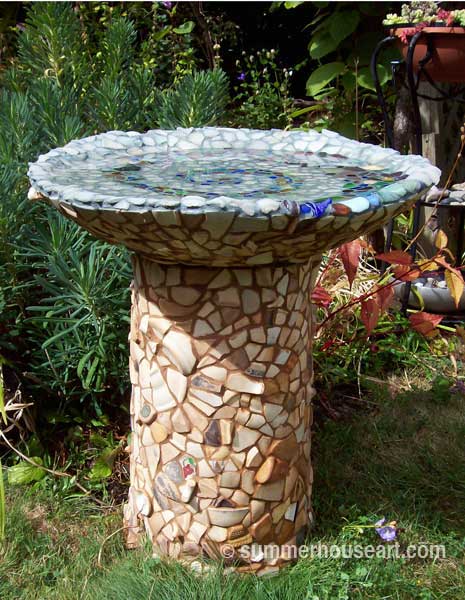
So this is the story of our Serendipitous Bird Bath, which took us over a year, what with health problems, other work and whatever, to finish.
The serendipity all started with a lucky garage sale find of the Chimney pot, above.
We immediately saw it not as a chimney pot but as a base for a bird bath. Didn’t have a top in mind yet, but we had the base. And I already knew that the base would be covered in a mosaic of beautiful smooth beach pottery with lovely beach glass inside the basin. Because as everyone knows, beach glass only looks good when it’s wet!
Of course this meant we had to go and get some beach pottery and glass but that was fun and easy. A drive up the peninsula to Sidney and the beach at the end of Beacon Ave there. A few happy hours beachcombing for shards of ocean tumbled glass and pottery. And as we do this enough, we did have a rather good stash of the stuff.
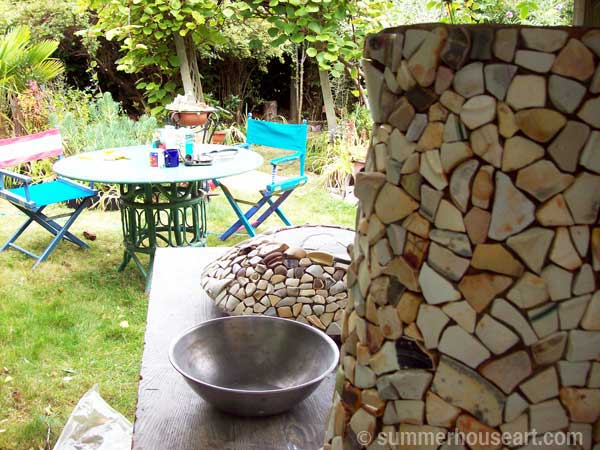
So we dove right in and covered the base in lovely, smooth beach pottery.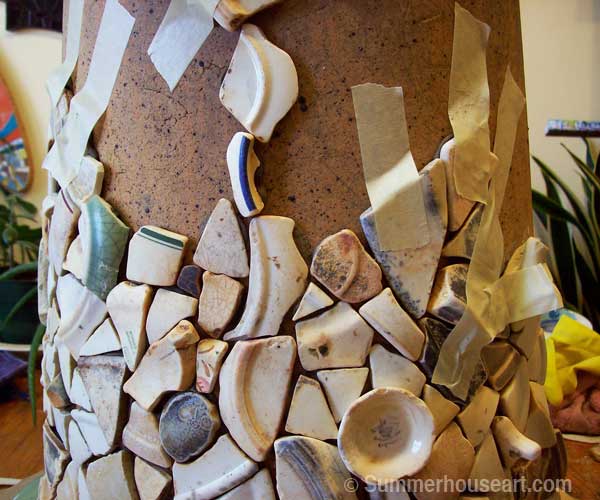
Here’s a close up of some of the pieces as they were being applied. The masking tape is hold some of the heavier pieces in place until the mortar sets. Since this will be outside in all weathers, the pieces are affixed with a stiff mortar mix. The method by the way has already been covered in a past and popular post on how to make stepping stones Helen’s way.
Of course we still were not sure about the basin and were thinking up ideas for something to cast, when serendipity happened again. On another garage sailing trip, we found this rather large and heavy piece of glass meant to be a huge ceiling light fixture. We got it for about $5.
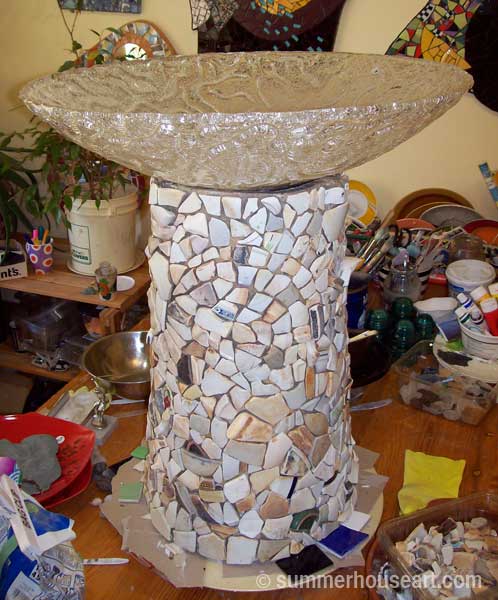
Now you may think we used the glass fixture as a top but it wouldn’t have been strong enough or able to survive cold winters without cracking and breaking. No, we used it as the mold for a cast in cement for the birdbath basin.
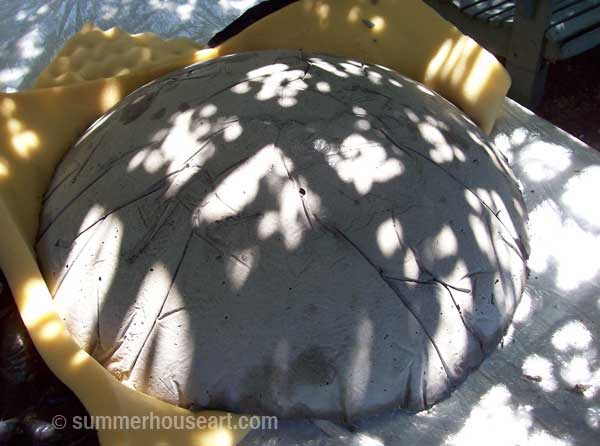
Here is the glass fixtures covered in a garbage bag, ready to be the form for our cement bird bath basin.
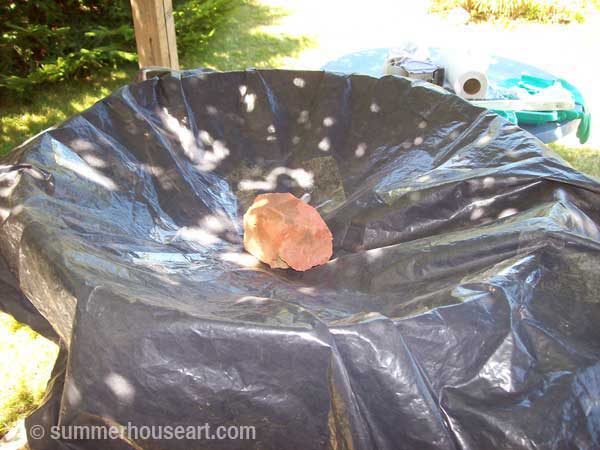
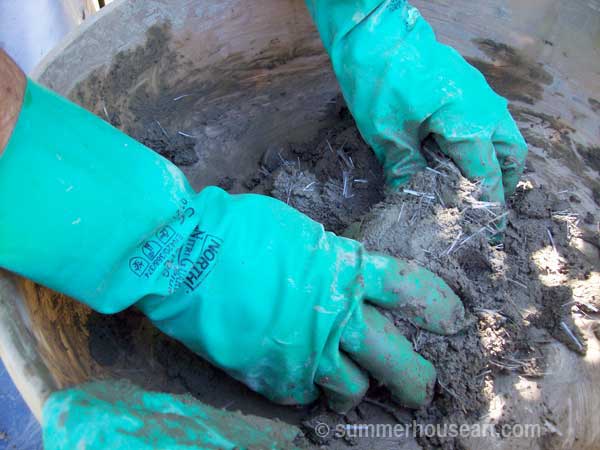
We mixed up the cement and added fiberglass fibres to give it strength.
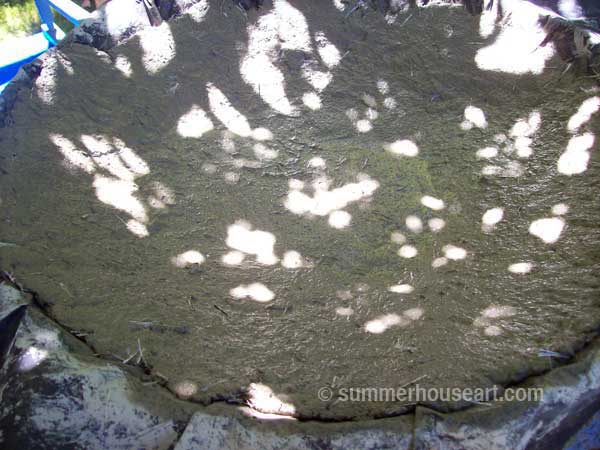
Here it is after the glass fixture and garbage bag are removed. I’m still trying to decide what to do with the glass ceiling fixture, maybe it may find itself covered in stained glass one day…..who knows. Ideas are percolating.
The underside was also covered in beach pottery, except for a circular area in the middle that was left without mosaic. That was left to create a place for the top to fit over the column. Which left the inside of the basin to do. That actually sat on our kitchen table for ages while we tried to find time and energy to start on it. Not to mention decide on the design. Luckily we’re pretty used to using our kitchen table for everything else but supper and are quite happy eating supper on the couch in front of a movie borrowed from the library. The whole house is pretty well studio space, everything has to have flexibility. Anyway, by November, Christmas was looming with the attendant big dinner so the push was on to finish the basin.
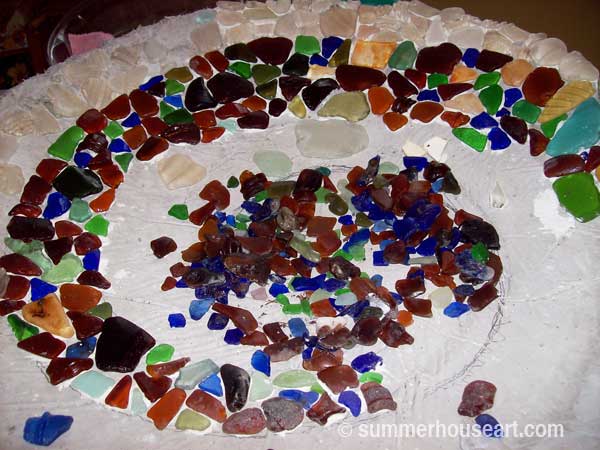
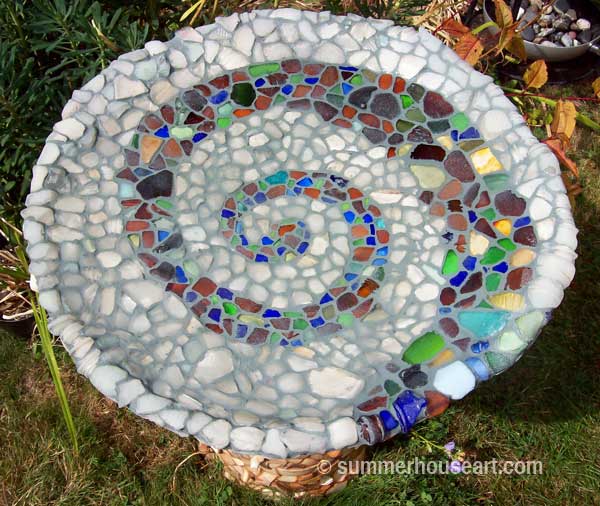
A spiral pattern emerged. And a couple of close up shots of how I arranged the edges with curved bits of beach glass.
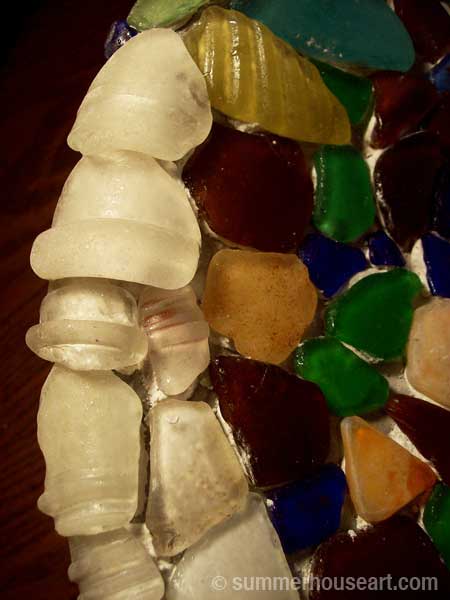
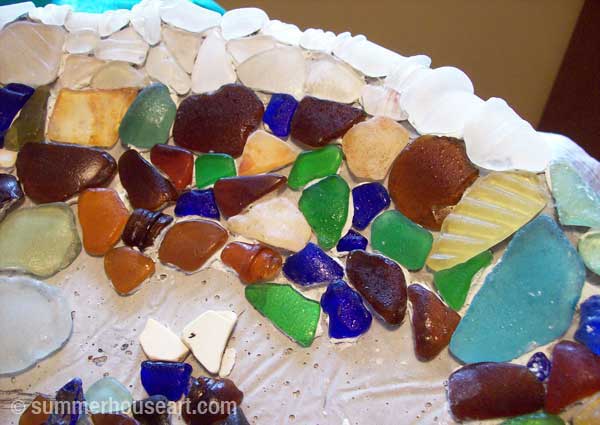
We used a white mortar to fix the glass to the cement. I’ve often had students ask me if they can use beach glass in a mosaic. I always discourage it. Here’s why. On the left beach glass as it is. On the right, beach glass sprayed with water. As I said earlier it really only looks good wet. Plus the other problem is that it is very pitted and the grout sits in it. You have to be prepared for that look.
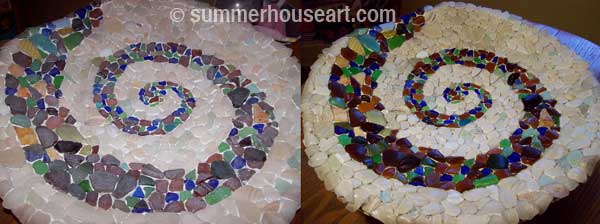
And finally, more than a year from the time we started it, we finally got around to grouting both pieces.
Of course I set up the table with a tray of tea and cups ready for our breaks. I knew it was going to be a long day with a real need to take a few breaks to rest our backs and hands as we grouted and then had to clean grout off each bit of pottery shard and beach glass. If you look closely, you’ll see that we left a space on the underside with out mosaic where the basin fit over the base.
All worth we think. Here it is finally set up, from above.
From the side
and here is the basin from above filled with water, just what the beach glass needed to shine. Still waiting for the birds to appreciate all our work. But enjoying it all the same. Update October 22: A Robin was seen having a good old splish splash bath just a few weeks ago and now all the garden birds are enjoying it too. We’re both happy that it’s been accepted and enjoyed.
(BTW, if you’d like to make a comment, just click on the title. It’ll take you to comments….and we do appreciate comments )

