A Little Mosaic Bunny Box


Or how this box became

Before the BunniesThis!

The Bunny Box by Helen Bushell summerhouseart.com

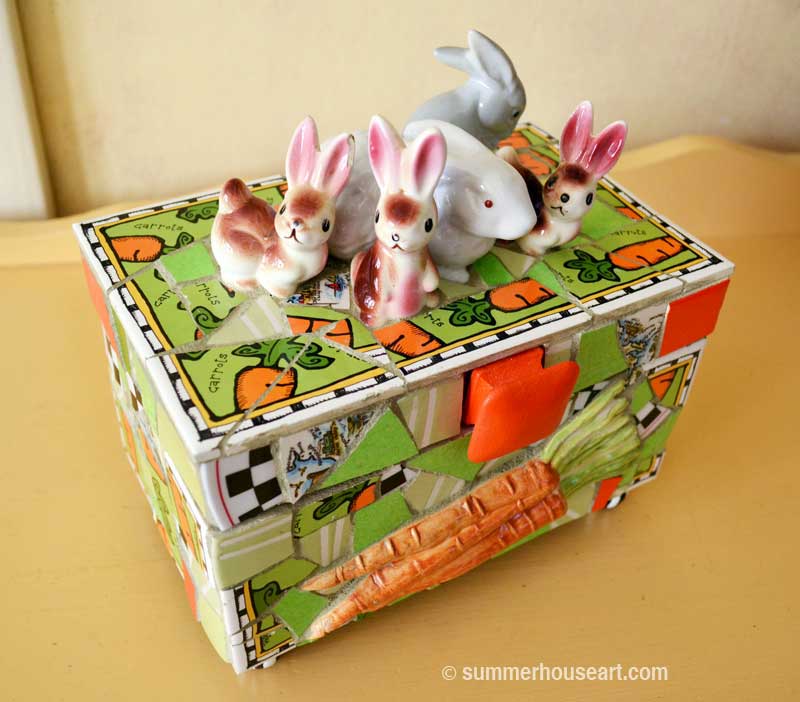
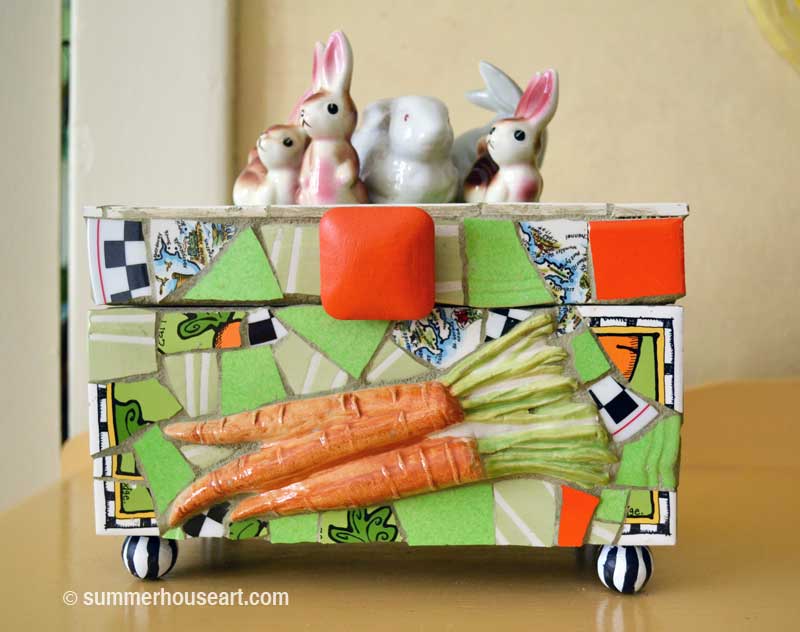
Sometimes, when you teach mosaics, you get an idea from a student. And one of my students this spring, decided to do a mosaic box. A Tea Box complete with little teapot ornaments on top. It’s going to look great. Now, I’ve made shrines, pots, trays and wall pieces but, for some odd reason, I’ve never done a box in mosaic and now seemed a good time to try. For two reasons, one, to try it out and see what problems it would present and two, suddenly I had shelves full of ornaments that could be quite useful in a new way. A little collection of bunnies came into my view which also sparked a memory of some really cool “carrot” tiles I’d been saving for some reason. An ah hah moment if ever.

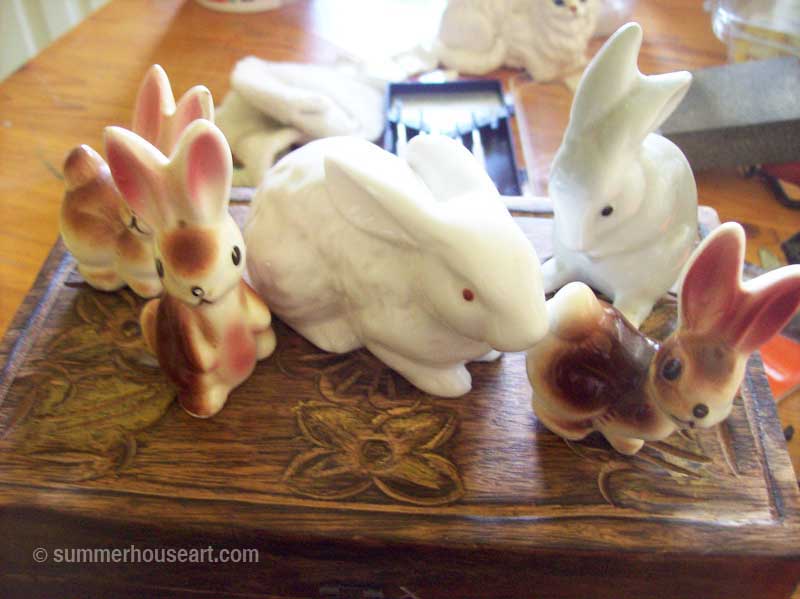
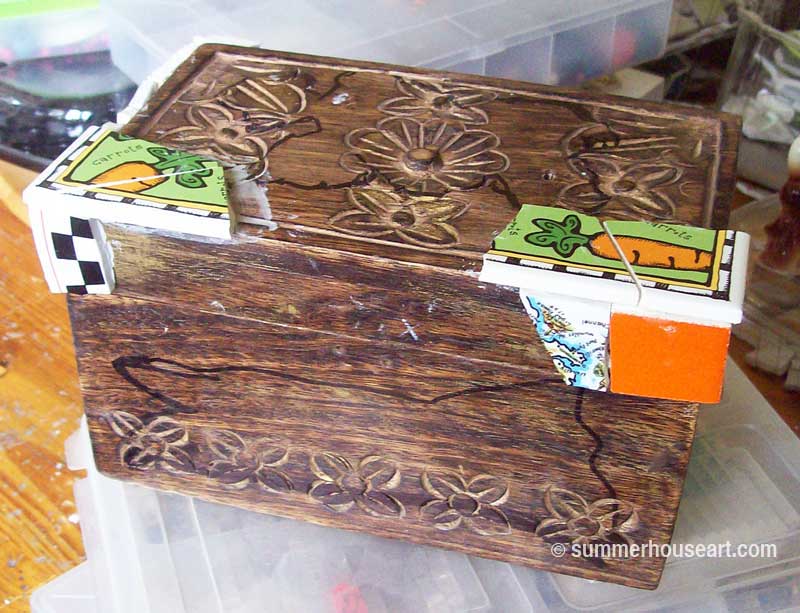
So off to the thrift store for a suitable box. Yes the pic above is blurry, it’s not your eyes. Sorry about that. And then a little playing about with bunnies and placement.

Bunny Placement

Starting with corners to use the “carrot” tiles. Mapping out the placement of bunnies. And that big patch on the front is for a loverly bunch of ceramic carrots I just happened to have lying around. I just love it when everything comes together.

Mapping out the Box

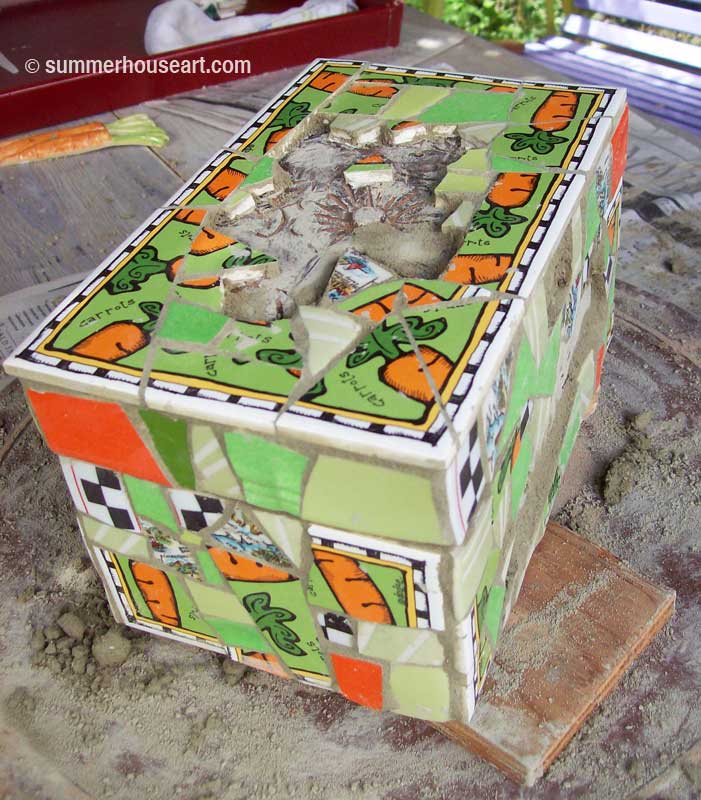
After many hours of applying bits and pieces of various dishes and tiles, it was time to grout. I left the spaces open to glue on the bunnies and carrots later.  

Grouting

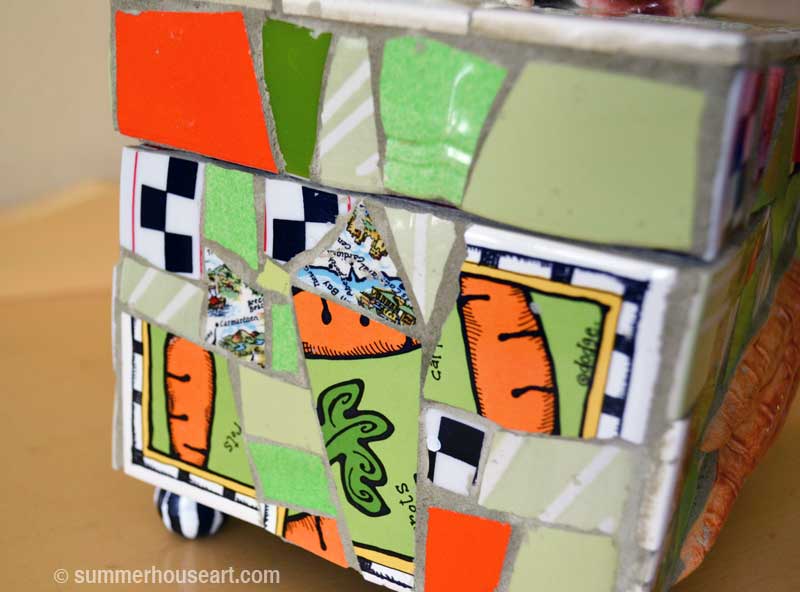
A little close up view of the dishes used. This is a Pique Assiette type of mosaic which in rough translation means “stolen dishes”.  I had one tiny little dish that had a map of Wales on it and the colors and texture just seemed to work well with the other dishes.

Bunny Box closeup

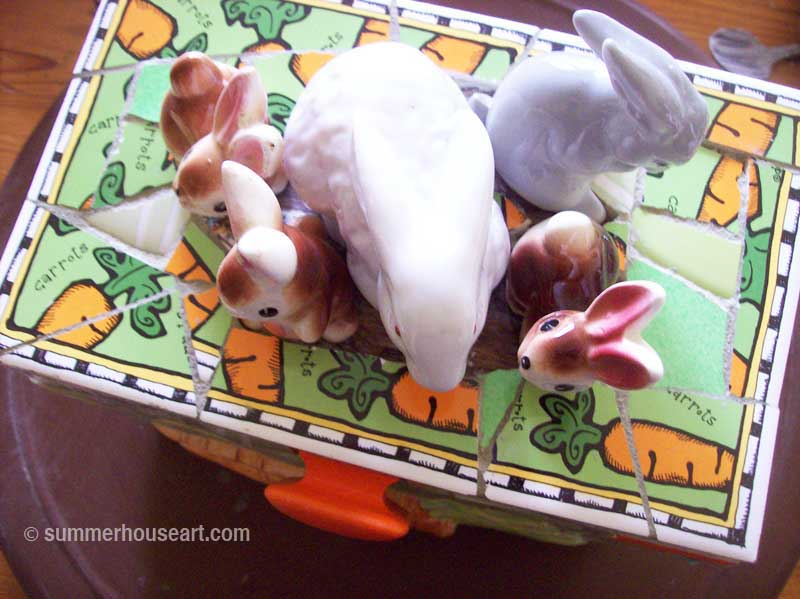
Had to do a bit of adjusting with the bunnies and after gluing them in place, I mixed up a tiny bit of grout and finished the top.

Gluing down ornaments on Bunny Box by Helen Bushell

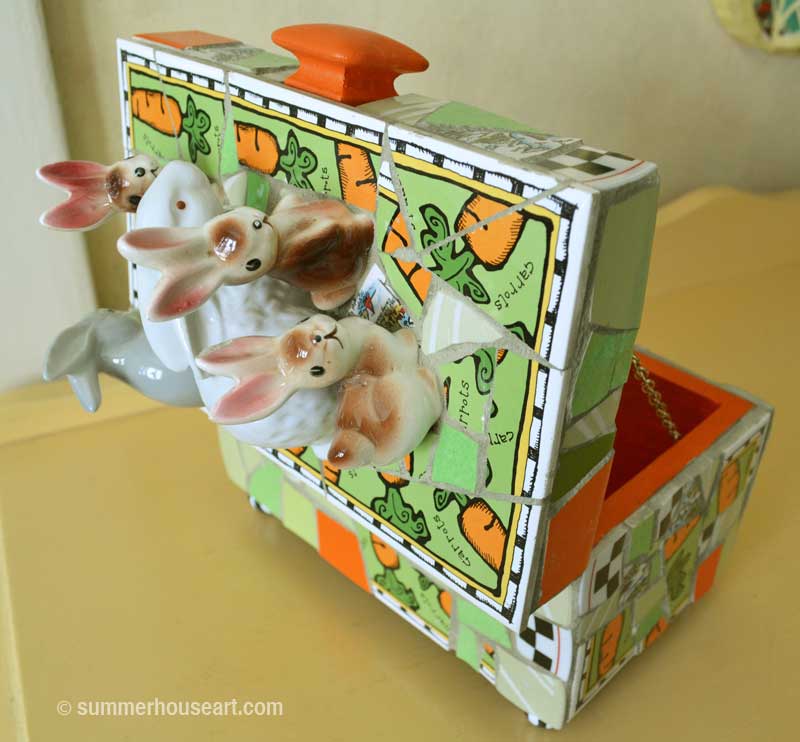
Oh, I also painted the inside a nice “carroty” orange. Just for a little surprise. The bunnies seem a little surprised at being tipped.

Mosaic Bunny Box Open by Helen Bushell summerhouseart.com

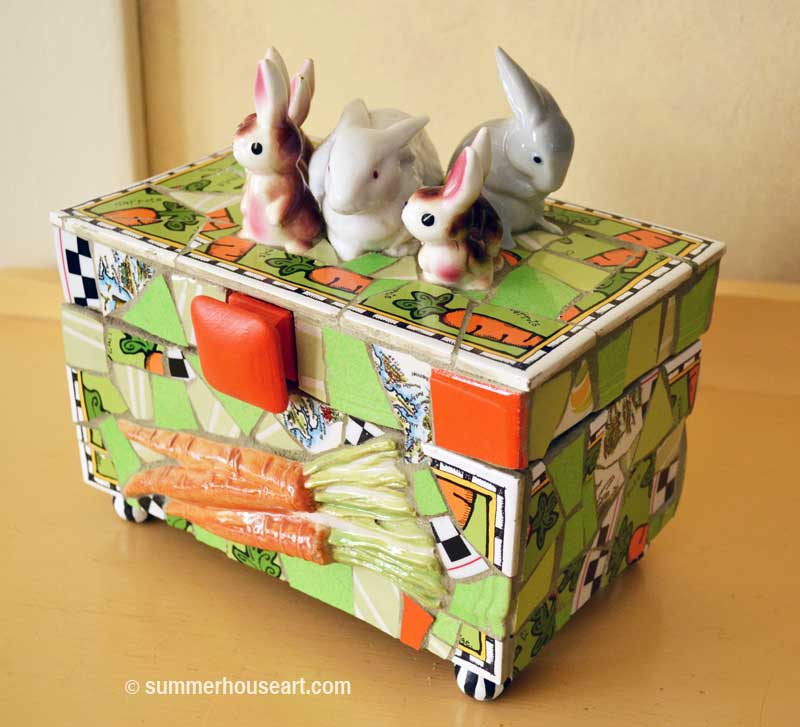
So here they are, all waiting for more carrots.
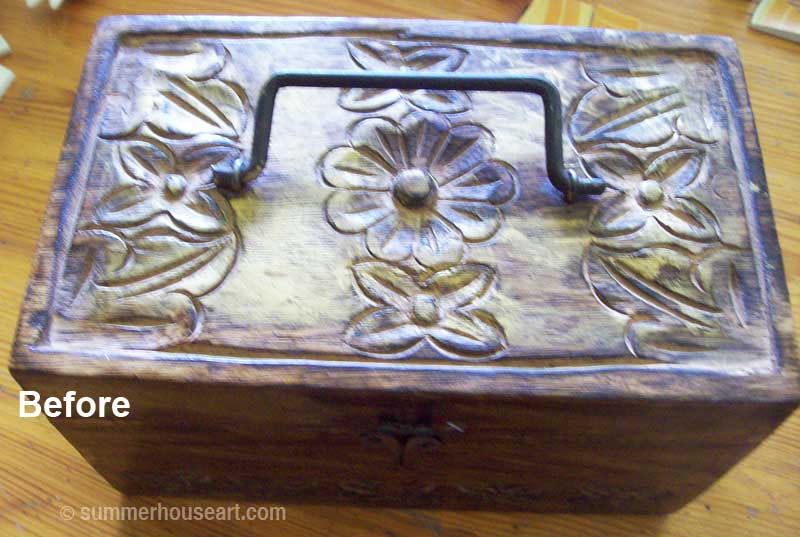
Bunny Box by Helen Bushell summerhouseart.com


Mosaic Bunny Box


Share

Creating Another Beach Pottery Bird Bath (and there’s a movie too!)

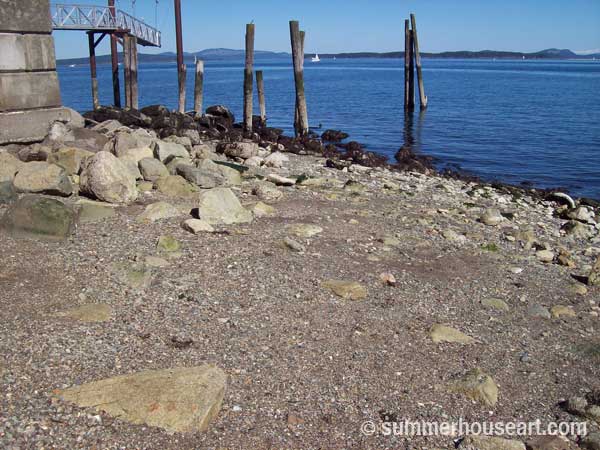
Low Tide, Sidney BC, photo summerhouseart.com

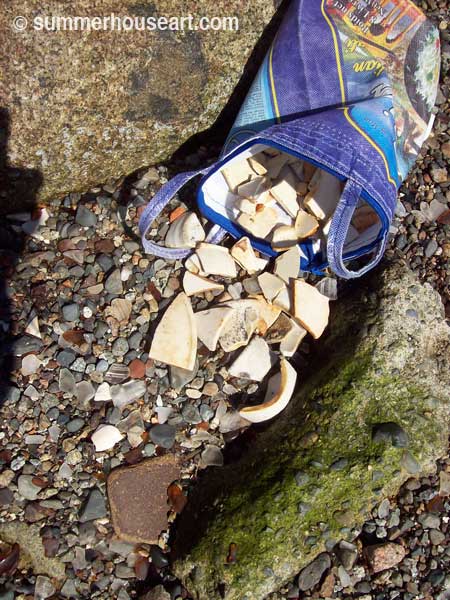
Way back in March, we happened to notice that the tides were very low and the idea struck me that we should go out to Sidney and collect some beach pottery. So off we went to the best beach pottery beach and went wild scooping up beach pottery in our little rice bags. Everyone else was looking for glass and overlooked all the lovely pottery. But we had plan for it.

Bag of beach potter shards, summerhouseart.com

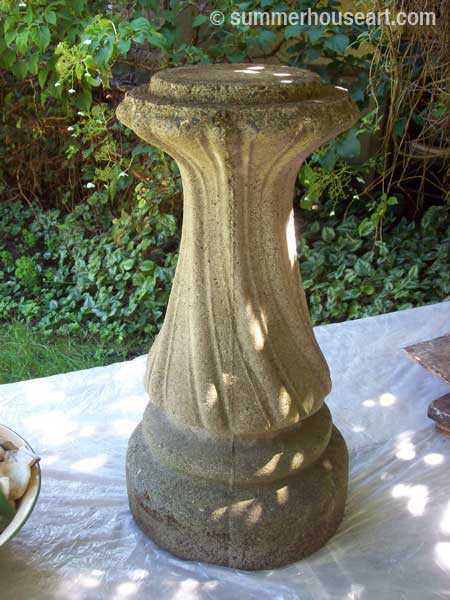
We’d made a bird bath before with pottery and beach glass. Way back when we moved into this house, we’d found, under the laurel hedge, at the back amongst a lot of debris, a birdbath pedestal. The basin or bowl was long gone and we’d put it up in the garden with a plastic bowl on top with a couple of rocks in it. Didn’t look great and the birds loved it. The pedestal had a nice classic shape but the plastic bowl made it ugly.

process, Bird Bath Helen and Will Bushell summerhouseart.com

With this wonderful haul of pottery we both decided to renovate the old ugly birdbath. We started by applying a mosaic of the pottery onto the pedestal. Now I must mention that the real beauty of beach pottery is its smoothness. And to preserve that smoothness, it’s really best not to cut the pieces at all. So each piece has to be searched for, each piece must fit without cutting it to fit. It takes more time but is worth it, just for the fun of being able to slide your hands over the finished mosaic and take in the feel of pottery that’s been tumbled in the ocean for years and years.

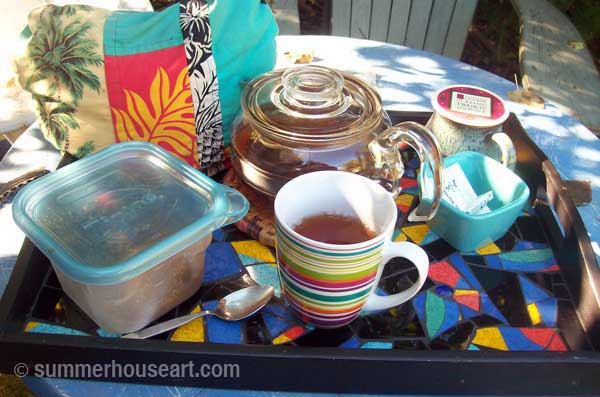
And we took our time, working on the sunny summer afternoons, playing rock and jazz on the CD player and taking lots of tea breaks with tea brought out on a favourite mosaic tray.

Mosaic Tray Helen Bushell summerhouseart.com

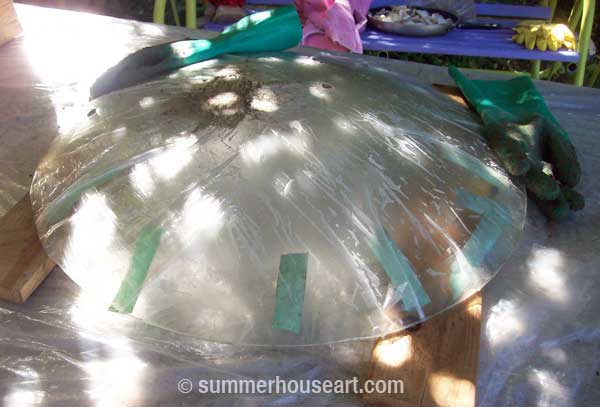
Once the pedestal was finished we had to think about how to make a basin. Luckily we’d found a perfect glass light fixture at a garage sale and proceeded to use that as a mold for the basin.

process, Bird Bath Helen and Will Bushell summerhouseart.com

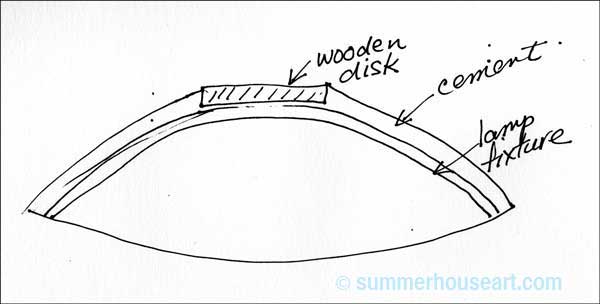
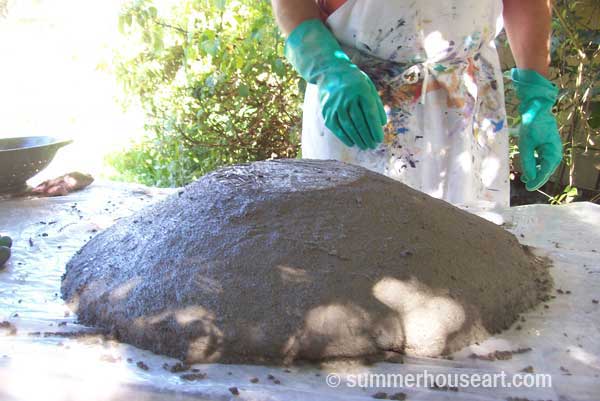
If you look at the pedestal you will notice that we were going to have to devise a way for the basin to fit over the round projection on its top. And of course we came up with a simple, and I thought, clever solution. Bill cut a round of wood that was the same size as the projection and we built the cement around it as in the little diagram.

process, Bird Bath Helen and Will Bushell summerhouseart.comprocess, Bird Bath Helen and Will Bushell summerhouseart.com

It worked really well. We did have to chisel the glass fixture out the cement but it all worked out.

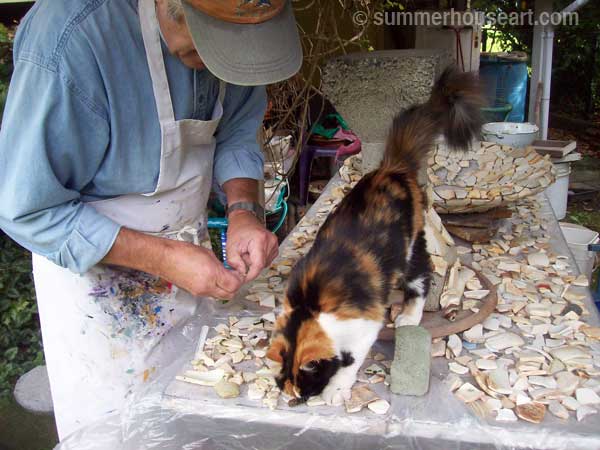
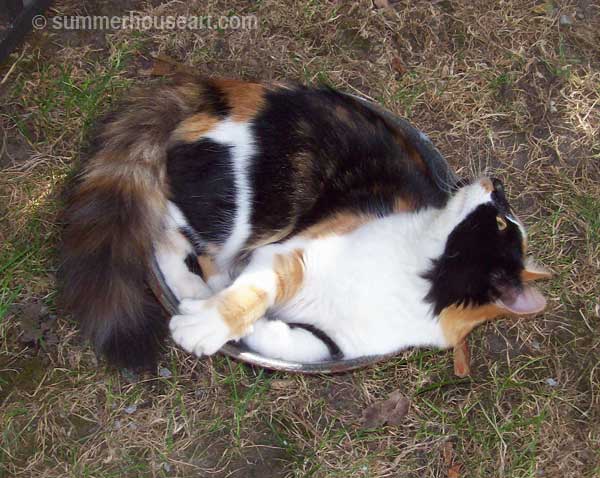
So next we started to cover the bowl with mosaic. First under the bowl and then the inside of the bowl. Around this time, Callie, our neighbour’s kitten decided to take an interest. She loved to jump on our work table and investigate. She especially liked to push pieces off the table onto the ground. And when she got tired she curled up in an old colander that we’d used to clean pottery. She’s a little character and had us laughing with her antics.

in process Beach Pottery Bird Bath Helen and Will Bushell summerhouseart.comCallie-in-collanderwm

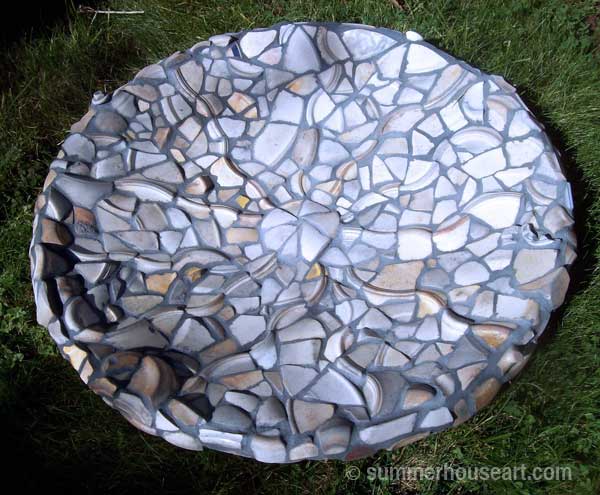
Then finally, we were ready to grout. We did the basin first. We were really pleased with the inside of the bowl and how the undulating lines created with the ridges of the pottery created a great pattern.

process, Bird Bath Helen and Will Bushell summerhouseart.com

One of the things you have to get used to with mosaic is how different it will look with grout. Sometimes I find it a bit disappointing, and have to get used to the look. Here you can see the how the grouted bowl looks against the still ungrouted pedestal. In the end though, I liked the grouted look and actually love how the use of the dark grey-blue grout set off the pieces.

process, Bird Bath Helen and Will Bushell summerhouseart.com

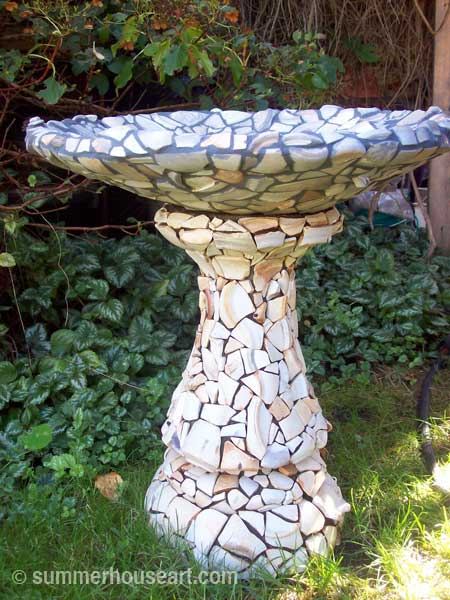
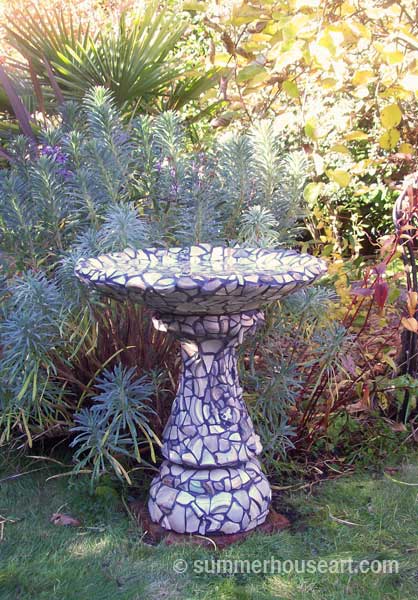
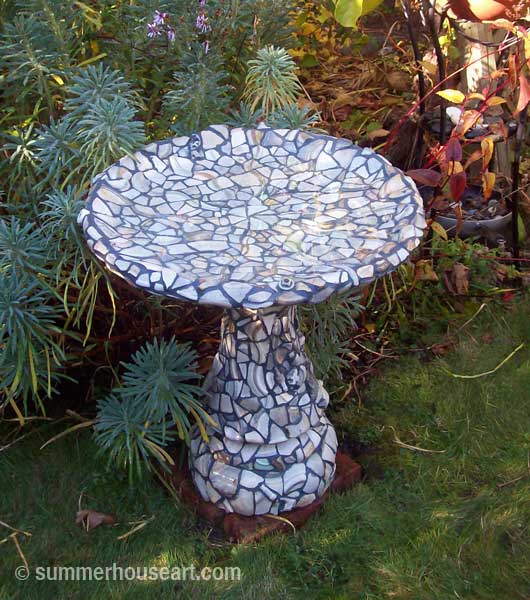
And then, the final photo, the finished bird bath. We love it and this time it only took the birds one day to use it once we put it in place after it had cured.

Beach Pottery Bird Bath Helen and Will Bushell summerhouseart.com
The new Birdbath

Beach Pottery Bird Bath Helen and Will Bushell summerhouseart.com

And just for fun, every day, as we finished up for the day, we’d take a little movie of the progress. Bill spent some fun time learning how to stitch it altogether into a little video. And then thanks to Kevin McLeod’s music, we posted it on youtube. Ok, it’s a little bumpy and handmade looking but that’s ok. It’s just like the Bird Bath. Hope you enjoy…..

Share

Inspiration, Pique Assiette Mosaics and A Quote by Picasso

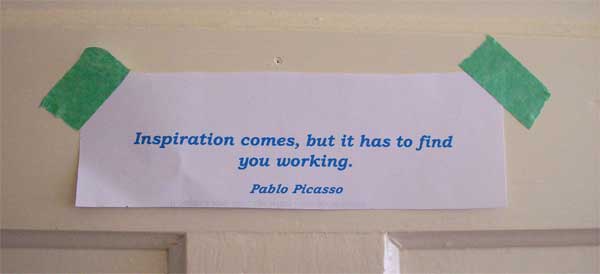
Picasso quote on studio door, summerhouseart.com

I found this quote the other day in my internet wanderings and immediately copied it and attached it to my studio door. A little reminder to find some time, no let me rephrase that, make some time to let inspiration find me working. My time is so precious, there is just not enough of it and sometimes I feel like I squander it. Oh, I really do need, somehow, to find a way to do it all, all the things I need and want to do.

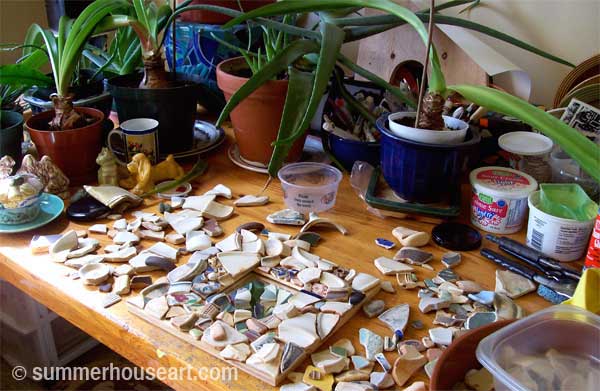
Right now I’ve got all my bits of ocean tumbled pottery spread out on what little space is left on my studio work table. I’m creating a new mosaic with them.  The first mirror I made with them is in a previous post, The Beach Shard Pottery Experiment.   The plants are crowding out the work space because I had to move them to the table, so I could put the starter seeds in the window instead, but that’s another story and another place I’ve spent my time.

in progress, Pattern Beach Pottery mosaic Helen Bushell, summerhouseart.com

But I have made some time, put some music on and started to move the bits around to find the right composition. At first, I looked for the odd bits with pattern on them and made them the focus.
in progress, Pattern Beach Pottery mosaic Helen Bushell, summerhouseart.comLater I realized that I was enjoying the off white bits, the bits that had curves of the plate rims on them and started to see that I could use them as the focus and create an interesting surface with those.
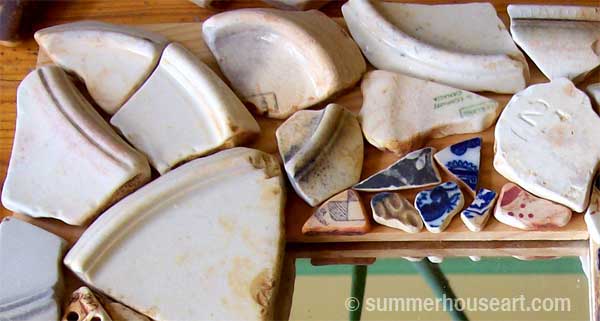
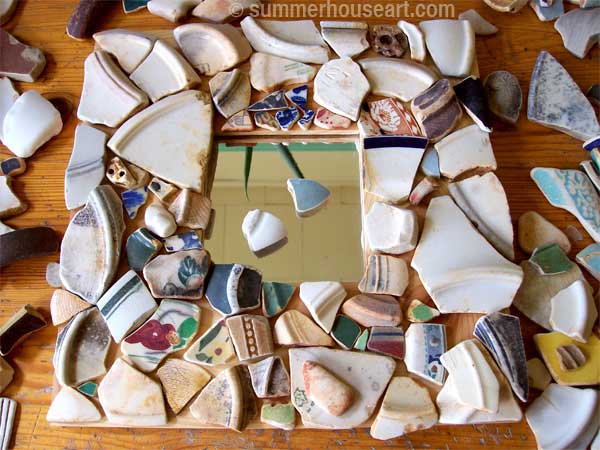
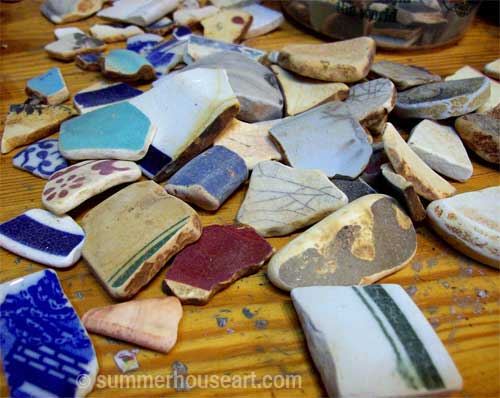
in progress, Pattern Beach Pottery mosaic Helen Bushell, summerhouseart.com

I’m trying to create a sense of movement with these curves.

in progress, Pattern Beach Pottery mosaic Helen Bushell, summerhouseart.com

So there it is, that’s as far as I got. Only a little time and then I went off to help with Easter dinner and make a Rhubarb Cobbler with fresh spring rhubarb from the garden. Delicious, by the way. My mosaic will have to wait for me, but I will get back to it, now that inspiration has found me working.

If you find mosaics intriguing I hope you’ll spend a little time yourself on my posts about my pique assiette mosaics.

Share

A New Pique Assiette Mirror or The Beach Pottery Shard Experiment

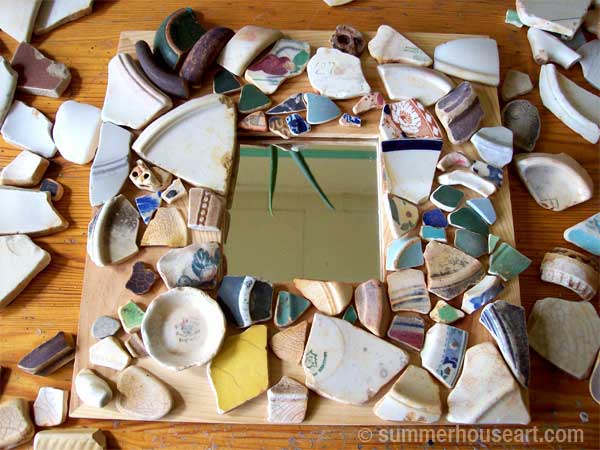
Beach Pottery shards, Summerhouseart.com
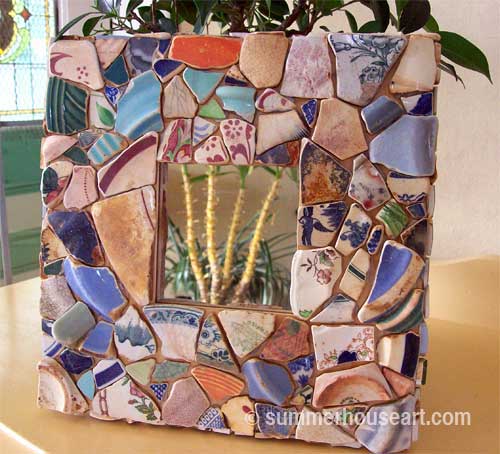
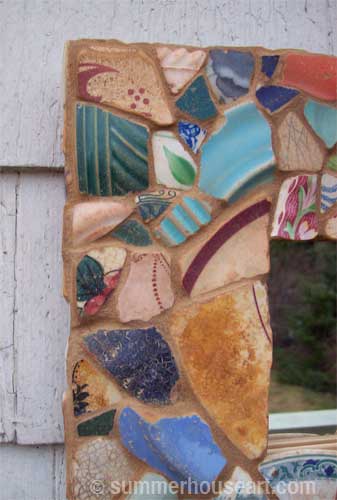
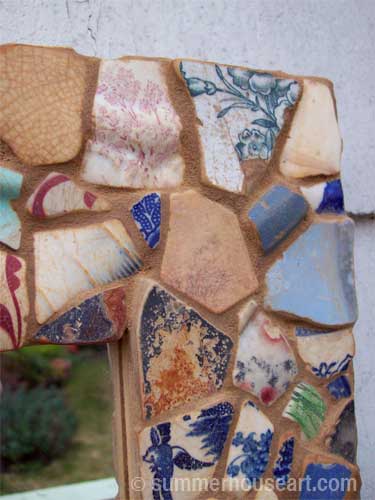
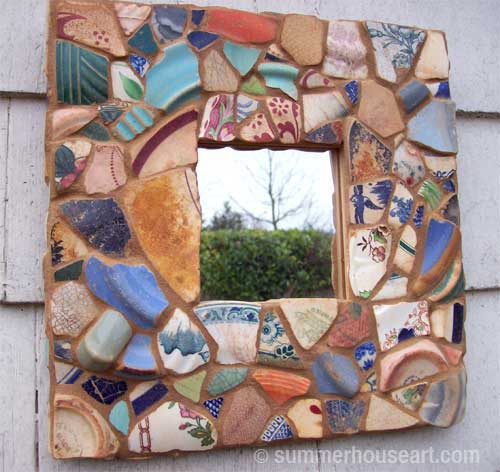
My latest student has a dream of creating a mirror with four special tiles and a huge collection of beach pottery shards that she has been collecting for years. When I saw the tiles and her collection of beach pottery I knew instantly that the shards and tiles were meant to be together. But it left me with a problem to solve. I have always avoided using beach pottery shards for mosaic because I was afraid of how grout would react with them. A year ago, I’d seen another mosaic artist use it on a vase and she had reported no problems with it. But I knew I had to try it out for myself. It was time for me to experiment on a small mirror.

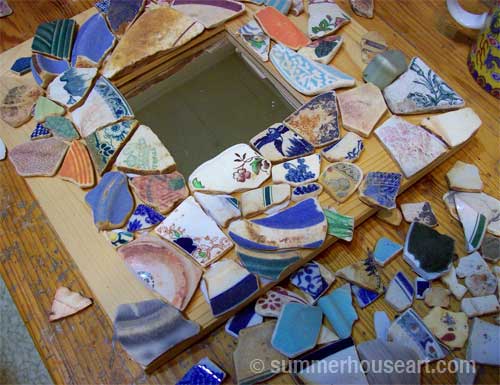
Laying out Beach Pottery shards, Summerhouseart.com

Luckily I had been given someone’s entire collection of beach glass and pottery shards over a year ago and added it to my own collection. All those lovely worn, wave-washed pottery shards had been waiting in the greenhouse for this day.

Beach pottery shards feel smooth under your fingertips, their surfaces ground by waves and rocks. Unlike the shiny, grout-repelling porcelain surface you have on new dishes you now have a matte surface, worn and pitted. I wondered if the grout grittiness would ruin the surface and if the colorant in the grout would mar and color the surfaces and sink into the pits. I also wondered if I’d like the matte surface against the grout when I was so used to the jewel-like mixture of dull grout setting off shiny bits and pieces. Well, the only thing to do was try it.

Laying out Beach Pottery shards, Summerhouseart.com

Deciding on a random design, I started applying the pieces as they fit. I wanted to avoid having to cut the shards and preserve the smooth edges that they already had.

Laying out Beach Pottery shards, Summerhouseart.com

After spending a few hours listening to music and getting lost in the meditative world of fitting shards I was soon near the end and pretty happy with the result. I’d taken quite a few breaks, something I always recommend to my students, to stretch and move. It’s so easy to get caught up and give your self a nasty back spasm from being in the same position for too long lost in your work.

Mirror with Beach Pottery shards, Summerhouseart.com

I left it all overnight to allow the mastic to set and harden. Tomorrow would be the test. I must admit to some trepidation. I loved the surfaces on some of the shards so much that I was loath to lose them if the experiment failed.

Mirror with Beach Pottery shards, Summerhouseart.com

Next day, I mixed up the grout. After a little consideration, I’d chosen a colored grout that coincidentally evoked sandy beaches called Summer Tan. I needed to find out if the grout colorant would be a problem. And if it was a problem, at least this color, which was a bit rusty would at least blend in with the rustiness of some of the shards if it did sink into the pits on the surface.

Mirror with Beach Pottery shards, Summerhouseart.com

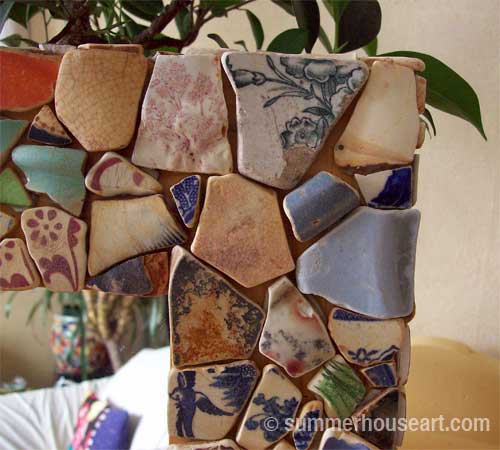
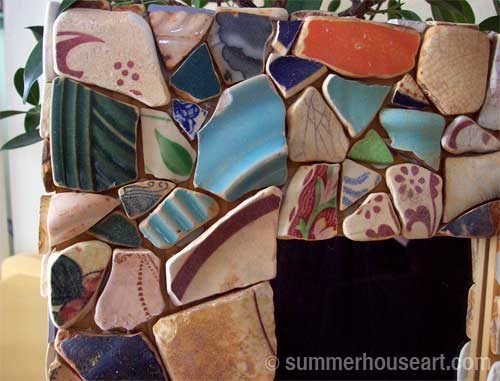
And the final result? Well, I must admit, it was a little harder to clean off the grout. The matte surfaces held onto the grout and developed a cement sheen that had to be rubbed off and even sponged. I hardly ever use a sponge, preferring instead to only clean with old cotton socks. Oh yes, there is a use for all those old cotton socks with big holes in the heels!

I loved the final look! This surface felt old and worn still and so smooth to the touch. It all looked antique and I wished in the end that I’d used an old worn mirror too. Ah well. Experiment done. I was glad though that I’d used the rusty colored grout, because where it did stay in the pits on the surface it looked natural.

Mirror with Beach Pottery shards, by Helen Bushell, Summerhouseart.com

Conclusion: yes it’ll look good and yes it will be a bit more work.. but all very well worth it. And next week we’ll use these results to help my student create her dream.

Share

The New Pique Assiette Mosaic Buddha Shrine Part 4 – The Search for Serenity

What is it about this little shrine that makes me think that it is becoming a string of problems, one thing after another? Why does it seem like every dish I planned to use on it is either wrong or I don’t have enough of it? Decisions I make and try out, turn out to look all wrong. Frustration is becoming a constant visitor.

Oh, of course, here’s me trying to be as serene as the Buddha, but I can’t.  No, it’s not going to happen. No serenity here today. Ok, Helen, Breathe.

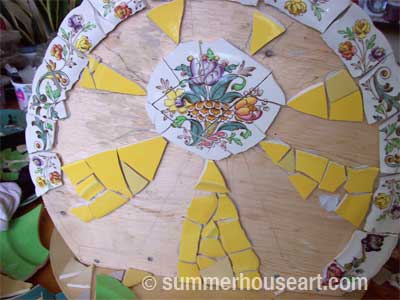
I started on the back of the shrine the other day. I thought OK this lovely little plate and this lovely little edge will be perfect. And that part of it is. I’m happy, I’m serene, even, with that. But then I needed to fill in the space. First I just was going to do a mixture of turquoise, bright green (the same plate as the lily leaves on the front) and yellow. This would be picking up the colors in the pattern on the central area. Then I got the bright idea of having a starburst in yellow and then filling in the spaces with greens.

detail, progress on back, Buddha Shrine by Helen Bushell, summerhouseart.com

Well, after spending almost a whole afternoon at it and then looking at it again the next day, I decided it didn’t work. Too bright, too whatever, at any rate, I removed it.

Since then I’ve been checking out thrift store dishes every chance I get and nothing, nada, I haven’t found anything that is just right….yet.

Ok never mind, I said to myself. Work on the front.
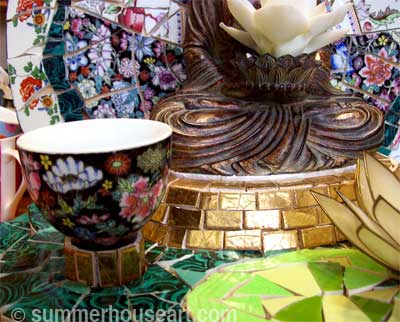
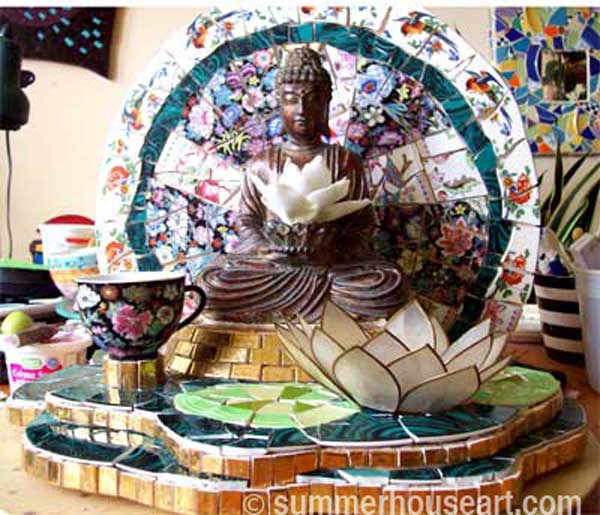
First, I needed to make a little stand for the teacup that I plan to use for a tea light holder. Will, thank goodness, found the perfect solution, a little piece of dowel, now covered in gold tile.

Buddha Shrine by Helen Bushell, summerhouseart.com

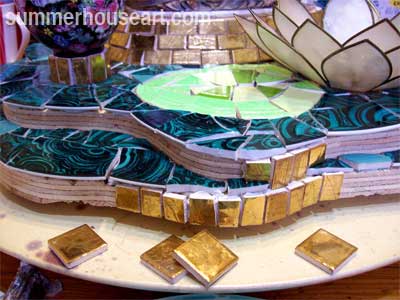
As you know, I’ve been looking for more of that lovely dark green malachite looking plate. Again, no luck. I used almost every little scrap of the dark green plate to finish the pond. I wanted to rim the pond with it too. So, ever the problem solver, I decided to go with using my tiny cache of gold tiles to rim the pond.

detail, progress, Buddha Shrine by Helen Bushell, summerhouseart.com

Each little piece of gold had to be cut from an inch square tile, and individually glued on. At last, something that just required some time doing tedious, repetitious work. Strangely, this became an exercise in becoming calm, focusing and patiently working.

detail, progress, Buddha Shrine by Helen Bushell, summerhouseart.com

Last night, after I glued on the last tiny little bit, I stood back and enjoyed the almost finished front.

But then today, out on my walk, I quickly nipped into the thrift store across the street, looking for the perfect plates to finish the back. Again, no success. OK Helen, Breathe, Relax and Know that you will find the perfect plates yet. They are just still on their way. Be Serene.

Last installment Buddha Shrine Part 5, The Inevitable but Strangely Perfect Conclusion

Share

#2 In the Pique Assiette Mosaic Inspiration Series – The Japanese Plate

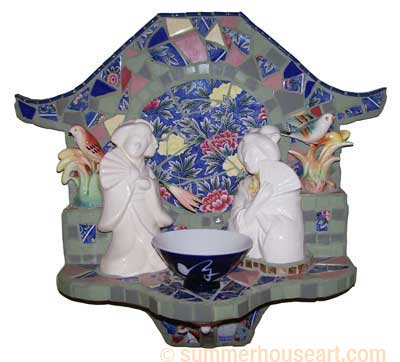
I didn’t have an idea for this piece to start with. I wasn’t thinking about Japan at all. Until I found this beautiful plate at a garage sale. It was an authentic gorgeous plate Hand Made in Japan, printed on the back and had a little chip in the border. The reason it had been sacrificed to the sale table I suppose. The pattern was of chrysanthemums or carnations, I’ve never been sure. But I think that the former is more of a Japanese favourite. It was a large plate, about 12 inches across. I saw it as a background for something. And I knew it would look really good broken and reassembled in a mosaic.

Geisha Mosaic, Helen Bushell, summerhouseart.com

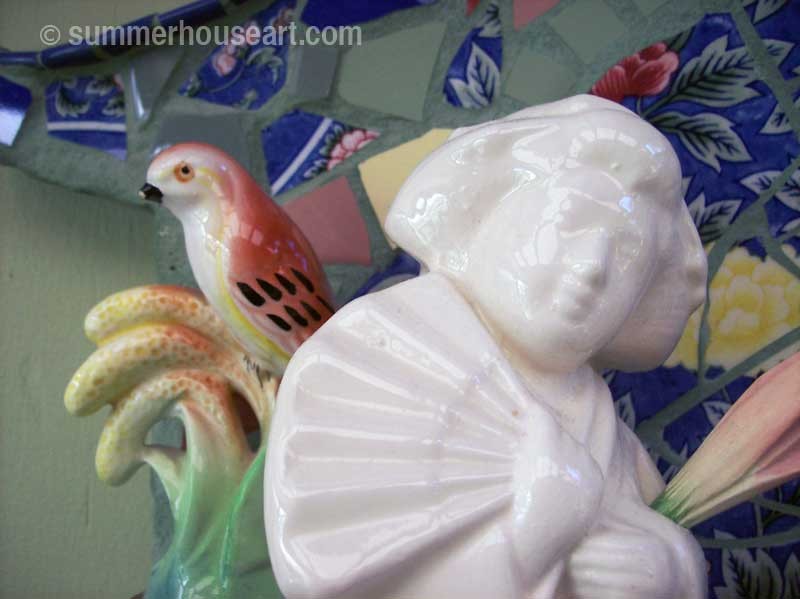
So the plate was the start or maybe it was the finish. Because suddenly I had a use for a few things that I’d collected in my studio and it all came together. The Geishas are actually drink glasses from a Japanese restaurant.

Geisha Mosaic Detail, by Helen Bushell, summerhouseart.com

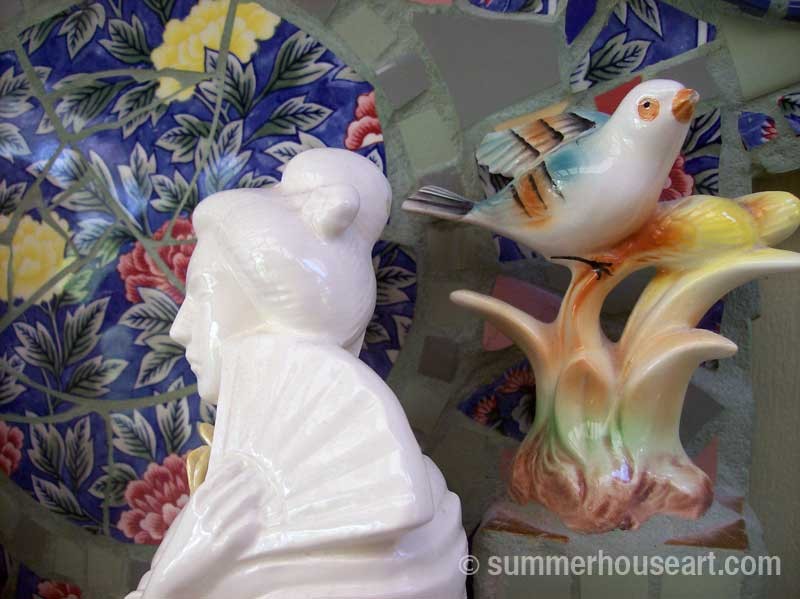
The backs of them are open and there is a little hole in the front of each one to put a straw in so you can sip your drink. These drink glasses come in all types of figures from geishas to samurai warriors to Buddhas, lots of Buddhas. You find them everywhere at garage sales and thrift shops. And I have a collection of them. Ok I have lots of collections but more about that on another blog. So now I had the geishas in front of the plate, on a shelf and I needed something else. The quiet little birds had been gathering dust for ages and their color caught my eye as being perfect with the colors of the plate. And they gave this sort of lyrical touch to the ladies.

Geisha Mosaic Detail, by Helen Bushell, summerhouseart.com

What else? A bowl. A Japanese bowl to float a flower in for my little Japanese shrine.

Geisha Mosaic Detail, by Helen Bushell, summerhouseart.com

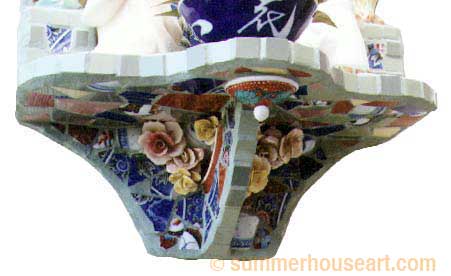
Then there was shape of the background to deal with, and in keeping with the theme, I drew out a pagoda shape for the top of the shrine. Now I only had to come up with something for under the shelf. I also collect those little porcelain floral bouquets. No, not to display, but to take apart very carefully with plyers or a hammer and chisel, and use the flowers on mosaics. They’re good even if a bit chipped because you can hide the missing petals in an arrangement easily. So under the shelf there is an arrangement of flowers. They don’t necessarily match the plate but who wants to be too matchy-matchy? And the little lid from a broken pot, turned upside down? Well, that became the finishing touch.

I suppose this was a case of inspiration backwards. The plate started the idea and the Japanese shrine came later. The Hawaii shrine started with an idea and the pieces came later. Backwards, forwards. Inspiration works either way if you let it.

Quote for today. Apropos, I think, for today’s blog

Minds are like parachutes – they only function when open.
Thomas Dewar

Share