#6 in the Pique Assiette Mosaic Inspiration Series – Using Intuitive Design on Pots or How Not to Be a Control Freak

Mosaic Inspiration #4 I talked about the intuitive process to create an overall random design on a flat surface like a mirror. And if you’ve looked at our stepping stones you’ll see that I use this method there as well. I admit, I like working this way, it’s meditative and challenging at the same time and never boring. And there are benefits!

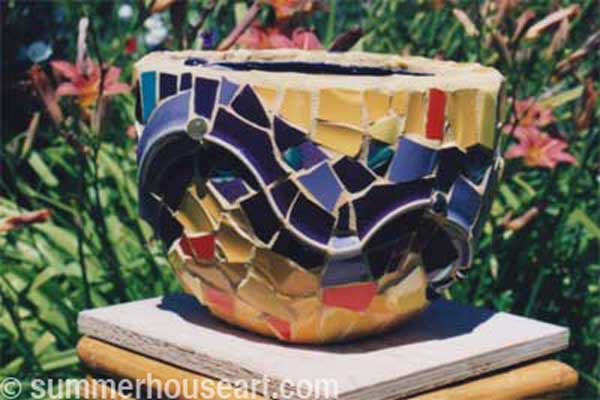
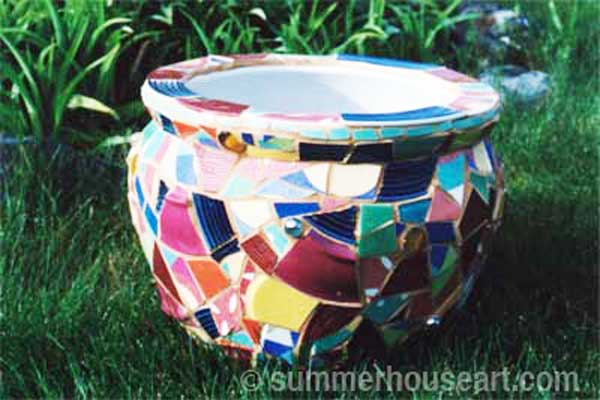
 Mosaic Pot by Helen Bushell, summerhouseart.com

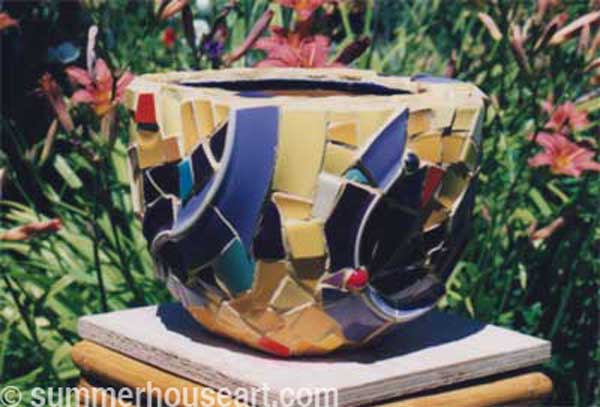
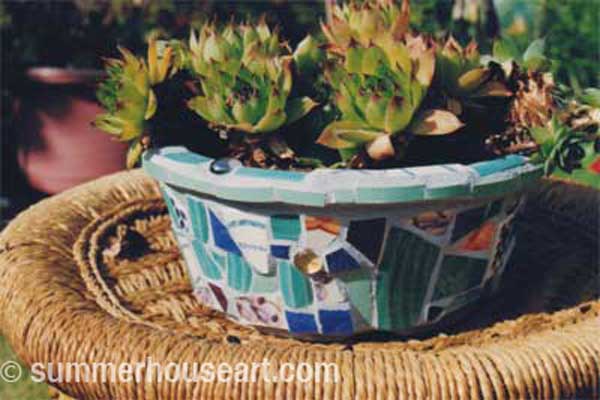
Now, I have to say that working like this is especially fun on 3D surfaces like pots. I’ve done quite a few pots in this manner. In each case, I selected dishes that had colors, patterns and textures that I liked together. To those, I added some solid colors and a few marbles. Marbles have a way of glowing when the light shines through, that I find totally captivating.

Pique assiette Mosaic Pot by Helen Bushell, summerhouseart.com

I tell my students that doing intuitive mosaic design has one really great benefit, especially if you tend to be a control freak. You will learn to let go. Working intuitively allows you to forget control and just go with the flow. After all you are not creating a picture, or a rigid pattern. Nope, just an overall pattern with a mixture of surface designs. Ah, the freedom to just let go and mix it up.

Going with the flow also applies to fitting dishes onto a curved surface. A dish does not have the same curvature as a pot. To make up for this you often have to adjust how you apply a piece to the curve of the pot. Oh sure, you can keep breaking the piece till it’s small enough to apply to the curve ( um, this could be called exerting control) or…you can just find the curve of the dish and find a place where it will match the curve of the pot. Ah, even less control.


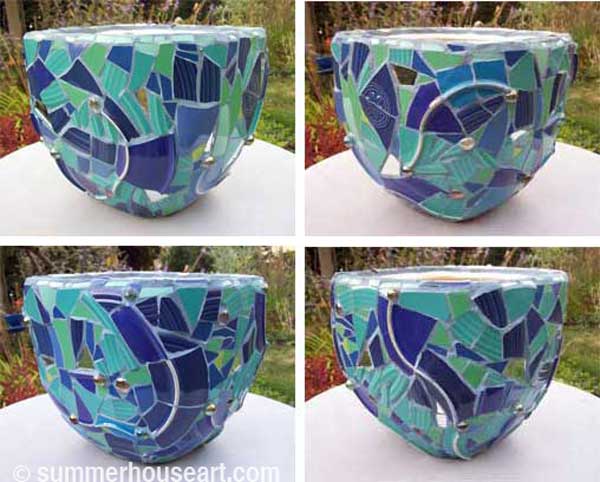
Pique assiette Mosaic Pot by Helen Bushell, summerhouseart.com


Pique assiette Mosaic Pot by Helen Bushell, summerhouseart.com

Using dishes that have color on the bottom as well, creates an extra little benefit. The ridge on the under side of the plate, once broken, can be pieced back together to create some very nice undulating lines, thank you. I’ve used this often to create a flow or direction. It’s a little trick that I totally took advantage of on some of these pots.

Pique assiette Mosaic Pot by Helen Bushell, summerhouseart.com

The last little benefit about applying pique assiette mosaic to pots is that unlike a flat surface like a tray or mirror frame, you can’t see the whole surface at once. You may ask, how is this a benefit? Well, if you get tired of one side you just turn the pot around and viola, you have a whole new surface to feast your eyes on.
Share

Pique Assiette Mosaic Stepping Stones in the Garden

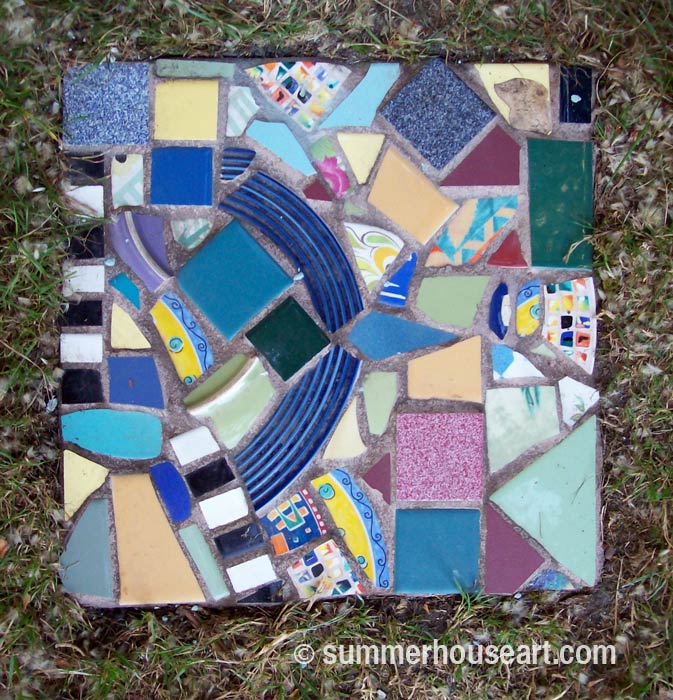
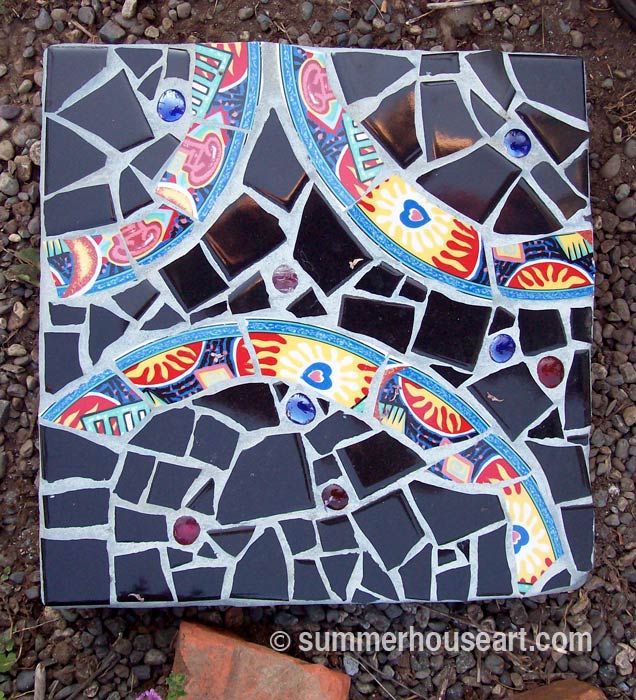
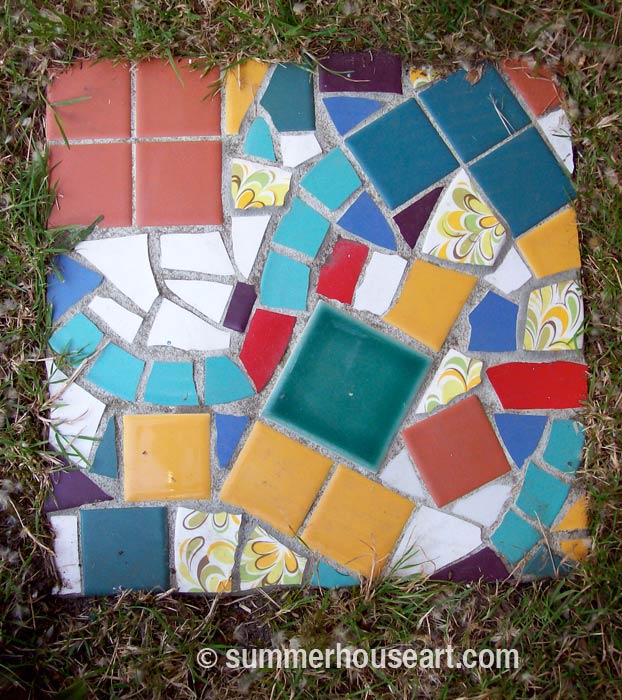
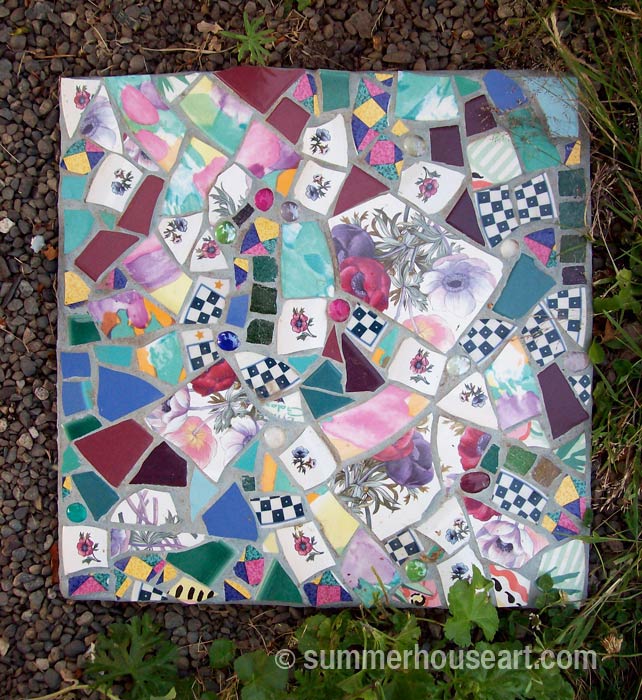
We love making mosaic stepping stones for our garden. They’re fun and easy to do. Well, easy as in low tech. But they do take a bit of work. It’s a chance to use some dishes and tile and sometimes other objects to create some color in the garden. Using dishes and other found objects for mosaic is called Pique Assiette.  I like the whole process of using dishes and found objects, collecting them, finding them and of course breaking them to create new patterns.

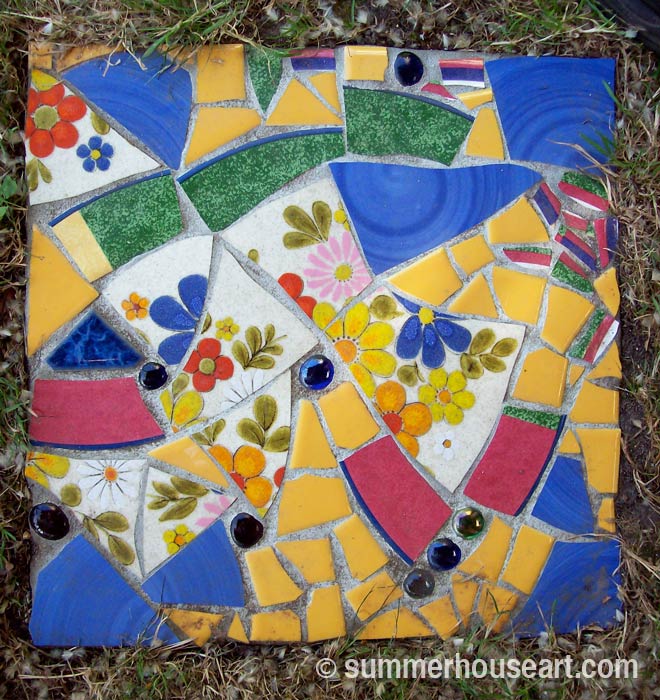
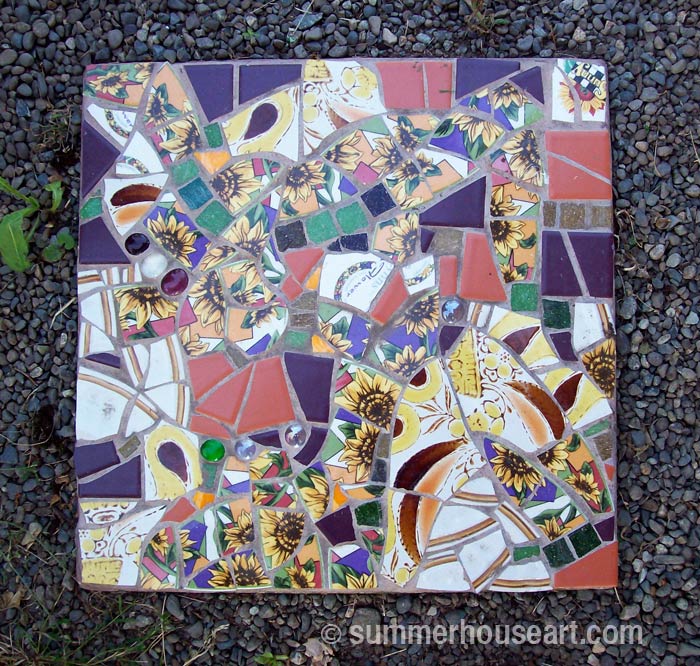
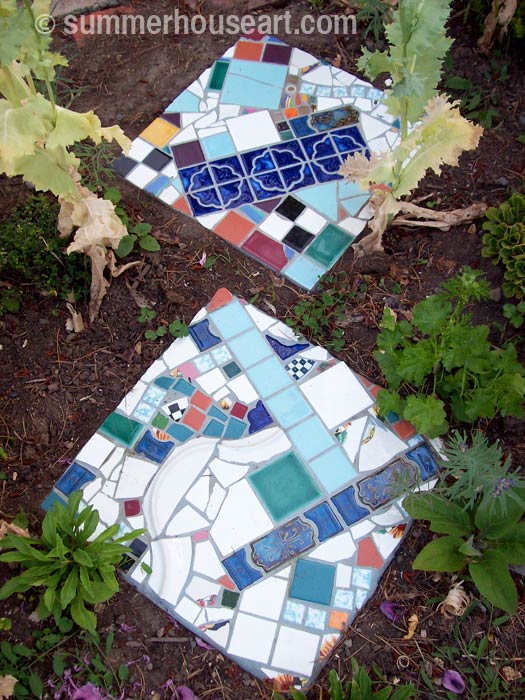
Pique Assiette Stepping stone, summerhouseart.com

The other day, instead of grouting inside in the studio, I’d set up a work table under the clematis pergola so my afternoon student could grout her mosaic outside in the garden. After she’d finished, very happy with how her piece had worked out, and had gone home with her mosaic creation, we still had the work table set up. I’d done a quick demo of stepping stones for her on a small chunk of broken cement block while she was there. So we had everything ready, and we turned to each other and almost had the same thought at the same time. Hey, lets make another stepping stone.

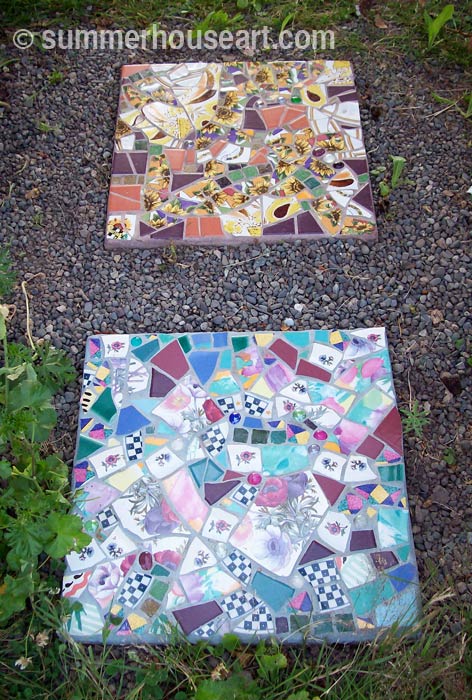
Pique Assiette Stepping Stone, summerhouseart.com

So off we went, into the studio, to gather up some dishes and tiles to use. We mixed up some more mortar and started. Before we knew it was 8 pm and time to stop and have a quick supper. We still hadn’t grouted but the stepping stones were done. I got out there this morning and grouted mine. So another stone for the garden.

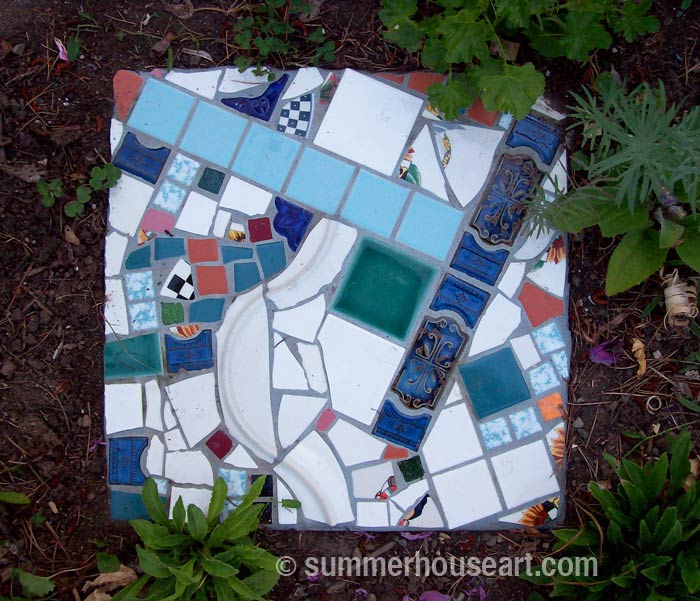
Pique Assiette Stepping Stone, summerhouseart.com

We enjoy the look of these little art pieces. Each one is different and unique. We have some laid into the lawn under the pergola, to create a sort of patio area. Others become entrance art at the gate, or as a way to step through the garden to the car, or as a bottom step from the deck.

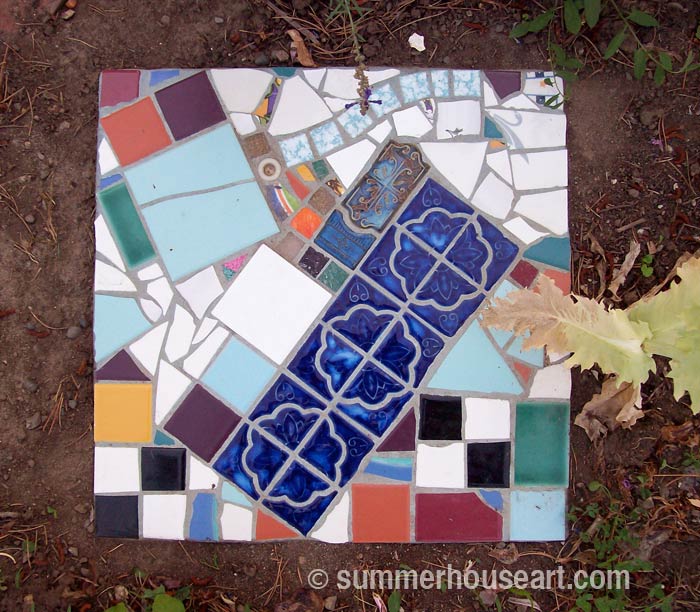
Pique Assiette Stepping Stone, summerhouseart.com

Will and I work totally differently. He likes to create much more minimal abstract compositions. I tend to use dishes with either floral patterns or just basically colorful dishes laid out in an overall sort of crazy quilt manner. We work quickly and without too much thought, counting on our innate sense of composition to work for us. We just relax and enjoy the time.

Pique Assiette Stepping Stone, summerhouseart.com

Pique Assiette Stepping Stone, summerhouseart.com

Pique Assiette Stepping Stones, summerhouseart.com

There’s something about mosaic sparkling in the sunshine and greenery of the garden that makes you enjoy having it underfoot.

Pique Assiette Stepping Stone, summerhouseart.com

Pique Assiette Stepping Stone, summerhouseart.com

Pique Assiette Stepping Stones, summerhouseart.com

If you are interested in creating some stepping stones for your garden and don’t know how, you are in for a treat. My next post is all about how to create mosaic stepping stones. There are lots of ways to do this, but this is my way.

Now you may have noticed that we didn’t tell you which of us created all of the stepping stones in this blog.  So, which ones do you think are mine and which ones are Will’s?

(BTW, if you’d like to make a comment, just click on the title.  It’ll take you to comments….and we do appreciate comments )

Save

Share